AS Autosampler Operator’s Manual
162 Doc. 065051-03 1/08
5.11 Calibrating the Leak Sensor
If you are calibrating an existing (not a new) leak sensor, complete the following
steps before calibrating the leak sensor.
1. Remove the drip tray from the autosampler (see Section 5.5
) and thoroughly
clean and dry the tray and sensor.
2. Replace the sensor on the tray and reinstall the drip tray (see Section 5.6
).
The leak sensor can be calibrated from the front panel or from Chromeleon.
To calibrate the leak sensor from the front panel:
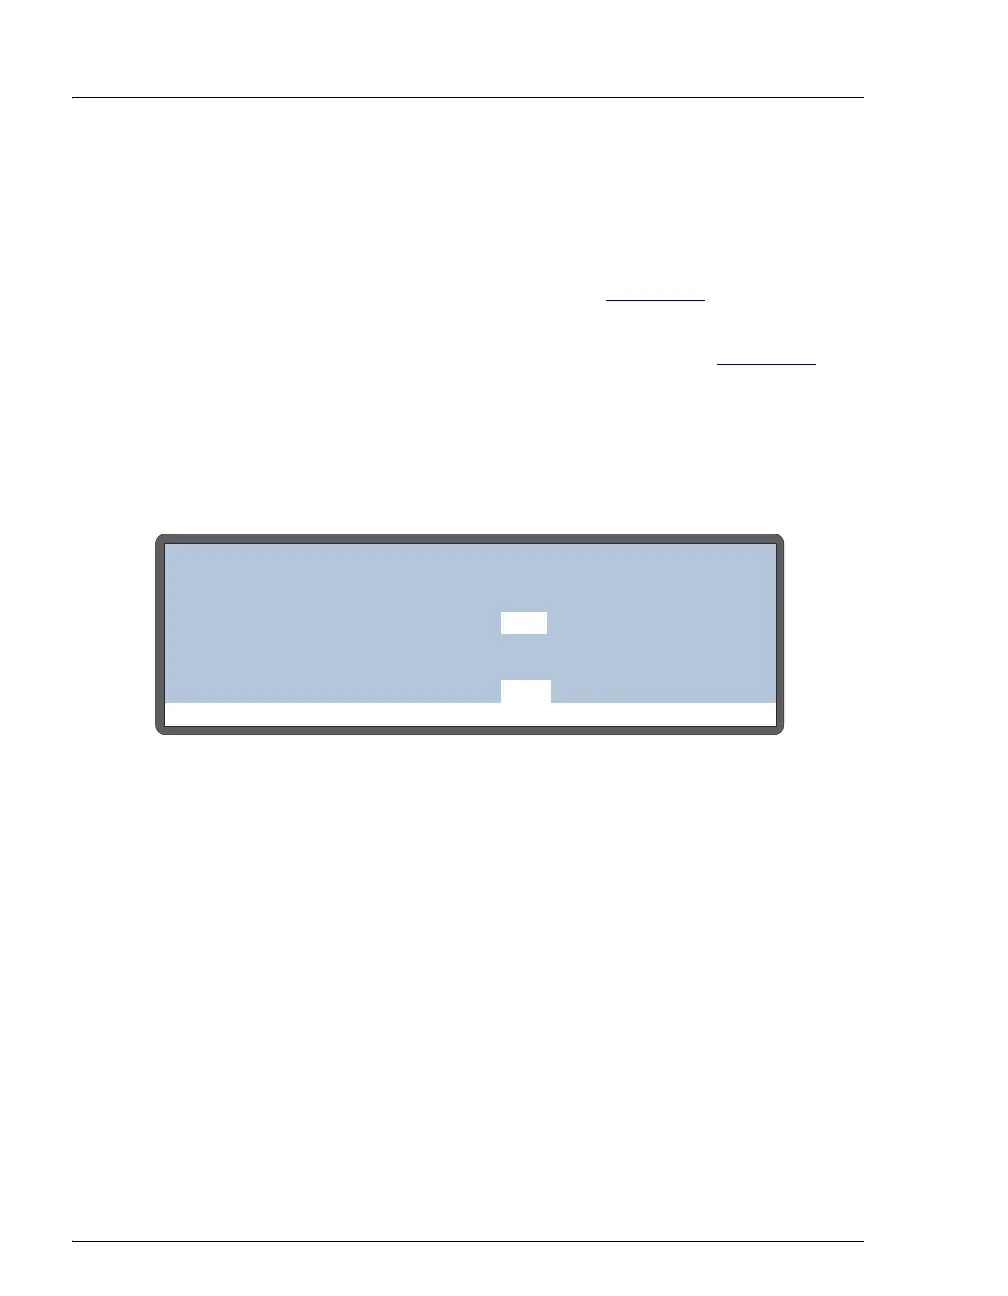
1. Press Menu, 8, and 0 to go to the LEAK SENSOR CALIBRATION AND STATUS
screen.
Figure 5-29. Leak Sensor Calibration and Status Screen
2. Press Select Δ or Select ∇ to select CAL and then press Enter.
The current measured value becomes the new calibration value.
To calibrate the leak sensor from the Chromeleon Wellness panel:
1. Open the Chromeleon Browser and expand the Dionex Templates folder.
2. Expand the Panels folder and the Wellness folder.
3. On the right pane of the Browser window, double-click
Dionex_autosampler_wellness.pan. The Wellness panel appears.
Help Prompt
LEAK SENSOR CALIBRATION AND STATUS
MEASURED VALUE:
TRAY
CURRENT CONDITION:
CALIBRATION VALUE:
LOW LEAK THRESHOLD:
2.49
2.29
DRY
2.48
ENABLE LEAK DETECTION
YES