313
c HELP Mode Function and Operation Procedures
chap.7
r
Release the PRINT key. The amount of light received by the
end mark sensor will be displayed, as a value between 00 and 63
1. Functions
(1) Checking of condition of switches listed below:
¡ Display of condition of contact pressure upper limit switch, contact
pressure center switch, contact pressure lower limit switch, and
ink roller rise/descent switch, as 0 or 1.
¡ Display of amount of light received by end mark sensor
(1) Checking the condition of the listed switches
q
Access HELP mode H-13, and press the PRINT key.
For the basic procedure for accessing HELP modes.
w
Press the [94%] key, to turn it ON. The contact pressure
motor will automatically start operating.
e
Press and hold the PRINT key. For as long as the key is held
down, a display indicating the conditions of the following switches
will appear.
S Contact pressure upper limit switch
S Contact pressure center limit switch
S Contact pressure lower limit switch
S Ink roller rise/descent switch
¡ If the master is to be cut after being fed by the fixed amount:
Press the master setting switch once.
¡ If the master is to be cut after being fed further than the fixed
amount:
Press and hold down the master setting switch for as long as
required. Cutting will be performed when the switch is released.
* Do not forget to remove the cut-off portion of the master after the
check is complete.
t
Press the STOP key. The HELP mode selection display will
reappear.
a To exit the HELP mode : Turn the power switch OFF.
a To access another HELP mode : Enter the desired mode number
using the numeric keys.using
the numeric keys.
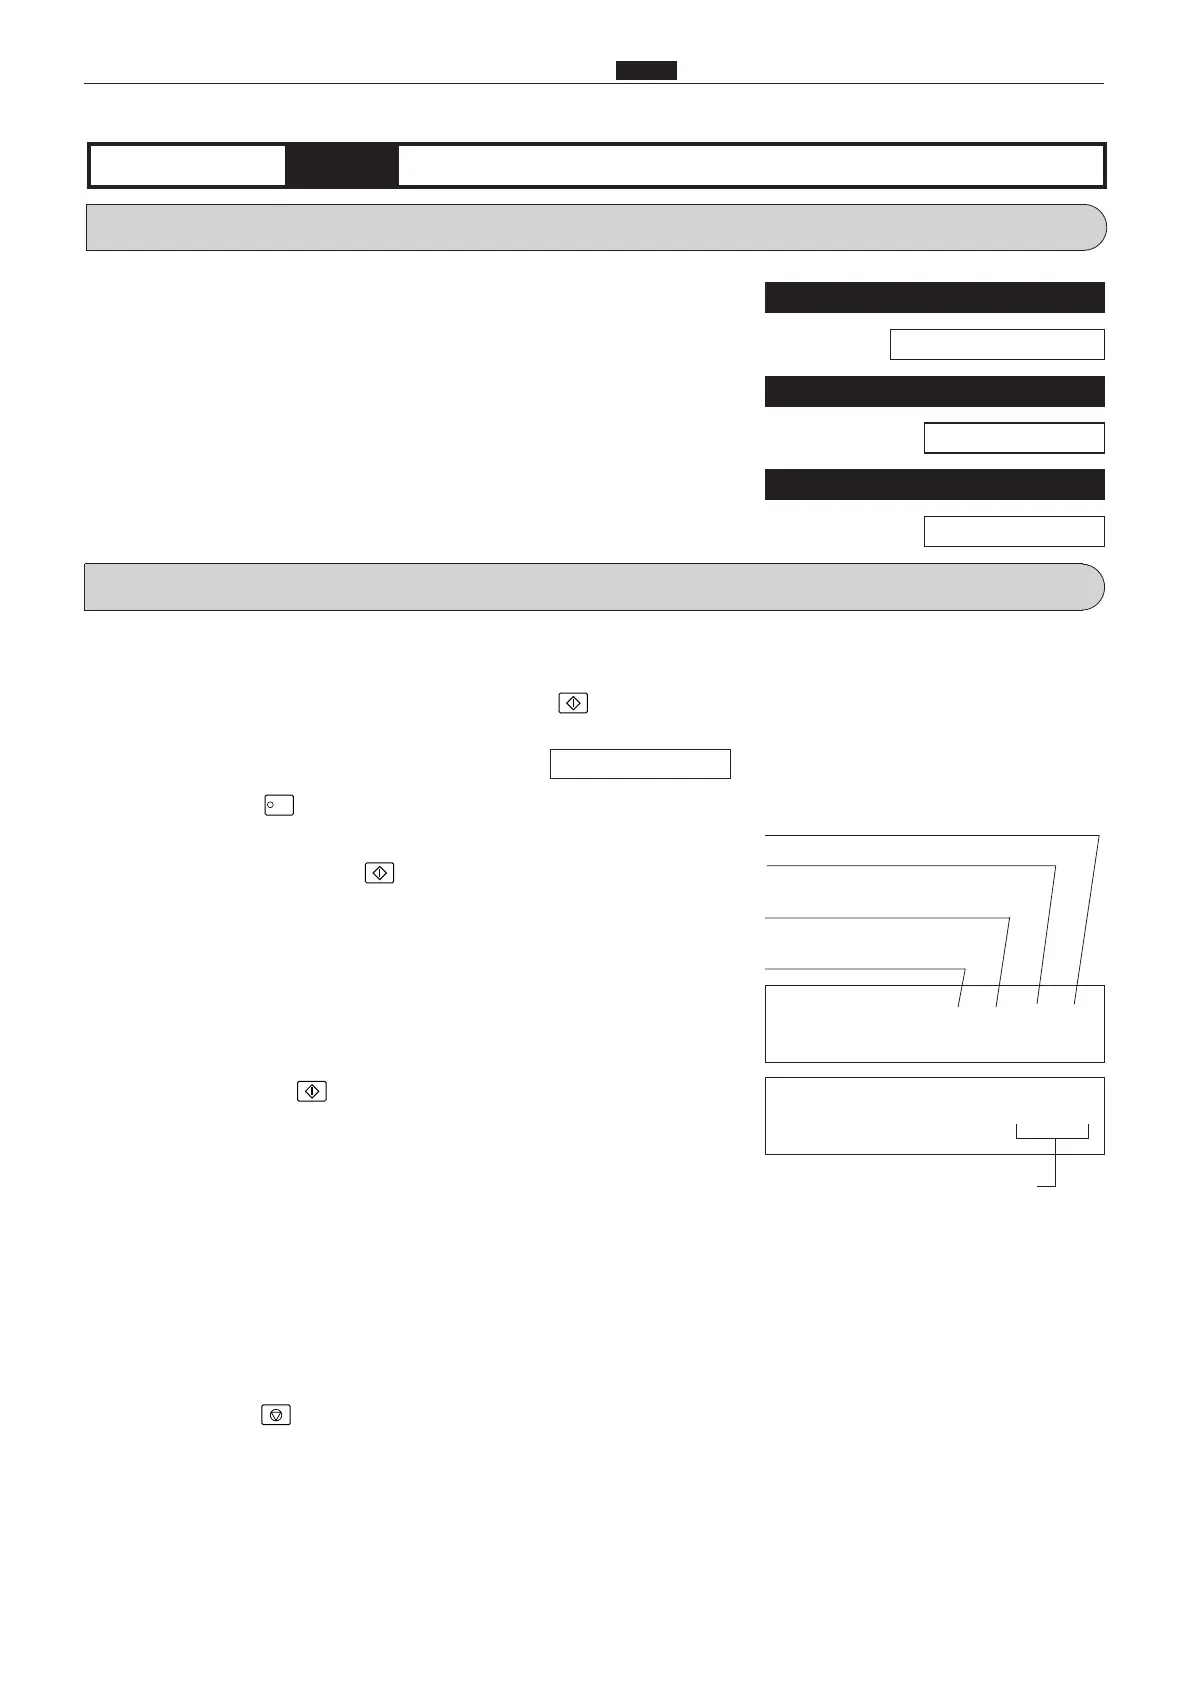
2. Operation procedures
H-13
(1) Sensor/switch condition displayHELP mode
****
Contact pressure upper limit switch 1 = ON
Contact pressure center limit switch 1 = ON
Contact pressure lower limit switch
1 = ON
Ink roller rise/descent switch
1 = ON
**
Amount of light received by end
mark sensor
\See page 291
For electrical parts layout
\See page 366,369
For reflection light amount
\See page 102
For Standards / Adjustment
\See page 239