Programming 25
Programming With The Hand Held Programmer
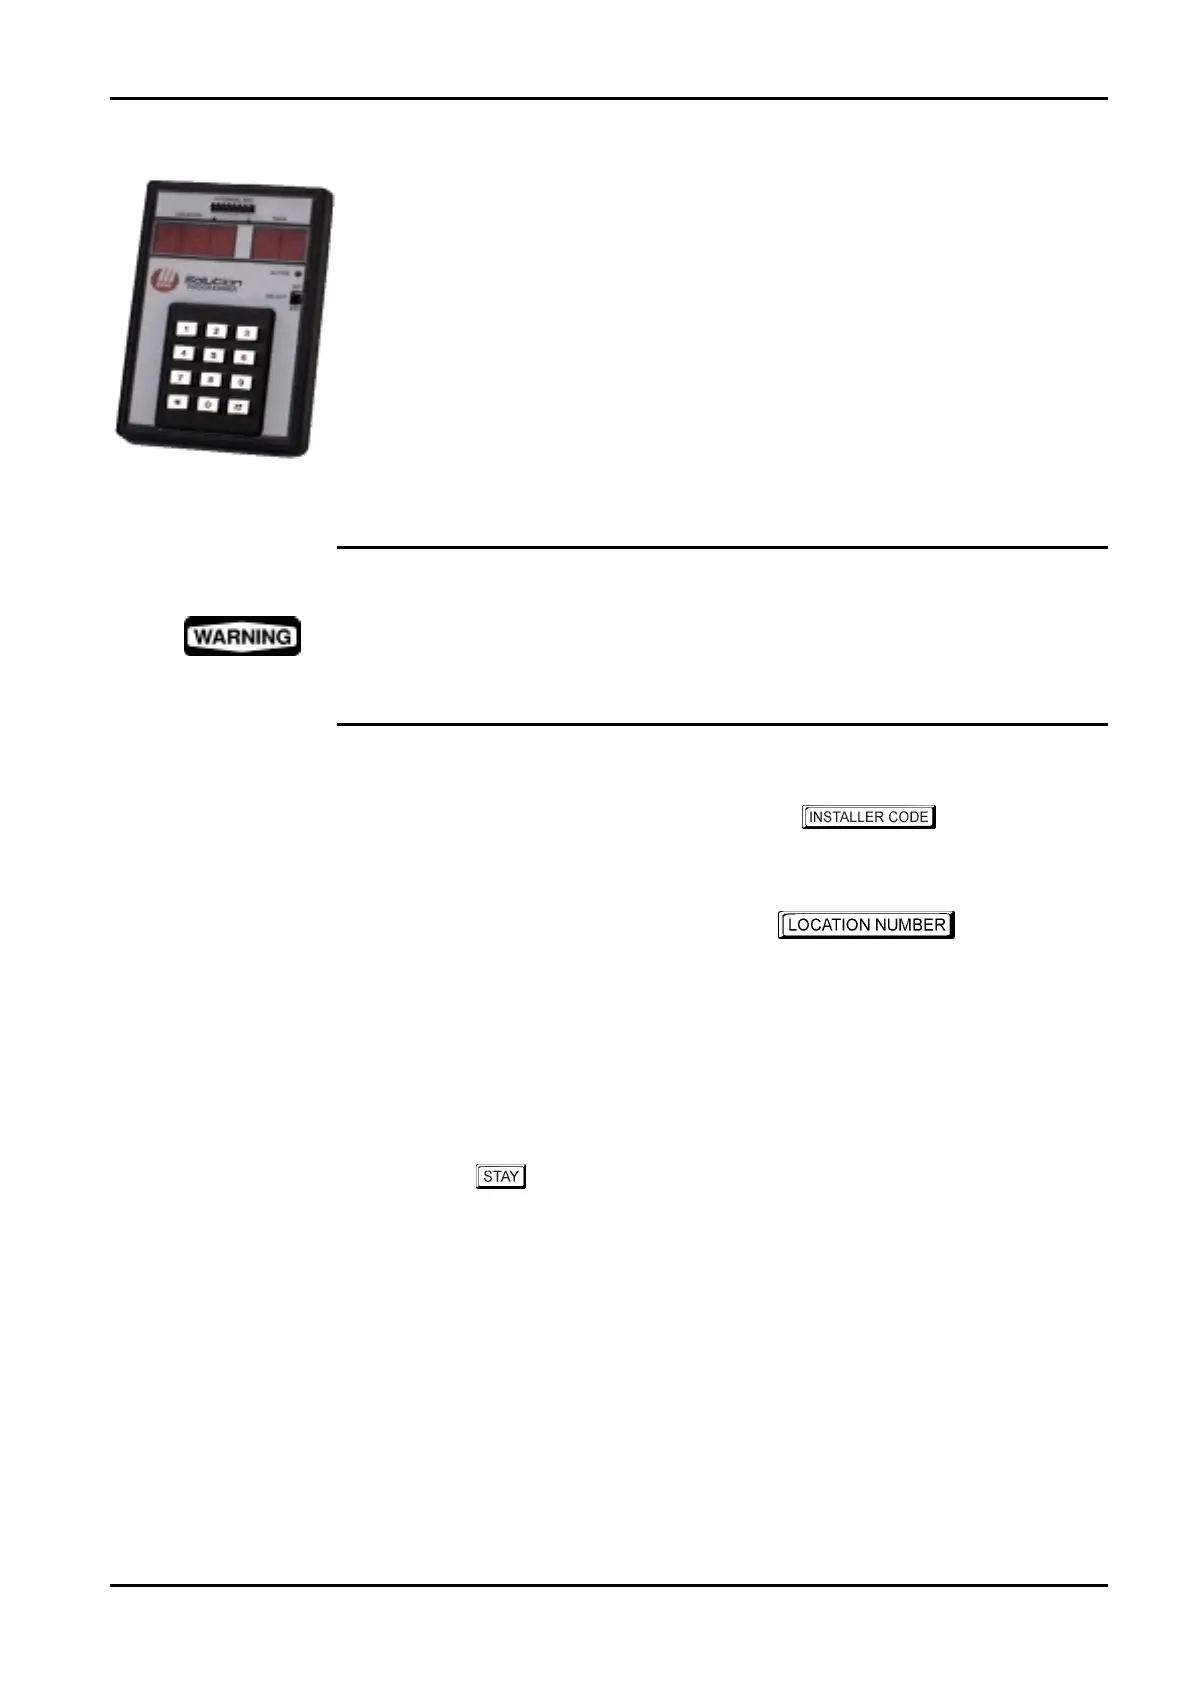
The Hand Held Programmer (CC814) has five, seven segment displays. The three seven
segment displays on the left display the current location number and the two seven segment
displays on the right display the data for the location currently being displayed.
To connect the hand held programmer, locate the socket marked PROGRAMMING KEY
found at the top of the PCB (printed circuit board) next to the Auxiliary Module socket.
Observe the triangular markings on the PCB and line them up with the markings on the
hand held programmers connecting socket.
When the hand held programmer is correctly connected onto the printed circuit board, one
beep will be heard and four centre bars on the hand held programmer will illuminate with
either an 'A' or 'U' suffix to indicate the system is armed or unarmed. Only when the
Installer's Programming Mode has been accessed will any numerals appear on the display.
When connecting the hand held programmer to the control panel, make sure that the
switch on the hand held programmer is in the EXT position and that no external
programming key has been connected. Failing to do this may corrupt the control panel's
memory. If this occurs, the control panel will need to be returned to Electronics Design
and Manufacturing Pty Limited where a service fee will be charged to unlock the control
panel's memory.
Example
To access the Installer's Programming Mode, enter the followed by the
#
button. The factory default Installers Code is
1234
. Two beeps will be heard and the
hand held programmer will display the current data stored in "LOCATION 000".
To move to another programming location, enter the
required followed
by the
#
button. The data of the new location will now be displayed (e.g.
34
followed by
the
#
button will automatically step you to the beginning of the Subscriber ID Number for
Receiver 1).
To move to the next location, press the
#
button. This will step you to the next location and
the data in that location will be displayed (e.g. If you are currently positioned at “LOCATION
034”, pressing the #
button will step you to “LOCATION 035”).
If you press the button without previously entering a location number, the system will
step back one location (e.g. If you are positioned at “LOCATION 035” and you press the
*
button, you will step back one location to LOCATION 034).
To change data in the current location, enter the new value (0 – 15) followed by the
*
button.
This will store the new data into the location and still leave you positioned at the same
location. You will notice that the new information programmed will be displayed on the data
display of the hand held programmer (e.g. If you enter the value
14
followed by the
*
button, the data display will display 14).
To move to the next location, press the
#
button. The data in the next location will now be
displayed.
Electronics Design and Manufacturing Pty Limited ISSUE130