Using the Main Menu14
2. Configure the following to perform a Log search:
• Log Type: Select the log type you wish to search under. Choose from Alarm (i.e.
motion events), Operation (i.e. Configuration changes, Setup), or All.
• Start Time: Enter the time you wish to begin searching.
• End Time: Enter the time you wish to end searching.
3. Click Search.
4. (Optional) Click the Backup button to backup system logs to a USB flash drive (not
included).
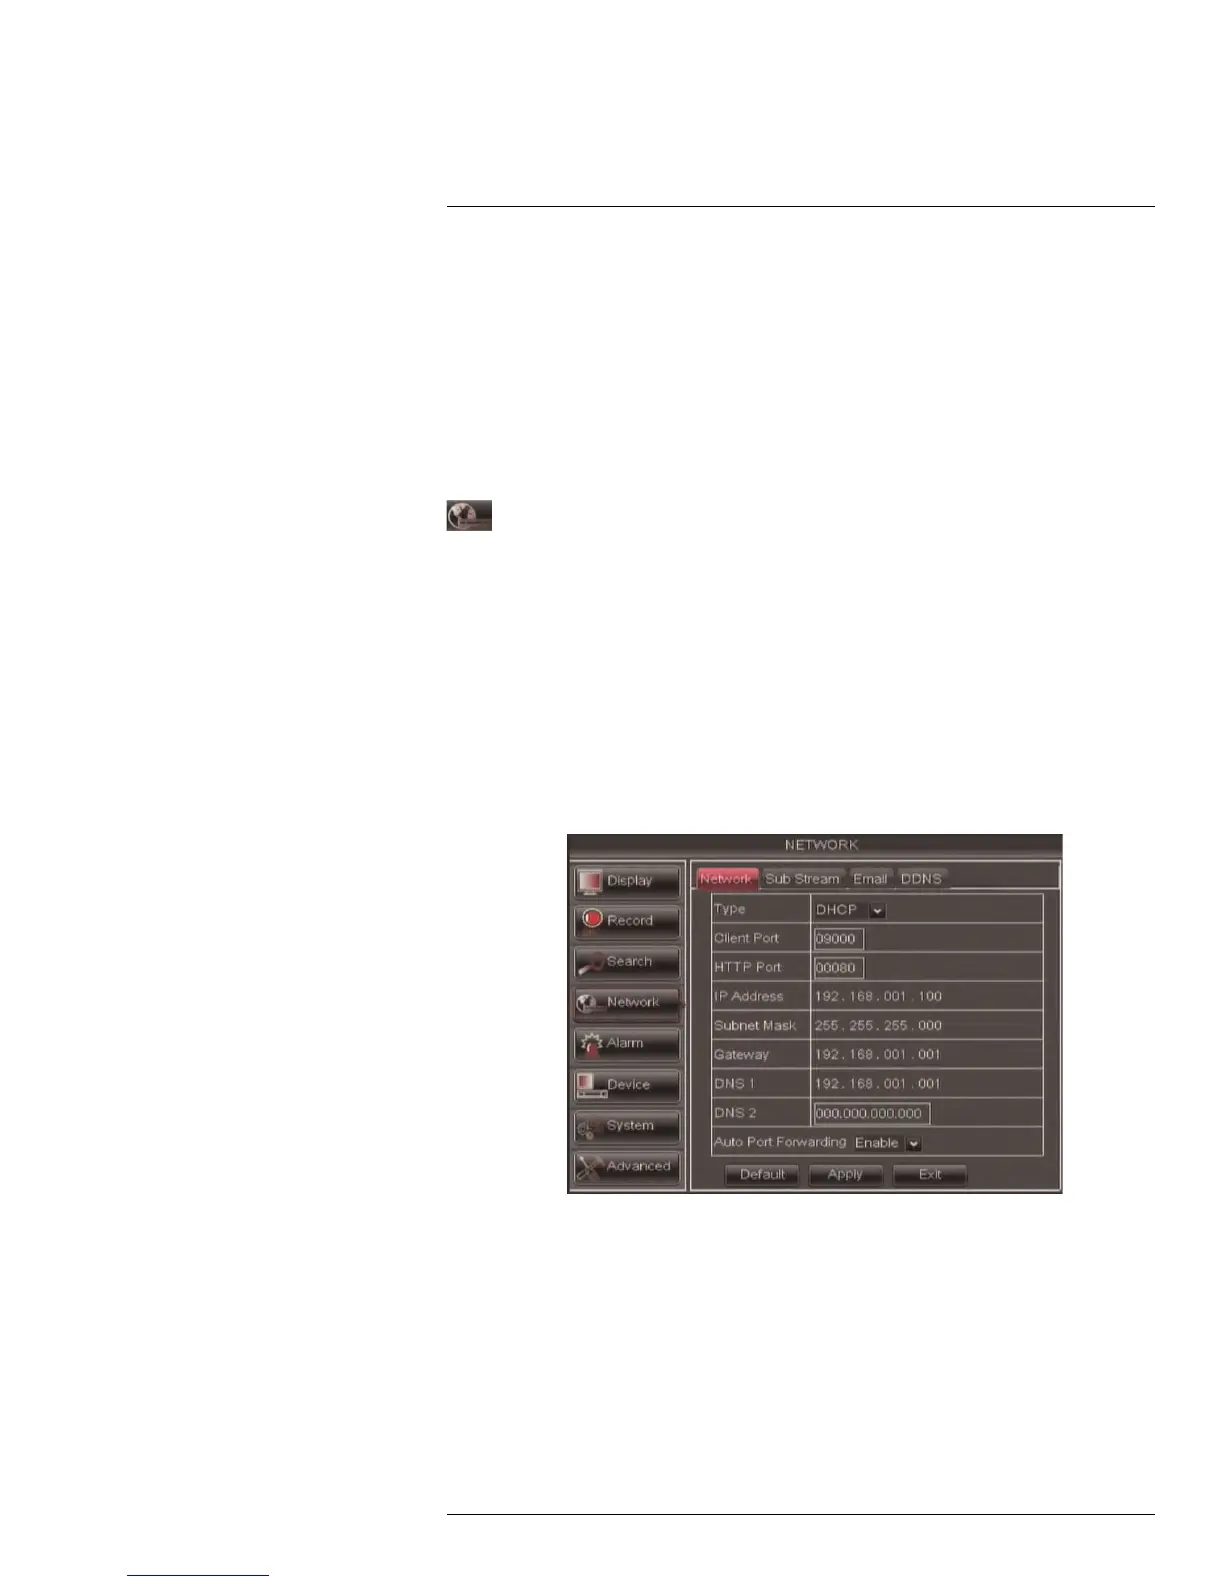
14.4 Network
The Network menu allows you to configure the system’s DDNS and network
settings.
14.4.1 Configuring Network Type: DHCP & Static IP
The system has the ability to operate in DHCP mode and Static IP mode.
After setting up your system, it is highly recommended to set your system to use a static IP
address. This ensures that the IP address will not change if the power goes out or your
router resets.
To configure DHCP and Static IP settings:
1. Select the Network tab.
2. In the Type drop-down menu, select DHCP or Static. If you select DHCP, the router
automatically assigns an IP to your DVR.
If you select Static, click the field beside IP Address, and enter in the IP address of your
choice.
• Enter your custom Subnet Mask, Gateway, DNS1 and DNS2 using the mouse.
• You must assign the IP in your router that you wish to make static. For example, if
you assign 192.168.2.89 as the static IP in the DVR, you must assign 192.168.2.89
in your router as a static IP as well. Consult your router’s user’s manual for details.
3. Click Apply to save your settings.
4. Right-click until you exit all menus. You will be prompted to restart.
#LX400005; r. 1.0/13714/13883; en-US
53

 Loading...


