Remote Viewing Interface
16
6. Main Screen: Main display screen for live viewing and playback. You can also drag
the screens to any desired position.
7. PTZ Controls: PTZ (Pan, Tilt, Zoom) control for connected PTZ cameras (not
included).
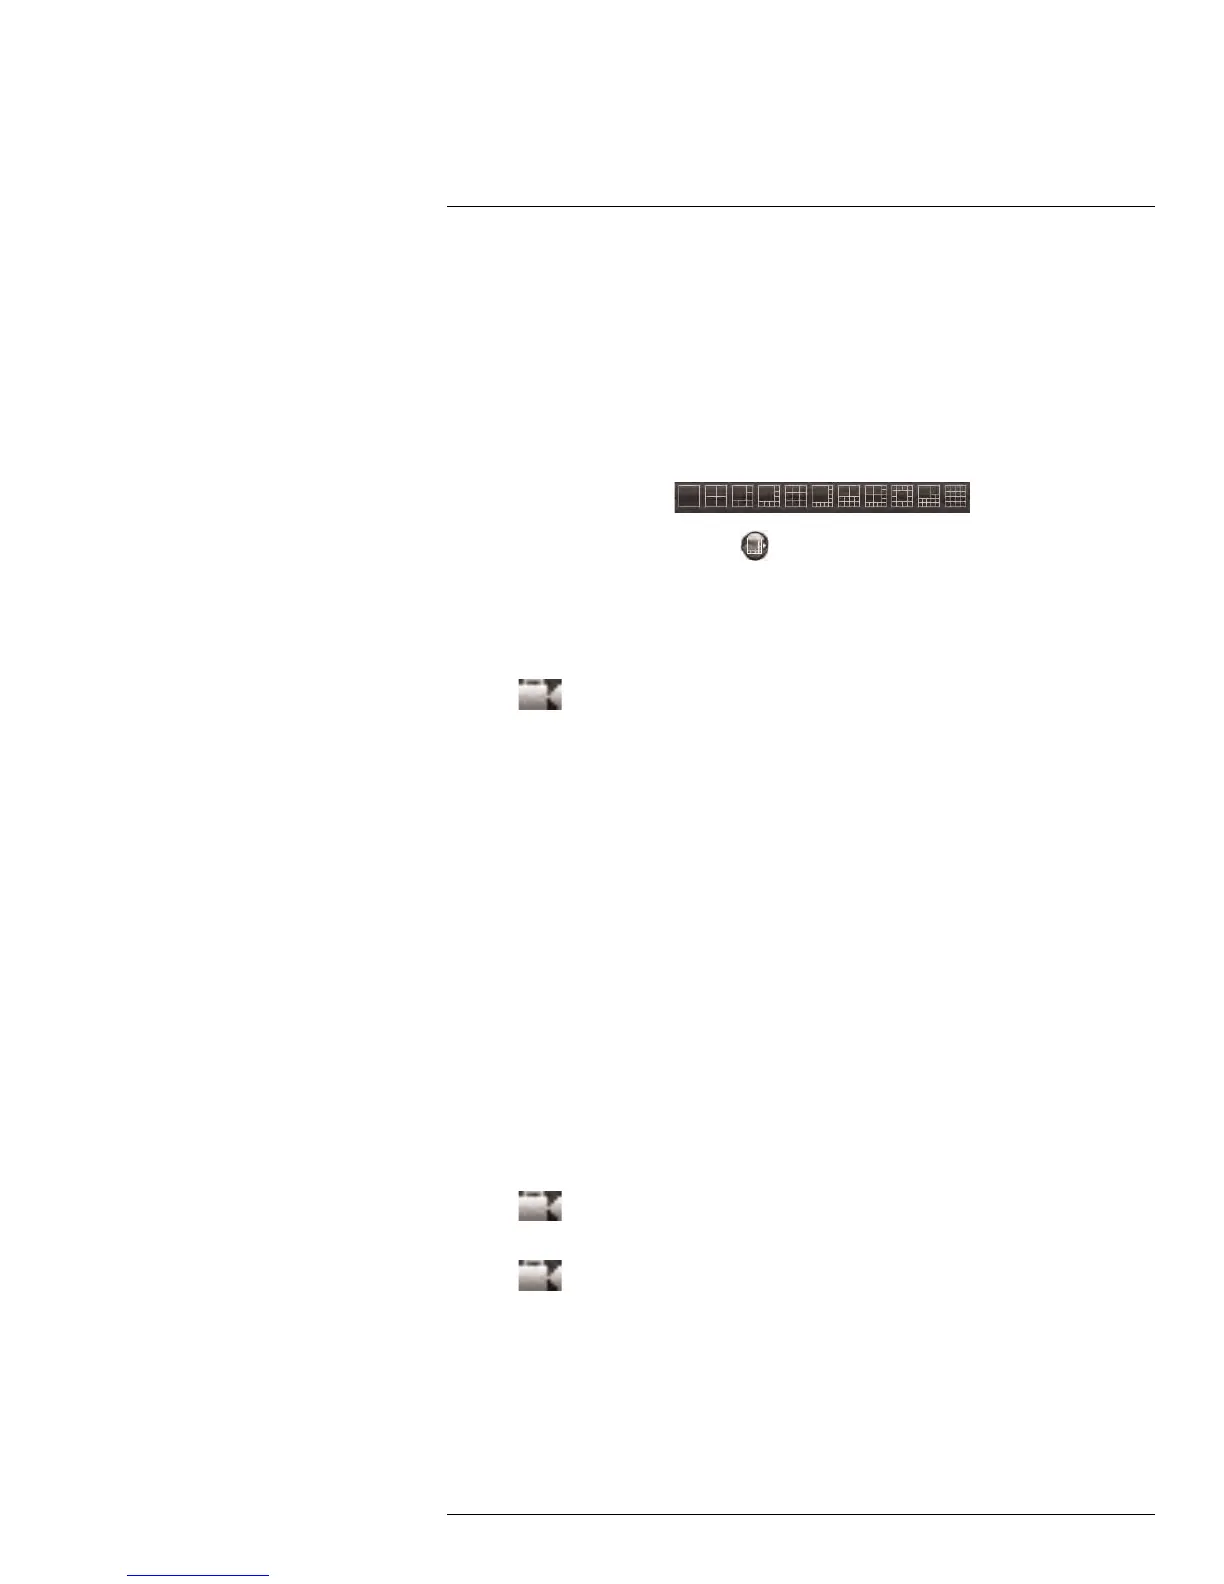
16.1 Changing Viewing Modes
You can change the number of channels that the system displays simultaneously (i.e.
Split-screen Mode, Single-channel Mode, etc.).
To change the DVR’s viewing mode:
• Click one of the following:
.
• If the controls are not shown, click
.
16.2 Taking Screen Shots
The system can take screen shots of a selected channel during live view.
To take a screen shot of a channel:
1. Click
beside the desired channel to capture an image.
2. A pop-up window opens on the bottom left corner of the window. Click Preview to view
the image or Folder to show the image in the save folder.
If you receive an error taking a screen shot:
You may receive an error when taking a screen capture. This is caused by an Internet Ex-
plorer security setting.
To reduce the security setting in Internet Explorer:
1. Click on Tools > Internet Options (in IE9 and above, click the gear icon on the top-
right corner).
2. Click the Security tab.
3. De-select Enable Protected Mode.
4. Click Apply to save your settings.
5. Refresh Internet Explorer.
16.3 Recording Video
You can record video footage directly onto your local hard drive. Once the video is in your
hard drive, you can back up the video footage onto record-able media such as USB mem-
ory keys and blank CD/DVD media.
To record video:
1. Click
next to the channel that you wish to capture video from. The video will re-
cord to the default save directory.
2. Click
to stop video recording.
16.4 Showing / Hiding Channels
The Active Channel List is a convenient way to show / hide the cameras that display in the
main viewing window.
#LX400005; r. 1.0/13714/13883; en-US
77
 Loading...