D
IRECTION FR091521, REVISION 1 VIVID S60N/VIVID S70N BASIC SERVICE MANUAL
Chapter 8 - Replacement Procedures 8-65
PRELIMINARY
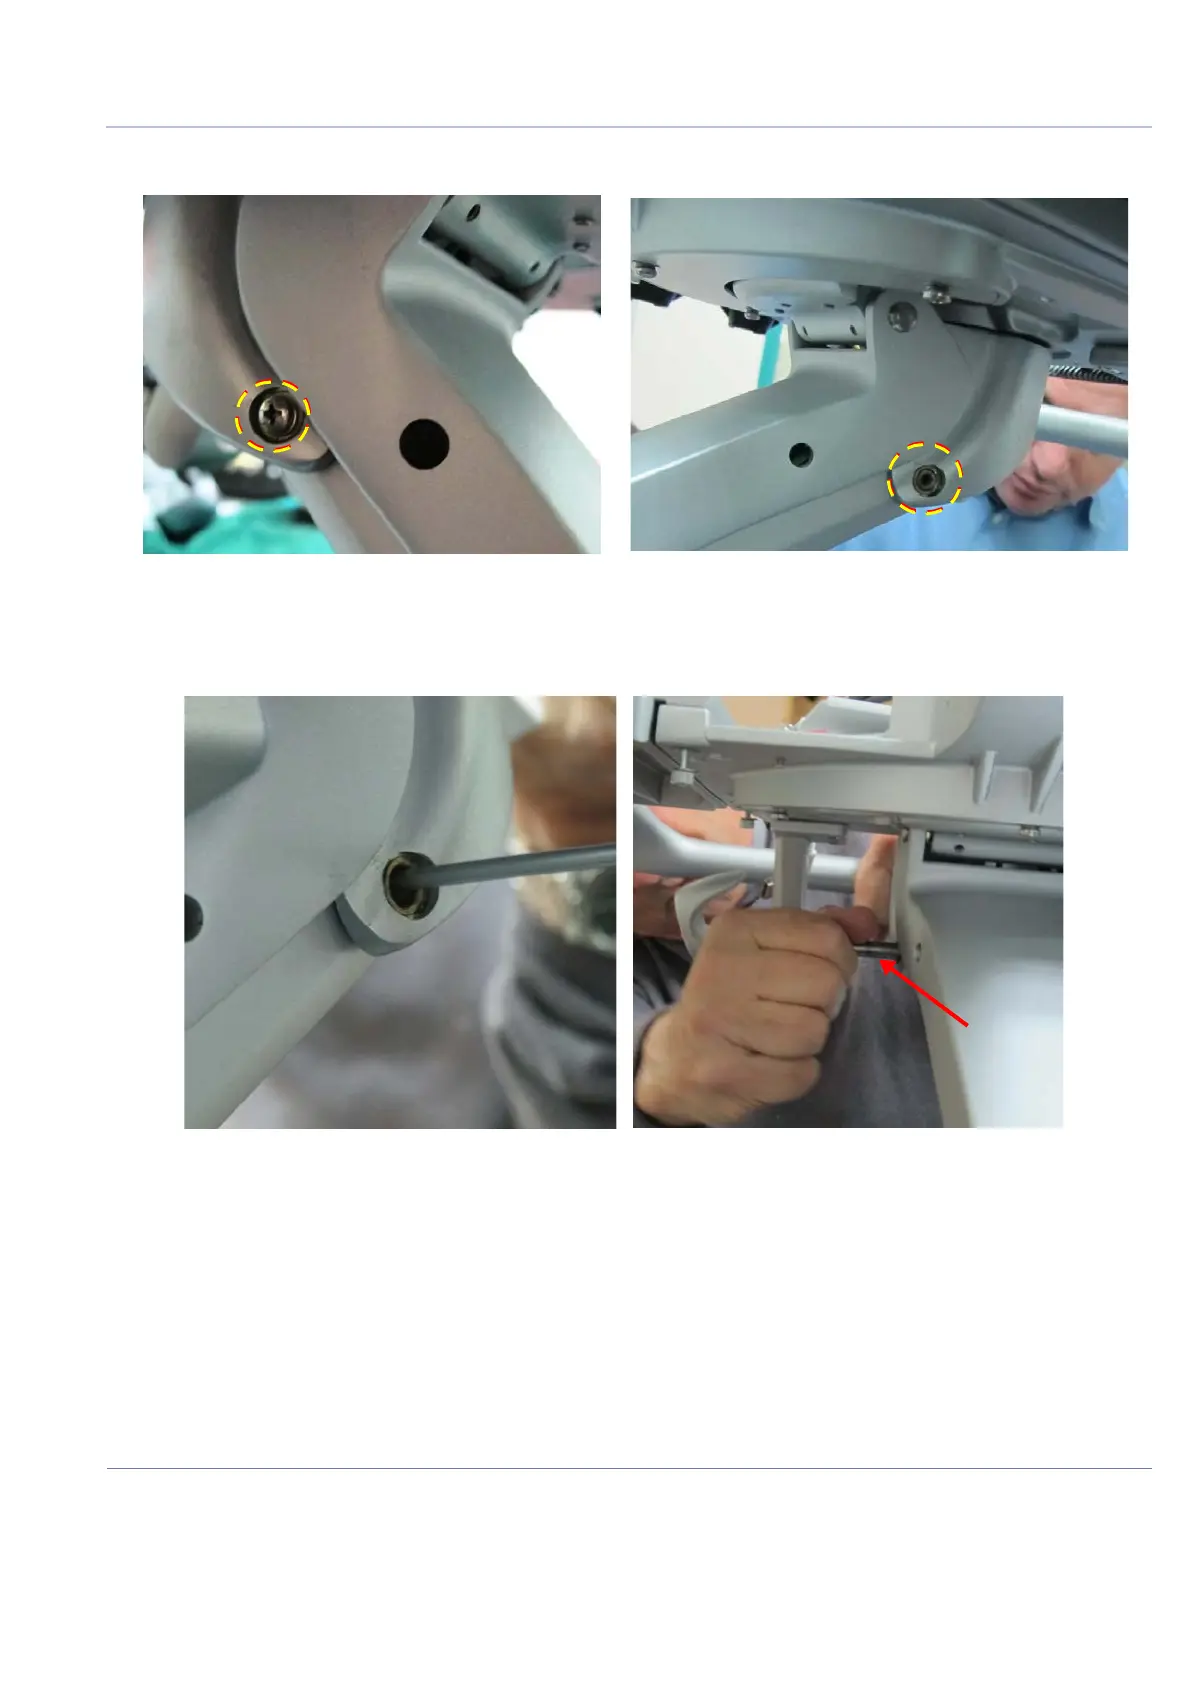
2.) Remove the lower arm securing screws - on either side of the lower arm - see Figure 8-78.
3.) Using a punch and light hammer, tap out the center pin located below the base of the operator panel
and remove completely releasing upper section of the lower arm - Figure 8-79.
4.) Supporting the OPIO platform, place some protective sponge on the system’s handle and gently
lower the platform down onto the handle - see Figure 8-77 on page 8-64.
Figure 8-78 Lower Arm Securing Screws
Figure 8-79 Remove Securing Pin
Slide Cables
Down Here
Cables in New Position

 Loading...


