4-38 Service Manual
5026
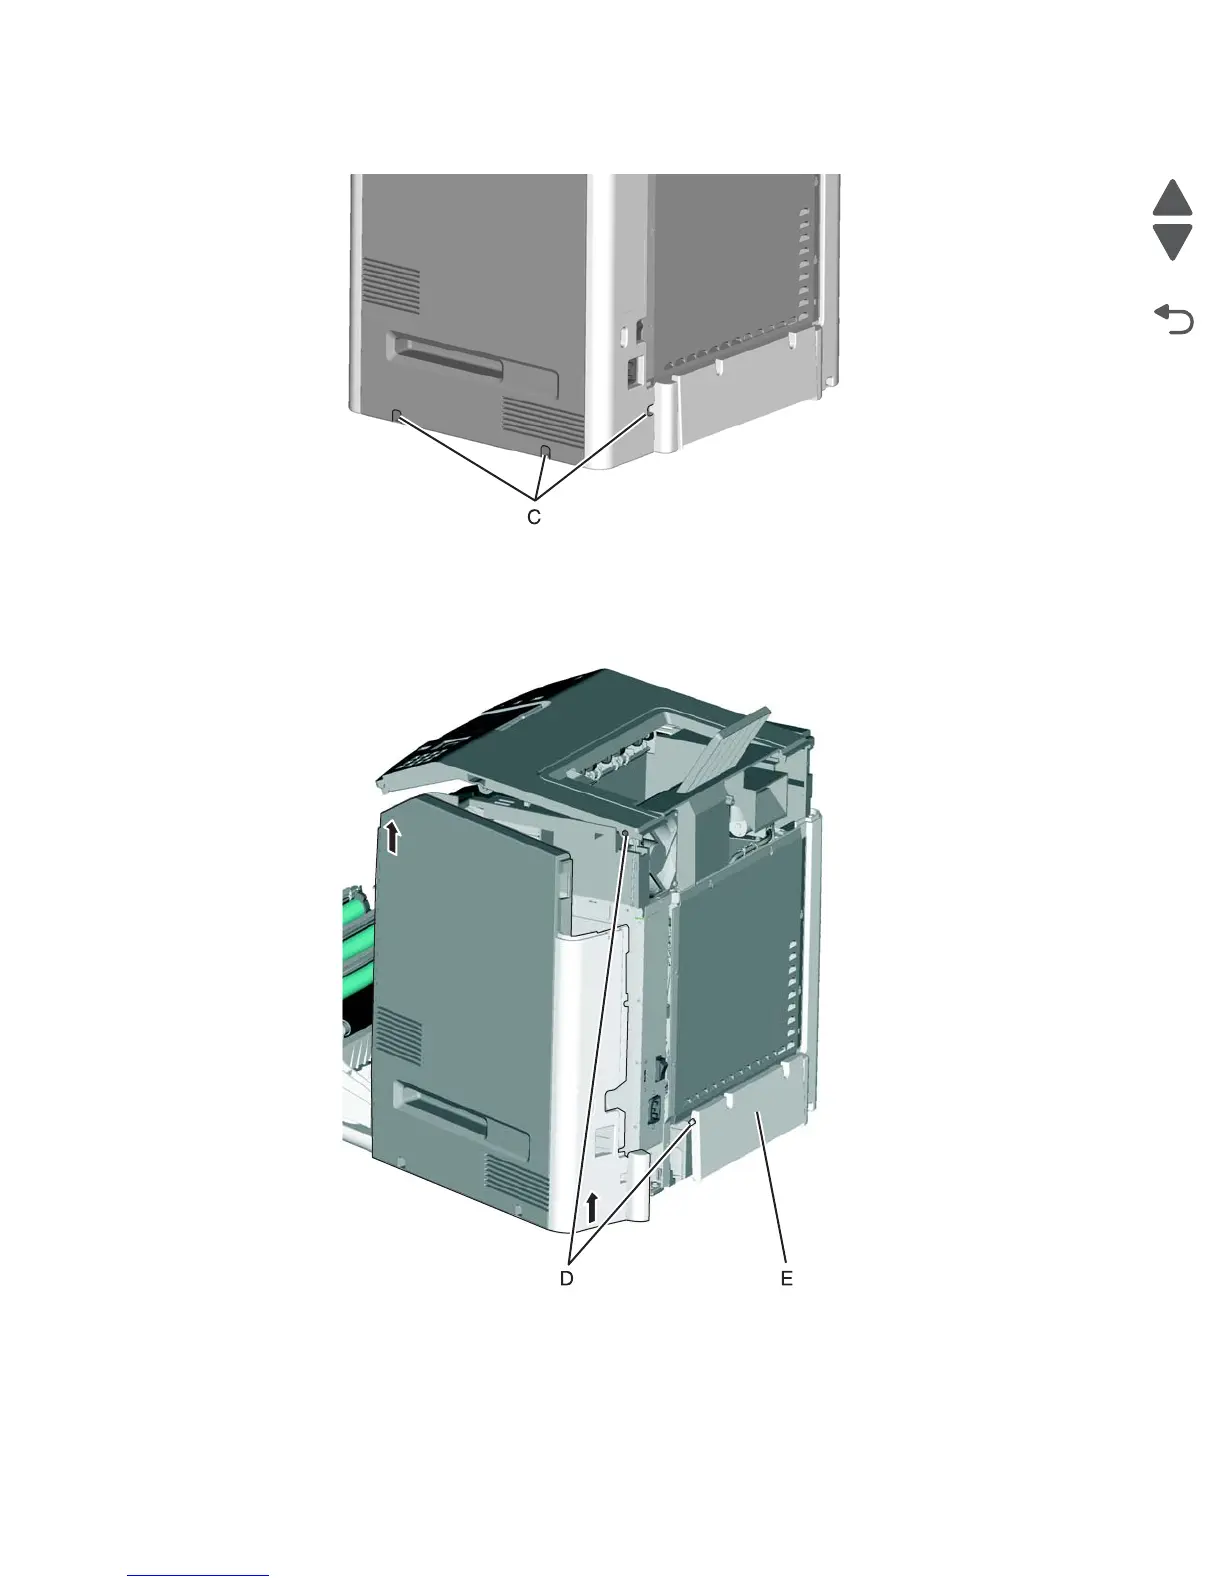
8. Remove the three screws (C).
9. Lift the bottom of the cover out, pull up at the points shown, and remove the cover.
Note: There are posts on the top access cover and the paper tray dust cover (D). When you reinstall, be
sure to verify that the top access cover opens correctly and that the paper tray dust cover swings properly.
10. Remove the paper tray dust cover (E).
Note: If you are removing the right cover to access another part, leave the right cover and the rear right cover
attached, and you are done. If you need to replace the right cover FRU, continue with the next step to remove
the separate rear right cover FRU.
 Loading...


