4-128 Service Manual
5026
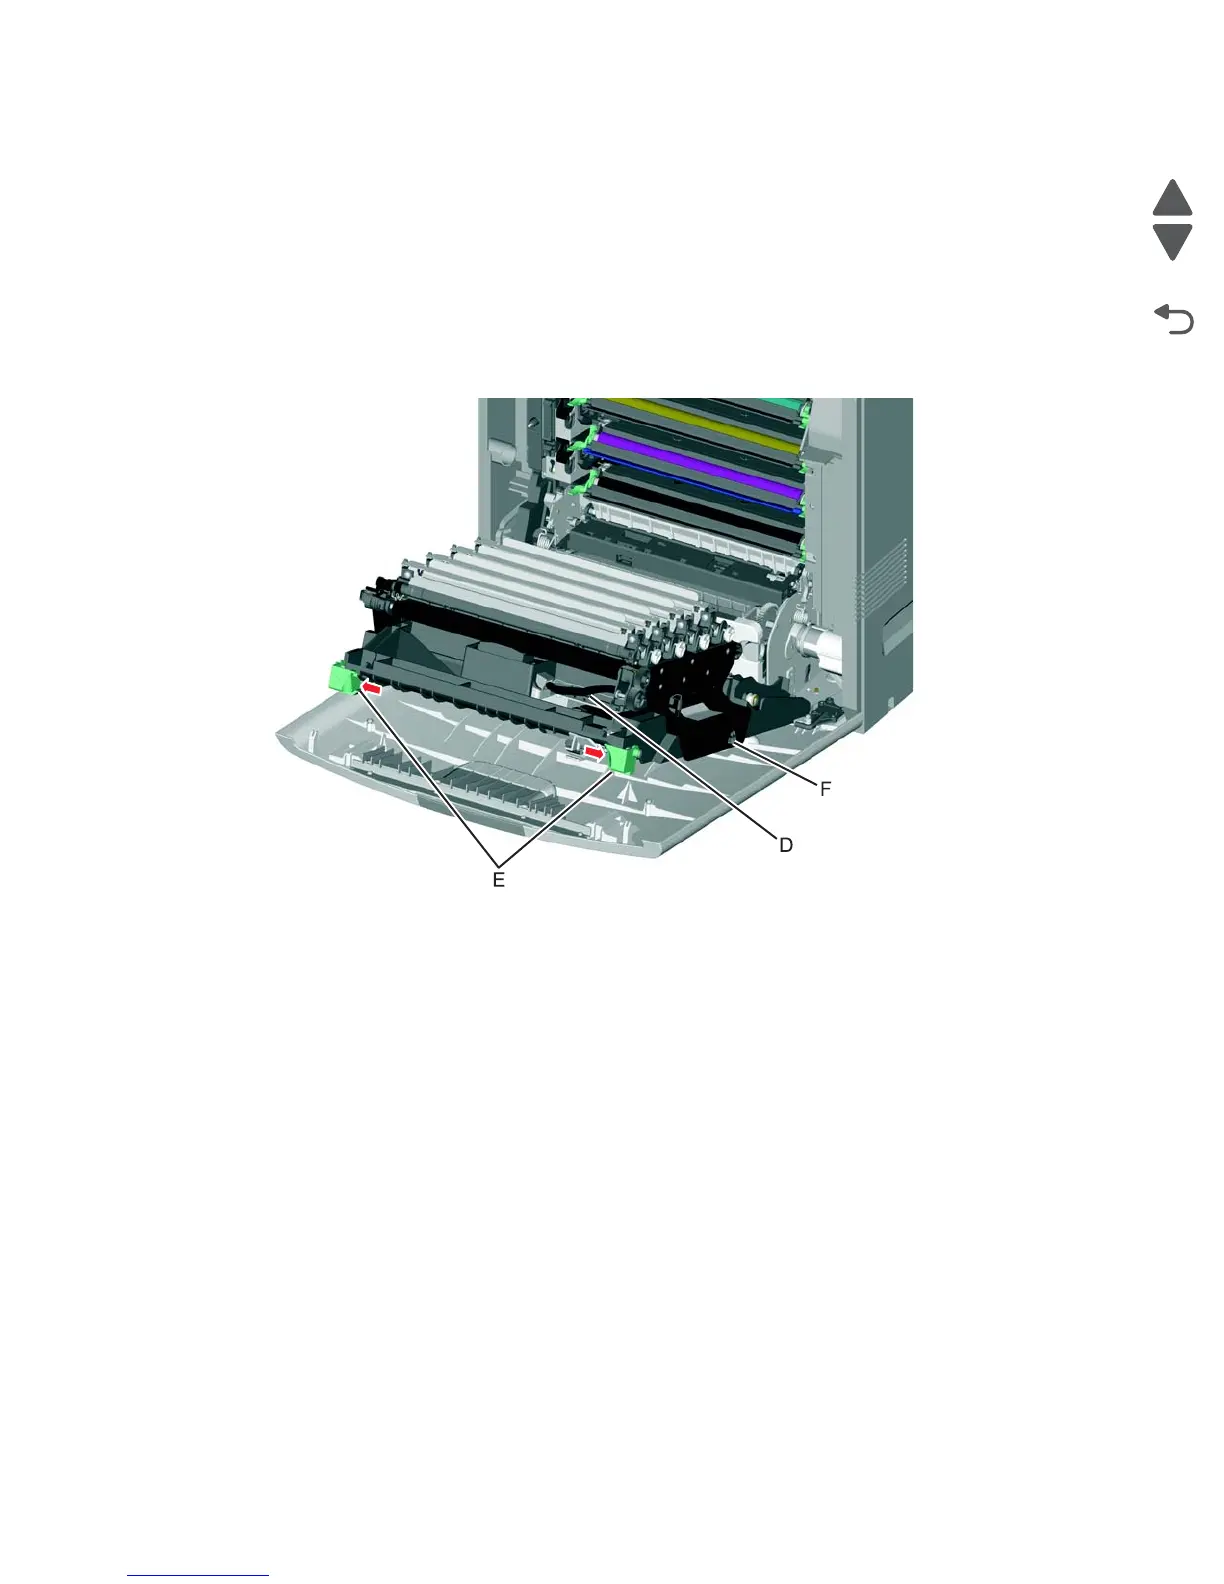
7. Remove the transfer module with the photoconductor units attached.
a. Disconnect the transfer module cable (D).
b. Press the two tabs (E) to release the front access cover assembly, and lower the front access door
cover.
c. Press the two tabs (F) on either side of the transfer module, and lift out the transfer module.
Note: Leave the photoconductor units on the transport belt when removing.
Warning: To avoid damaging the photoconductor drum, place the transfer module with the
photoconductor units on a clean surface. Never expose the photoconductor units to light for a prolonged
period of time. Place a clean, dry cloth over the transfer module and photoconductor units until they are
required.
8. Remove the toner cartridges.
 Loading...


