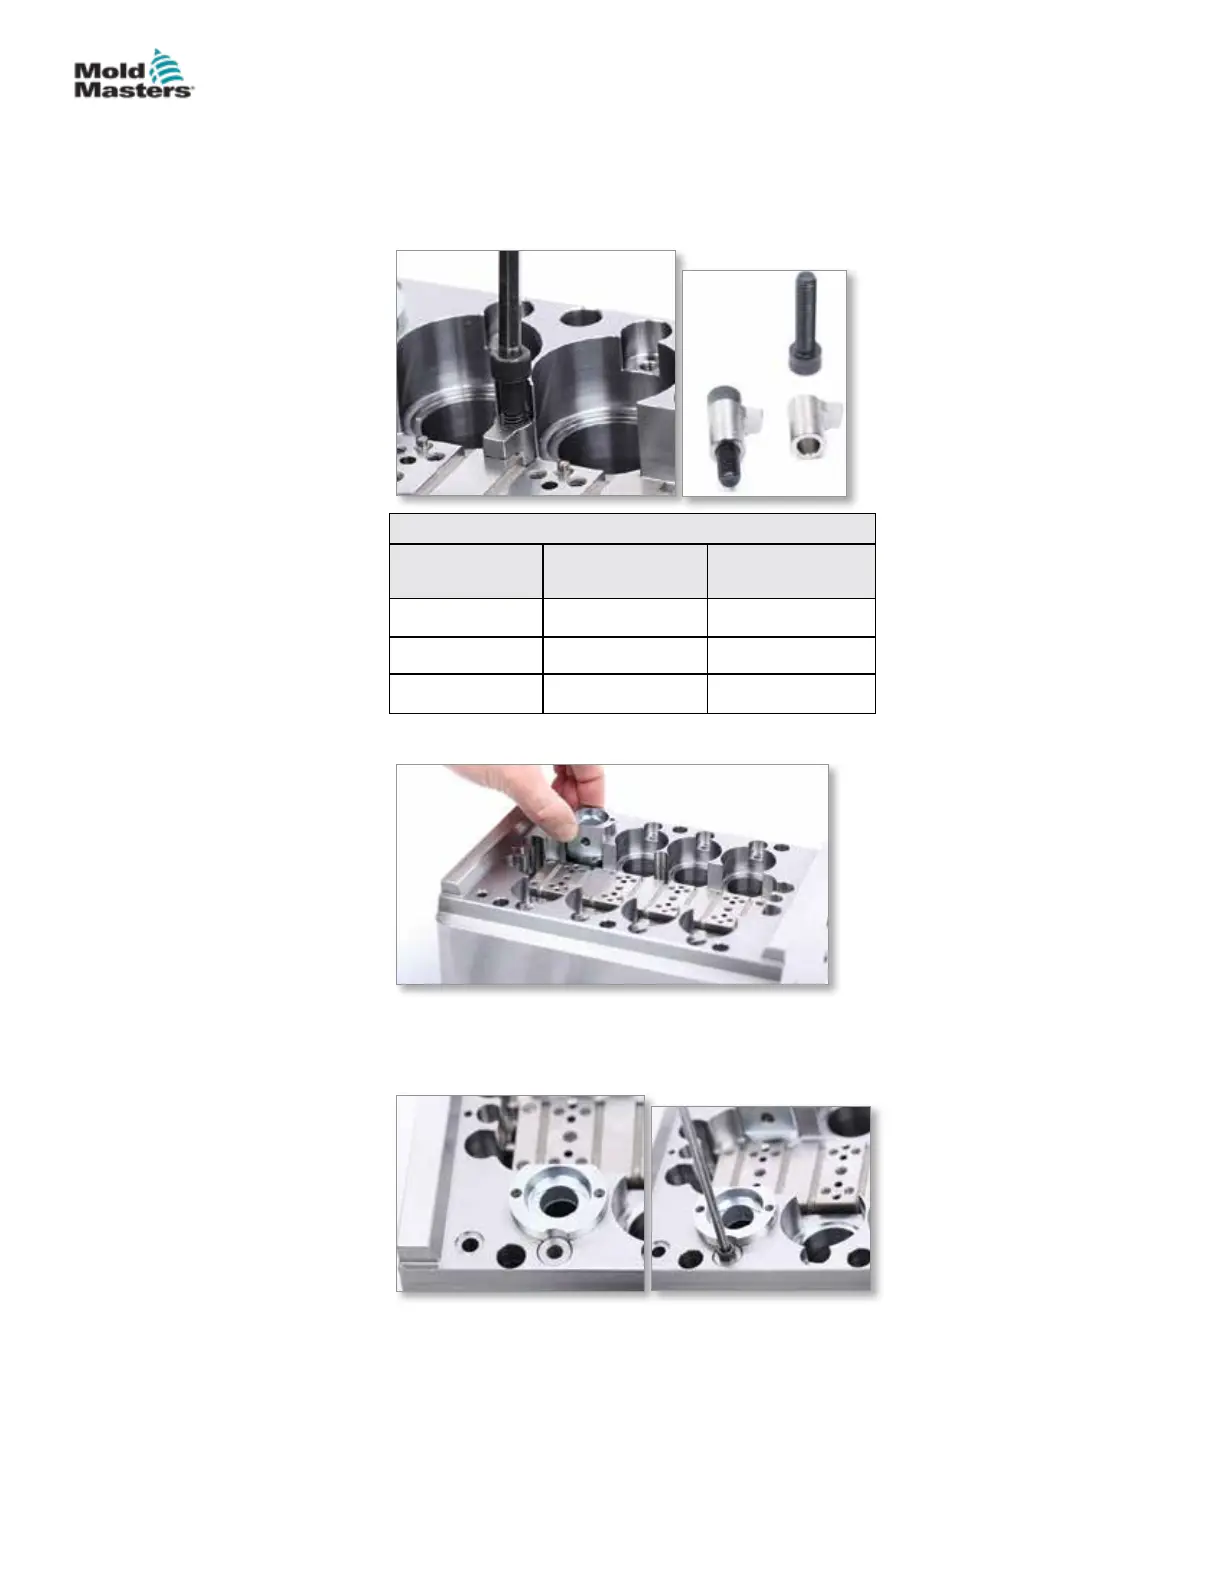
4. Apply anti-seize compound to the clamp SHCS. Install the proper SHCS
into each retainer clamp. Install clamps over Melt-CUBE at locations
shown in the General Assembly drawing. Torque as specied in “Table
19-2 Clamp Screw Torque Chart”.
Table 19-2 Clamp Screw Torque Chart
SHCS Component
Torque Value
Nm (ft-lb)
M6X35 CLAMP16 10 (7.5)
M8X35 CLAMP17 16 (12)
M8X35 CLAMP18 20 (15)
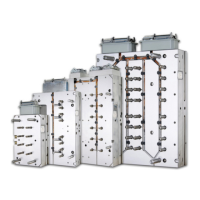
5. Install cavity inserts, if applicable, aligning hole with cavity.
6. Any cavity alignment features, such as dowels or cams, must be properly
inserted at this time. In the example below cavity side retainers / anti-
rotation dowels are installed. Repeat for all cavities.
Melt-CUBE Design A Assembly - continued
19-11MELT-CUBE SYSTEMS
Hot Runner User Manual
© 2020 Mold-Masters (2007) Limited. All Rights Reserved.