Do you have a question about the Oce plotwave 345 and is the answer not in the manual?
| Resolution | 600 x 1200 dpi |
|---|---|
| Memory | 4 GB |
| Hard Drive | 500 GB |
| Print Technology | Electrophotography LED |
| Print Speed | 6 A1/D prints per minute |
| Media Handling | Rolls |
| Maximum Media Width | 36 inches |
| Technology | Océ Radiant Fusing |
| Media Width | Up to 36 inches |
| Roll Capacity | Up to 2 rolls |
| Media Length | Up to 18.3 m (60 ft) |
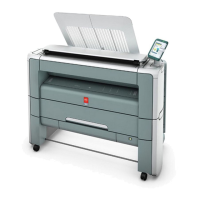
Instructions for connecting the printer, including working area requirements.
Description of the printer's multi-touch user panel and its components.
Introduction to Océ Express WebTools and how to access it.
How to control rights and actions for jobs and Smart Inboxes.
Settings for network adapter, security, and browser configurations.
Procedure to enable user authentication for system access.
Setting up various scan and print locations like USB, FTP, SMB, WebDAV.
Steps to create FTP, SMB, or WebDAV external locations.
Procedures for updating system software via USB or Océ Express WebTools.
Troubleshooting common job-related issues and error messages.
Procedure for removing jams from the scanner.
Instructions for clearing media jams in the heater section.
Configuring proxy settings for secure remote service connections.