EasyManuals Logo

Oce plotwave 345 User Manual

Oce plotwave 345
300 pages
To Next Page IconTo Next Page
To Previous Page IconTo Previous Page
Page #147 background imageLoading...
Page #147 background image
Step Action Remarks
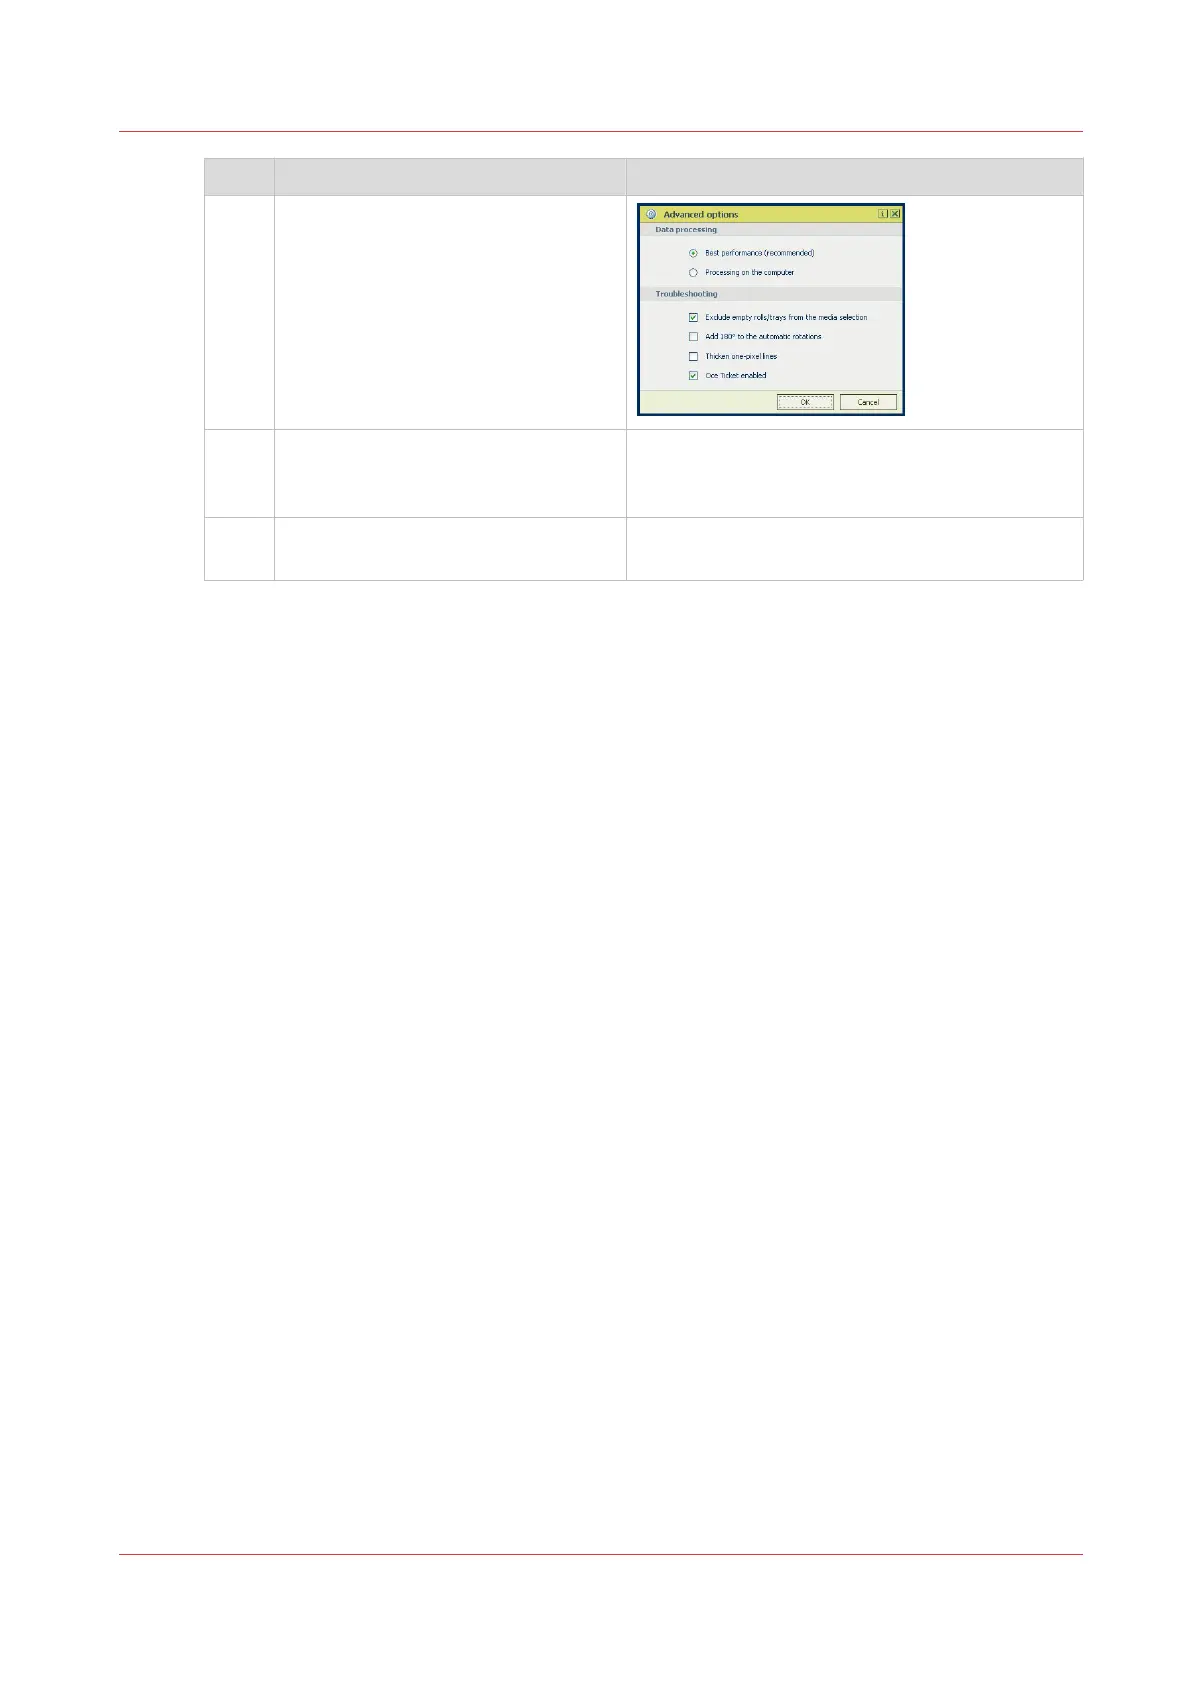
5 In the [Options] menu in the upper
right hand corner of the screen
choose [Advanced options]. Make
sure a checkmark is placed in the
[Océ Job Ticket enabled] box of the
[Troubleshooting] section to overrule
the default values for the job set-
tings.
6 Check all tiles in the printer driver
and change the settings, if necessa-
ry.
7 Click [OK] to send the print job to the
[Smart Inbox] or the print queue.
Use Océ Wide format Printer Driver 2 for Microsoft® Windows® to send a print job
Chapter 4 - Use the Printing System
147

Table of Contents

Questions and Answers:

Question and Answer IconNeed help?

Do you have a question about the Oce plotwave 345 and is the answer not in the manual?

Oce plotwave 345 Specifications

General IconGeneral
Resolution600 x 1200 dpi
Memory4 GB
Hard Drive500 GB
Print TechnologyElectrophotography LED
Print Speed6 A1/D prints per minute
Media HandlingRolls
Maximum Media Width36 inches
TechnologyOcé Radiant Fusing
Media WidthUp to 36 inches
Roll CapacityUp to 2 rolls
Media LengthUp to 18.3 m (60 ft)

Related product manuals