Create a Smart Inbox in the [Jobs] tab - Publisher Express section
NOTE
• With this procedure you not only create a Smart Inbox, but you also send a job to the printer.
• The Smart Inboxes created in Publisher Express are only visible on your personal browser.
When you send a print job to the specific Smart Inbox, that Smart Inbox also becomes visible
on the user panel.
• The Smart Inboxes created in Publisher Express are not permanent. Once the Smart Inbox is
empty, it will disappear.
Step Action
1. Select the [Jobs] tab.
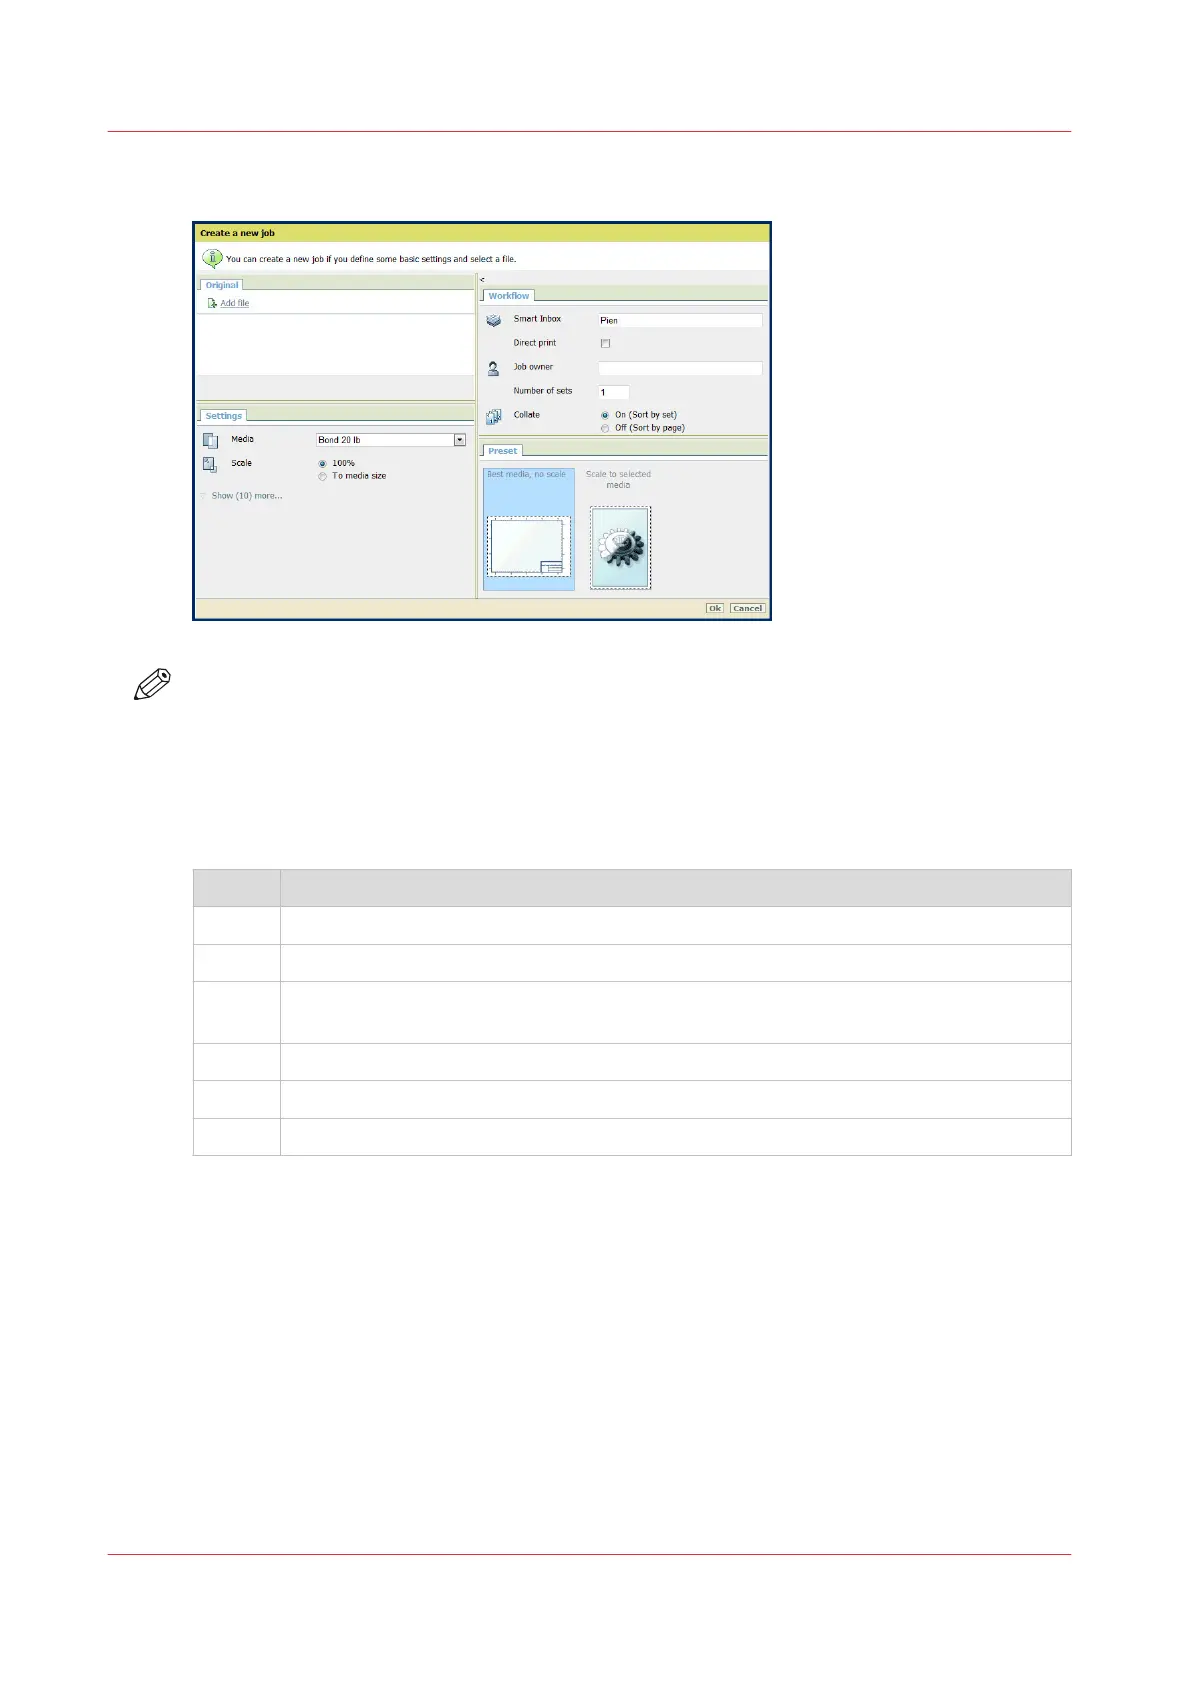
2. Click on [Create new job] in the Publisher Express section.
3. In the [Workflow] section, click on the Smart Inbox field. A drop-down list with Smart
Inboxes that contain one or more jobs opens.
4. Enter the name of the new Smart Inbox and press Enter.
5. Click [Ok] to send the print job to the printer via the new Smart Inbox.
6. The Smart Inbox is now displayed in the Smart Inbox section.
Create and open a Smart Inbox
66
Chapter 3 - Define your Workflow with Océ Express WebTools