127
Settin
Checkers
Cha
ter 6
6.10.3 Setting Procedure
1. Proceed up to “Configure the setting for preprocessing” at the third
step following the section 6.2.1.
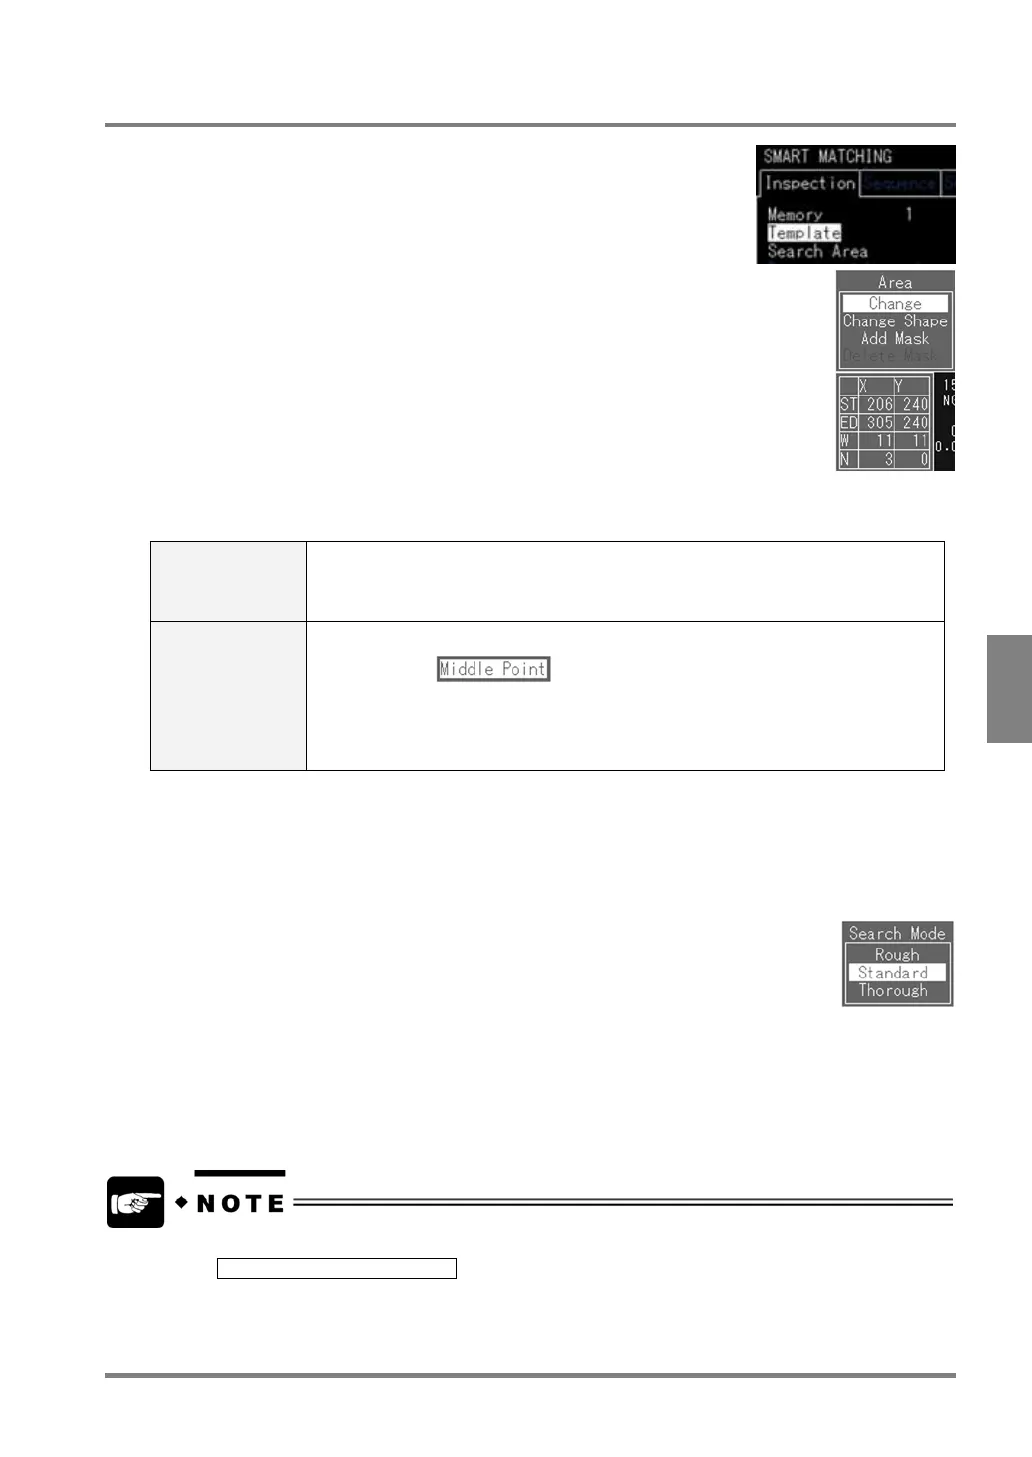
2. Select "Template".
3. Select "Change".
4. Set the part you want to save as a base image and set the start and end
points
A sub area is displayed within the template area. Set the start and end points
of the template area within the sub area
Settable template area size is as follows:
The size of template area: 61440 pixels (= 512 x 480 pixels / 4)
(No limitation for horizontal or vertical length.)
5. Move the output point ("+" mark) and press the ENTER key.
When the template area is displayed in green, the template setting is competed.
Output point Output point is the one that indicates the location of an image when the image
resembling the template was detected. After image detection, the coordinates of this
point are output. You can place the output point at the desired location. (You can place
the output point out of the template area, too.)
Setting the output
point as a "middle
point".
1. Press the B key in the state that the output point can be positioned.
2. When
appears, press the ENTER key. The output point
moves to the center of the template area.
3. Press the ENTER key to fix the output position. When the output point
disappears and the template area appears in green, the setting for a template
area has successfully completed.
6. Select "Search Area".
Follow the steps for area setting. (Default setting is set to full screen)
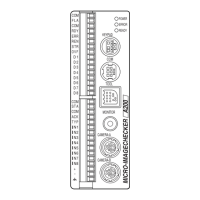
7. Select "Search Mode".
Choose "Rough", "Standard", or "Thorough".
Search Mode:
Type of sequences at the time of searching
The "Contour Matching" function detects outlines based on the information about
contour, but the information is compressed so as to reduce the searching time. The
higher compression ratio the shorter inspection execution time. This is because the
amount of contour information decreases. The PV310, however, may not detect any
template images and search area images due to the lack of contour information. On the
contrary, if compression ratio is lowered, it takes more time for searching. In this case,
since the amount of contour information increases, it takes more time for searching, but
the accuracy of detection will increase. If you have enough time to spend searching,
select "Thorough". If you do not have enough time to spend searching, check if the
image is surely detected after performing a test in Rough mode.
• The following message may be displayed at template setting.
E0130 Image has no features.
This message indicates the image in the template area has no or a few Features (Contours). Check the
gray image. If you still cannot save the template after doing so, adjust the size of the template area.
• You can update the template by using the input signals from the external device (or re-register the
current image). See section 10.5.3 for details.