53
Basic O
eration
Cha
ter 4
4.5 Temporarily Switching the Display Camera Images
You can temporarily change the image displayed in the image display area to another mage by pressing the B
key on the keypad and then selecting “Display Camera Image” or “Display Gray Value/Binary”. In RUN mode, you
can always switch the display images. In SETUP mode, display image switching is available if you are selecting
many menus. (But, the dialog box for switching display images may not be displayed depending on the selected
menu. Check if the dialog box is displayed on the screen of the actual device.)
4.5.1 Display Images
The following options are available for setting a display image.
No. Setting Setting item
1 Select a memory image.
Memory 1/Memory 2/Memory-C1+C2
2 Select which image you want to display, a live (real-time) image or a memory image.
Live image is a current image. The image moves in real-time. If you covered the lens
with your hands, the blacken images will be captured.
Display Camera
Image
3 Select which image you want to display, a gray scale image (Gray Value) or a binary
image (Binary Group A to Binary Group H).
Display Gray
Value/Binary
4.5.2 Selecting a Display Camera Image
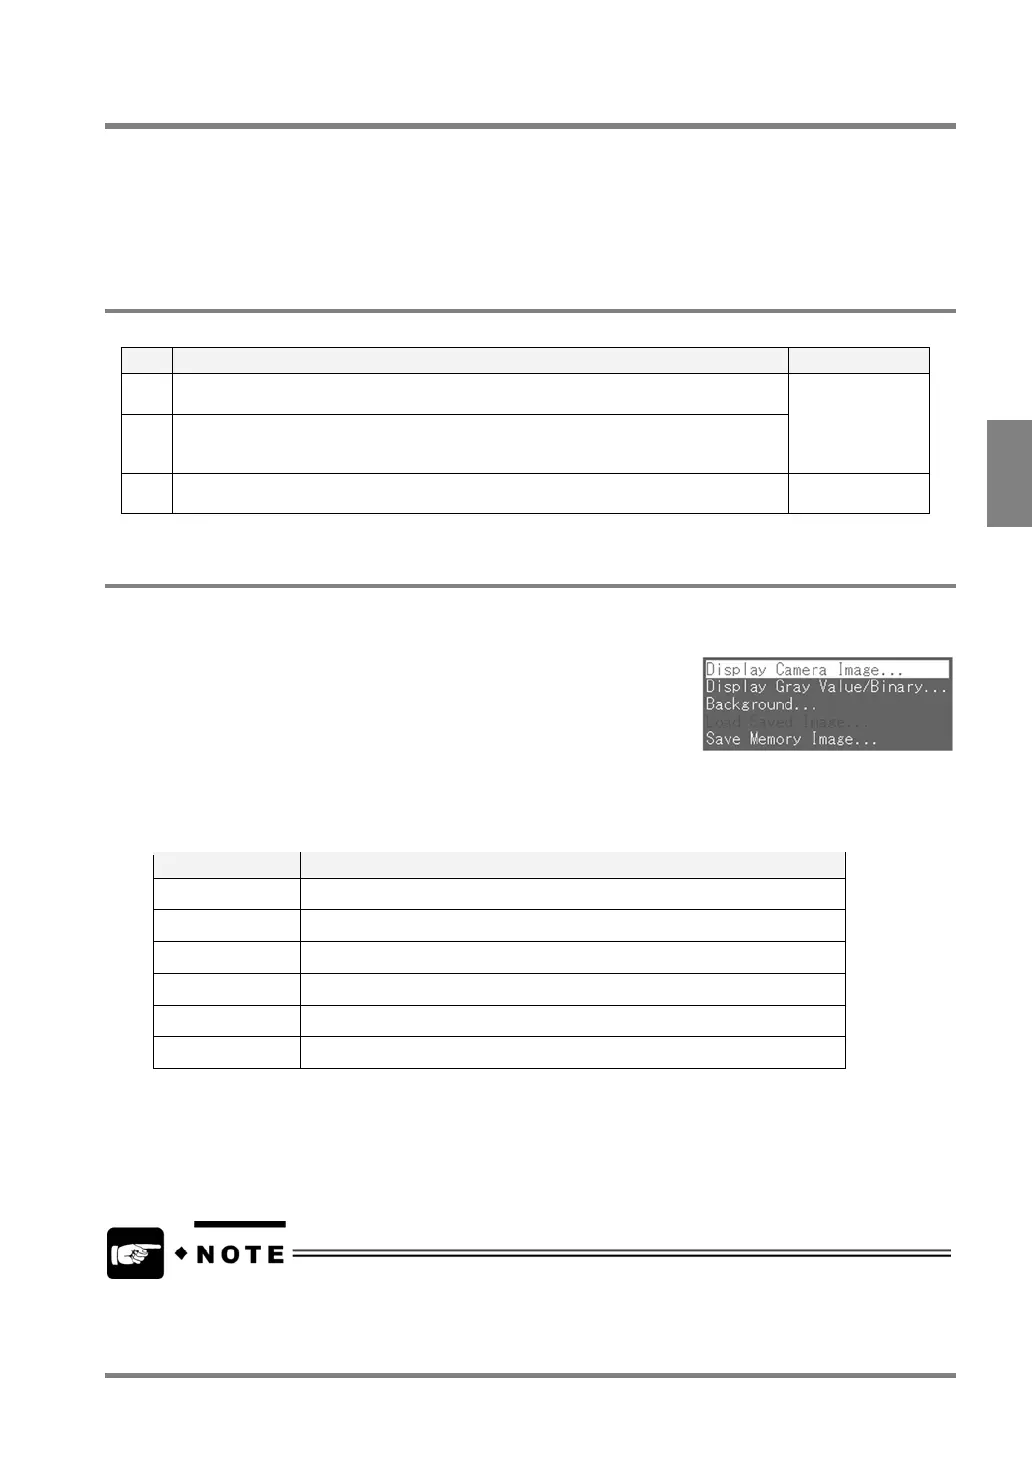
1. Press the B key.
The menu window is displayed.
2. Select “Display Camera Image”.
The Display Camera Image menu is displayed.
Each item of the Display Camera Image Switch
Option Image to be displayed
Live-C1 Live image in Memory 1 (real-time image)
Live-C2 Live image in Memory 2 (real-time image)
Live-C1+C2 Live image in Memory 1 and Memory 2 (real-time image)
Memory-C1 Memory image in Memory 1 (still image used for inspection)
Memory-C2 Memory image in Memory 2 (still image used for inspection)
Memory-C1+C2 Memory image in Memory 1 and Memory 2 (still image for inspection)
The options “Memory/Live-C1+C2” are available in RUN mode only.
3. Select the camera image to display.
The images are switched.
2-screen display (Live-C1+C2 / Memory-C1+C2) is not available in SETUP mode.