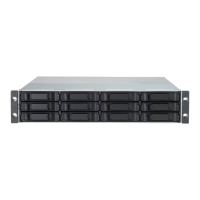
VessRAID 1000i Series Product Manual
148
3. Highlight the controller you want and press Enter.
4. Highlight Controller Settings and press Enter.
5. Make the following settings as required:
• Type and alias into the Alias field.
Maximum of 48 characters. Use letters, numbers, space between words
and underscore. An alias is optional.
• Highlight Coercion and press the spacebar to toggle between Enabled
and Disabled.
• Highlight Coercion Method and press the spacebar to toggle through:
GB Truncate – Reduces the capacity to the nearest 1 GB boundary
10 GB Truncate – Reduces the capacity to the nearest 10 GB boundary
Grp (group) Rounding – Uses an algorithm to determine truncation.
Results in the maximum amount of usable drive capacity
Table Rounding – Applies a predefined table to determine truncation
• Highlight Cache Flush Interval and press the backspace key to erase
the current value. Type a new interval value (1 to 12 seconds).
• Highlight SMART and press the spacebar to toggle between Enable and
Disable.
• Highlight SMART Poll Interval and press the backspace key to erase the
current value. Type a new interval value (1 to 1440 minutes).
• Highlight Poll Interval and press the backspace key to erase the current
value. Type a new interval value (15 to 255 seconds).
• Highlight Adaptive Writeback Cache and press the spacebar to toggle
between Enabled and Disabled.
6. Press Ctrl-A to save your settings.
Locating the Controller
To locate this controller:
1. From the Main Menu, highlight Subsystem Management and press Enter.
2. Highlight Controller Management and press Enter.
3. Highlight the controller you want and press Enter.
4. Highlight Locate Controller and press Enter.
The Controller Status LED blinks green for one minute.

 Loading...