VessRAID 1000i Series Product Manual
238
See page 240 and page 242 for more information.
2. Carefully slide the new RAID Controller into the enclosure.
3. Swing the latch to the left and secure it with the thumbscrew.
4. Reconnect the iSCSI, Ethernet, serial, and power cables.
5. Switch on the power.
The VessRAID restarts. For more information about VessRAID’s start-up
behavior, see “Connecting the Power” on page 24.
This completes the RAID Controller replacement procedure.
Replacing a Cooling Fan
To replace a fan:
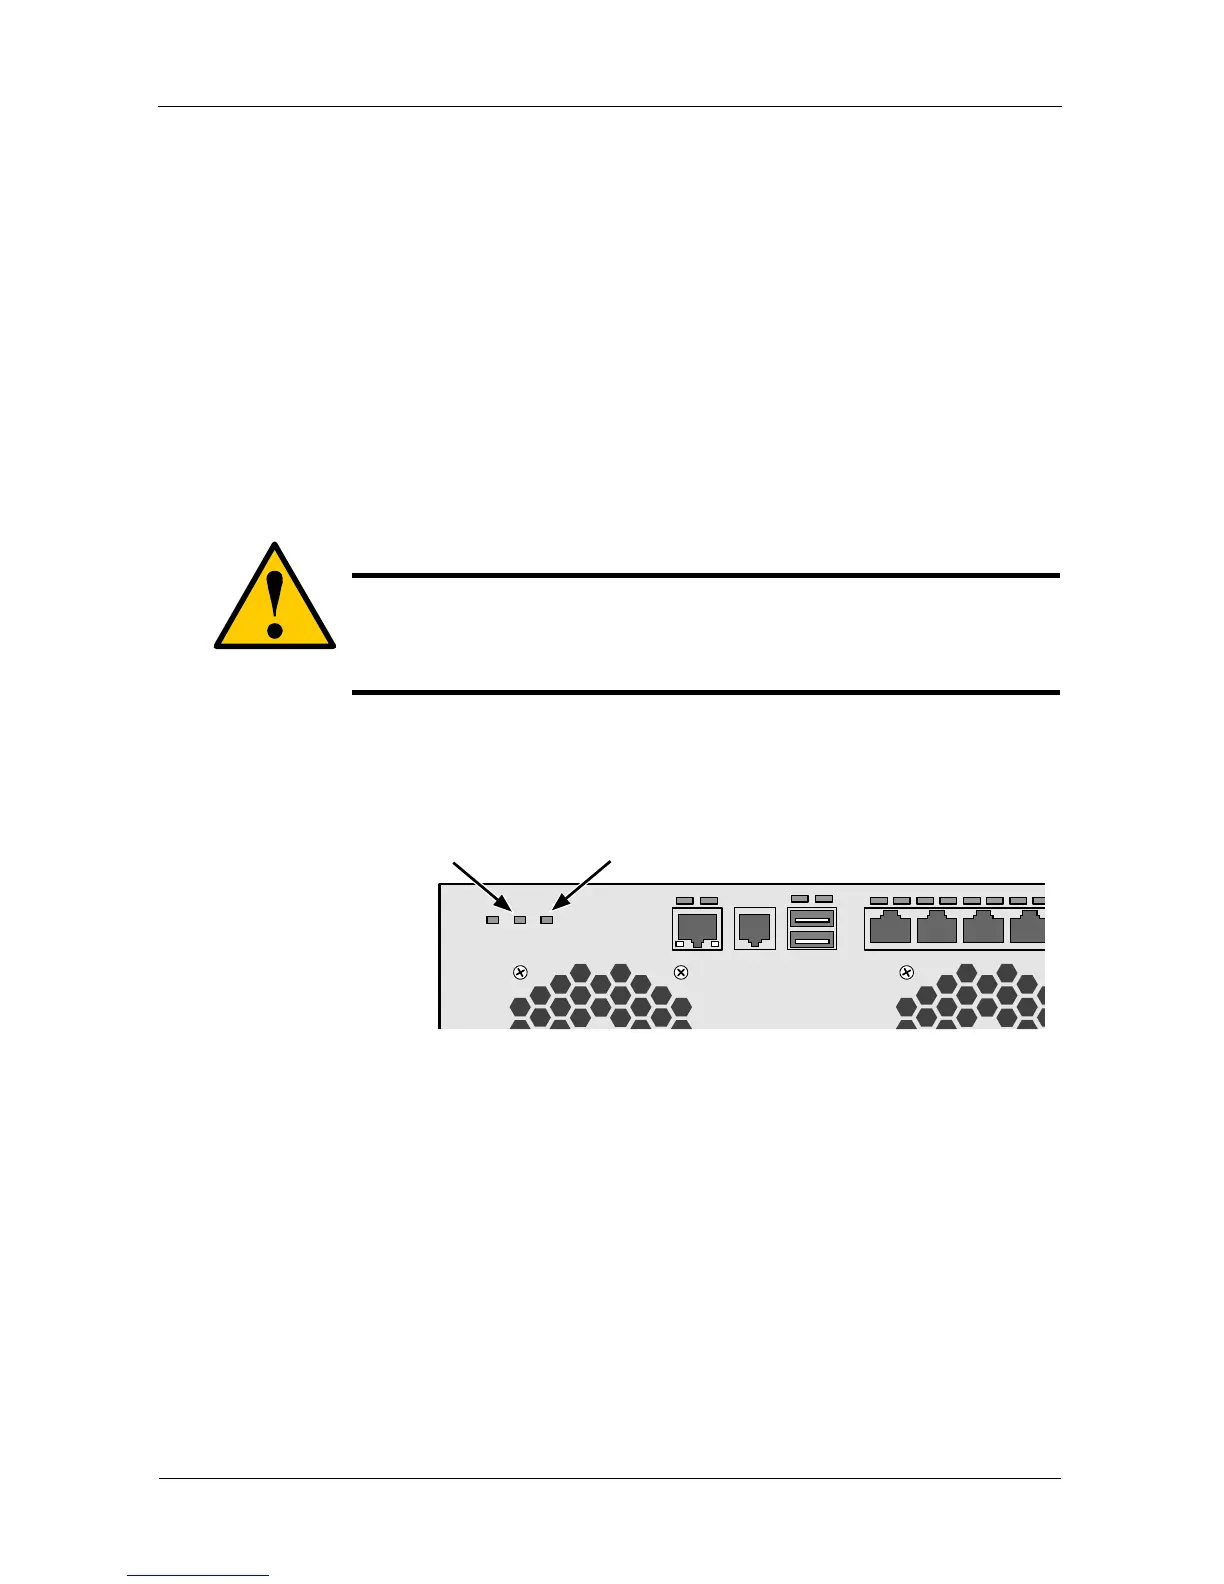
1. Verify that the Fan LED on the cooling unit is amber or red. See Figure 2.
Figure 2. Fan LEDs
2. Shut down the VessRAID and remove the RAID Controller.
See “Replacing a RAID Controller” on page 237.
3. Lay the RAID Controller on a non-static surface and remove the cover
attaching screws, one on each side, then remove the cover.
Cautions
• Only a qualified technician should perform this procedure.
• You must shut down the VessRAID subsystem before you
can perform this procedure.
Fan 2 LED
Fan 1 LED
 Loading...