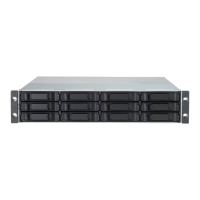
VessRAID 1000i Series Product Manual
222
15. Press the button again to confirm.
The display shows the logical drive creation process. When the creation is
finished, the LCD returns to Logical Disk Create.
Creating a Spare Drive
This function creates a non-revertible, global spare drive. If you want a revertible
or a dedicated spare drive, see “Creating a Spare Drive” on page 134 or
page 169.
To create a spare drive for your new disk array:
1. Press the button and the display says Spare Drive Create.
2. Press the button again to display the available physical drives by
number.
3. Press the button to move through the list. Press the button to
choose a physical drive for your spare drive.
Note that your spare drive must be the same type of drive, HDD or SSD, as
the drives in your disk array.
4. Press the button again to confirm.
The display shows the spare drive creation process. When the creation is
finished, the LCD returns to Spare Drive Create.
Deleting a Disk Array
To delete a disk array:
1. Press the or button until the display says Array Configure.
2. Press the button and the display says Auto Configure.
3. Press the or button until the display says Advanced Configure.
4. Press the or button until the display says Disk Array Delete.
5. Press the button again to display a list of disk arrays.
6. Press the or button choose a disk array for deletion.
7. Press the button and the display says Delete Disk Array X?
8. Press the button again and the display says Are you sure? NO.
Caution
When you delete a disk array, you delete all the logical drives and
the data they contain. Back up all important data before deleting a
disk array.
 Loading...