INSTALLATION AND STARTUP
10-4 Belanger, Inc. ®* PO BOX 5470. * Northville, MI 48167-5470 * Ph (248) 349-7010 * Fax (248) 380-9681 1MANUL220
Chapter 10 Booster Pump Assembly Option
Booster Pump
Installation
3) Verify that the barbed hose fittings will face the pump. See the image above in Step 2.
4) Solder both ends of the previously cut pipe to the Booster Pump Kit manifold.
5) Locate the Booster Pump wall mount bracket and place it in the area that you have chosen.
Once it is level, mark the two holes with a black marker.
Drill both holes with a 3/8” hammer drill bit.
6) Mount the Booster Pump bracket to the wall using two field supplied anchor bolts.
Note: Be sure to tighten both anchors down completely.
7) Locate the pump assembly and mount it to the bracket using the supplied 3/8” fasteners,
washers, and nuts.
Note: Be sure to tighten all four fasteners down completely.
8) Locate the supplied 1” diameter, 15’-0” black water hose and make your two line
connections as shown in the image in Step 2.
Note: Be sure to put the clamps on to the hose before pushing the hose on to the barb hose fittings.
Note: The top line is longer than the bottom line.
Note: Be sure to leave enough slack for both lines so they will not be too tight.
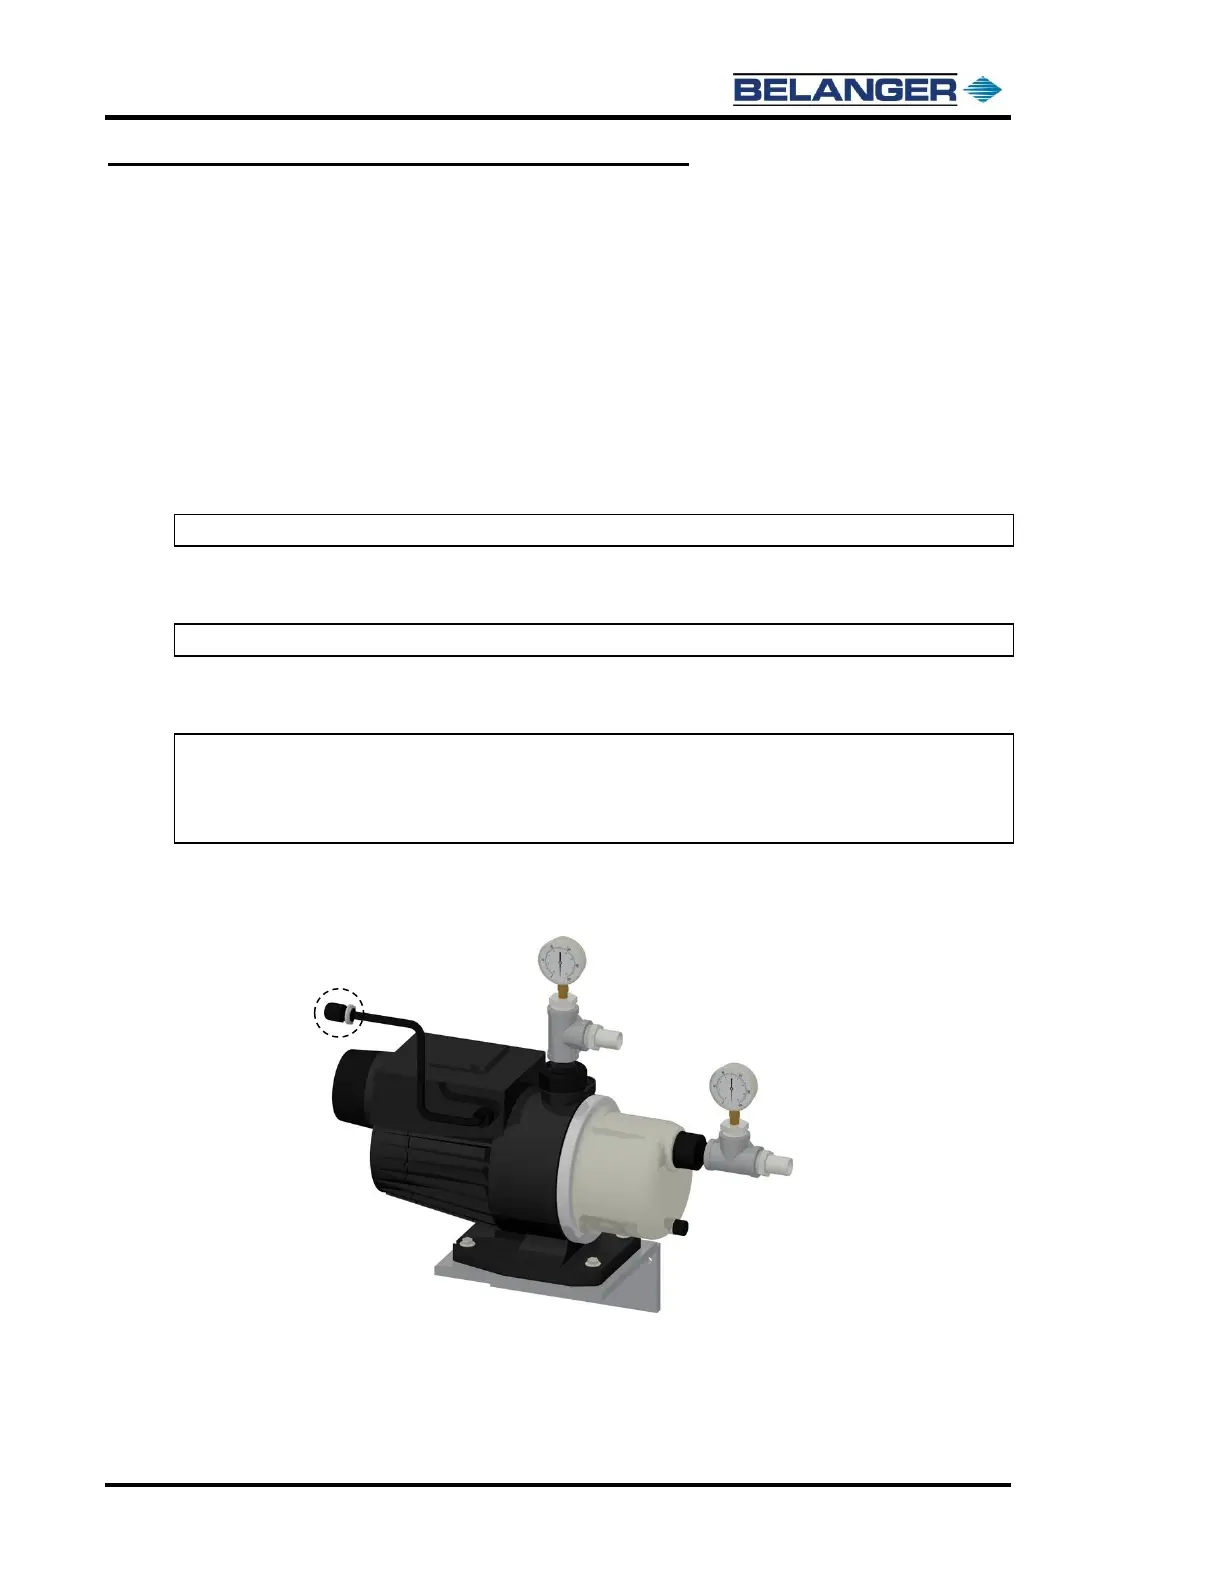
9) Here is a cord grip with accessories located on the wire from the pump as shown below.
Run this wire to the closest electrical junction box and connect to the 120VAC circuit that
will run the pump.