INSTALLATION AND STARTUP
11-6 Belanger, Inc. ®* PO BOX 5470. * Northville, MI 48167-5470 * Ph (248) 349-7010 * Fax (248) 380-9681 1MANUL220
Chapter 11 Bug Spray Applicator Option
Bug Spray Applicator Option
Installation
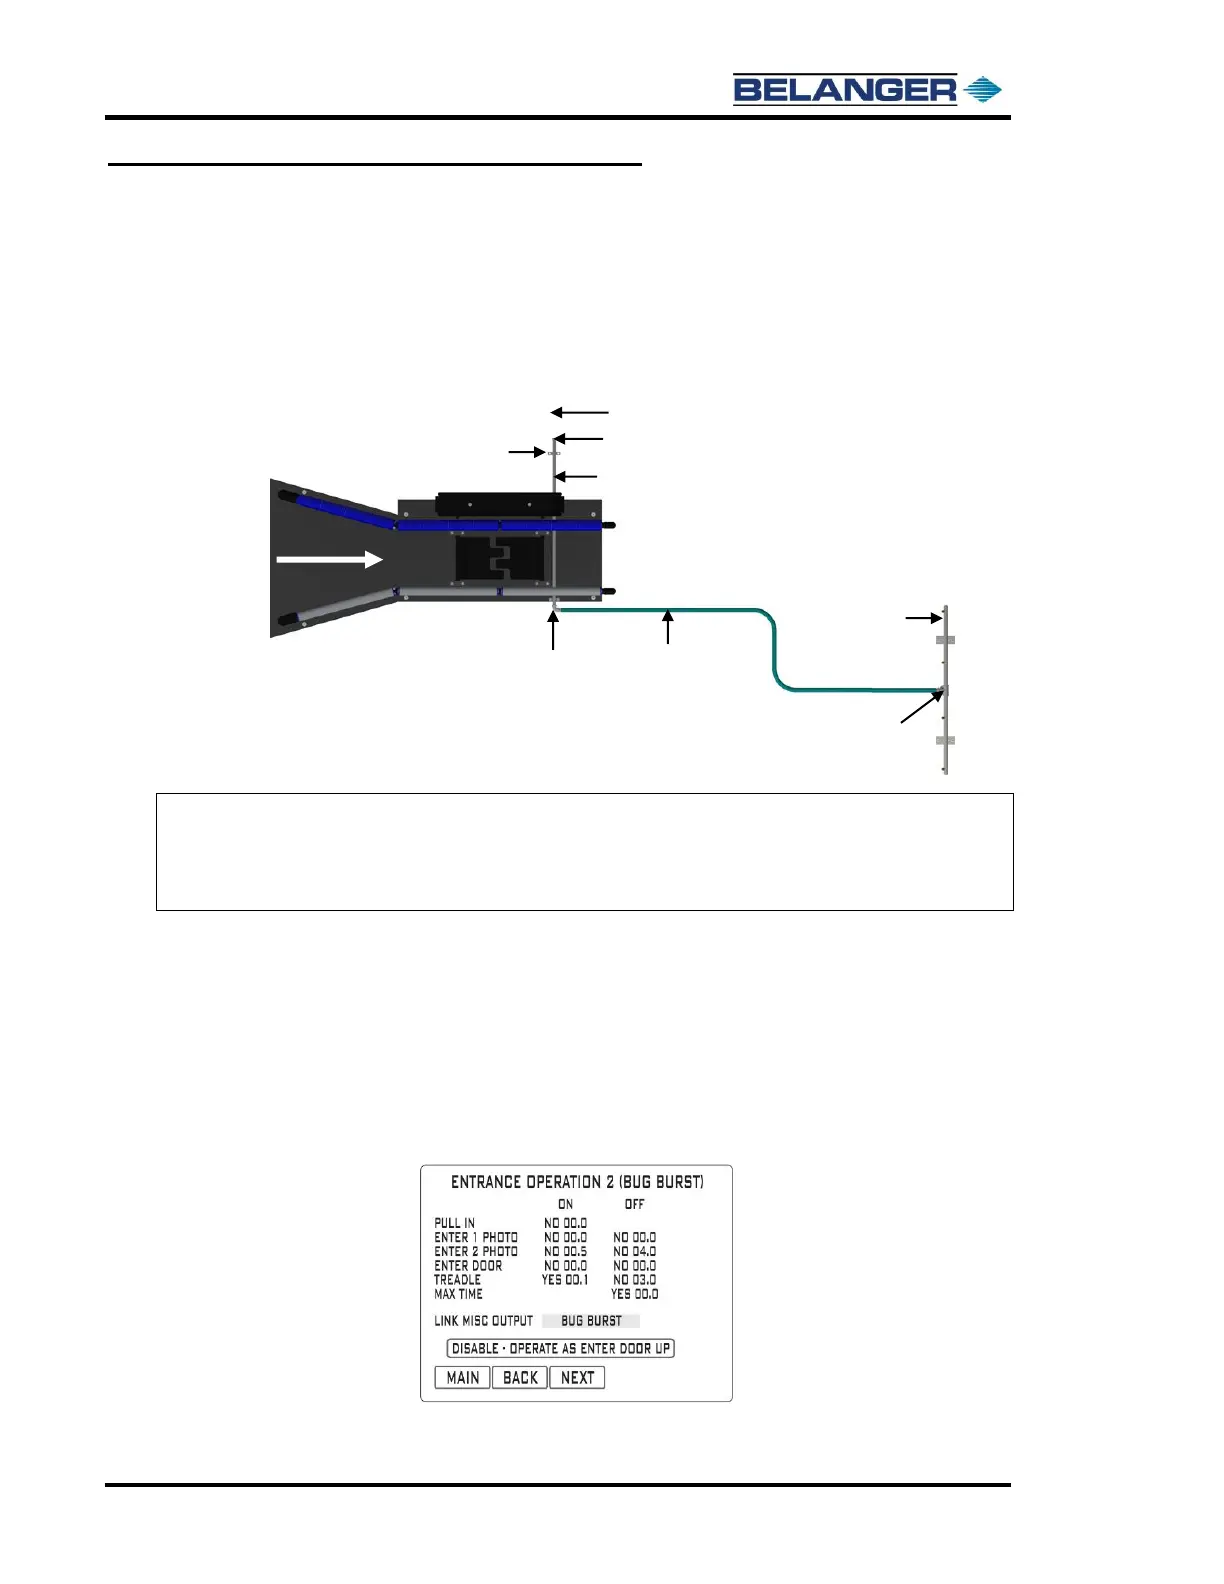
6) Run the supplied 8 ft piece of 3/4" water hose along the floor from the elbow hose barb on the end of the Bug
Spray Applicator Nipple to the straight hose barb on the Bug Spray Applicator Manifold. See the image below.
Run field supplied 3/4" water hose from the Asco™ valve and crimp it onto the straight hose barb on
the end of the Bug Spray Applicator Nipple.
Note: The Bug Spray Applicator hose should never run across the floor of the bay.
Note: If the Asco™ valve and the Pulsatron™ pump are mounted onto the passenger’s side of the
bay, then the hose will need to be plumbed up and over the top of the machine and to the other
side of the bay to prevent premature hose wear from cars running over it repeatedly.
7) Flush the lines for a couple of minutes.
Tighten the nozzles into the Bug Spray Applicator manifold.
Prime the chemical pump.
E-1063 HMI (Human Machine Interface) Programming
1) Rename the OUTPUT that is used and change the “tag” on the Output Board. See the image below.
2) Rename the ENTRANCE OPERATION that is used (typically this is 2 or 3). See the image below.