Chapter 22 Initial Startup
Check Inputs and Motion
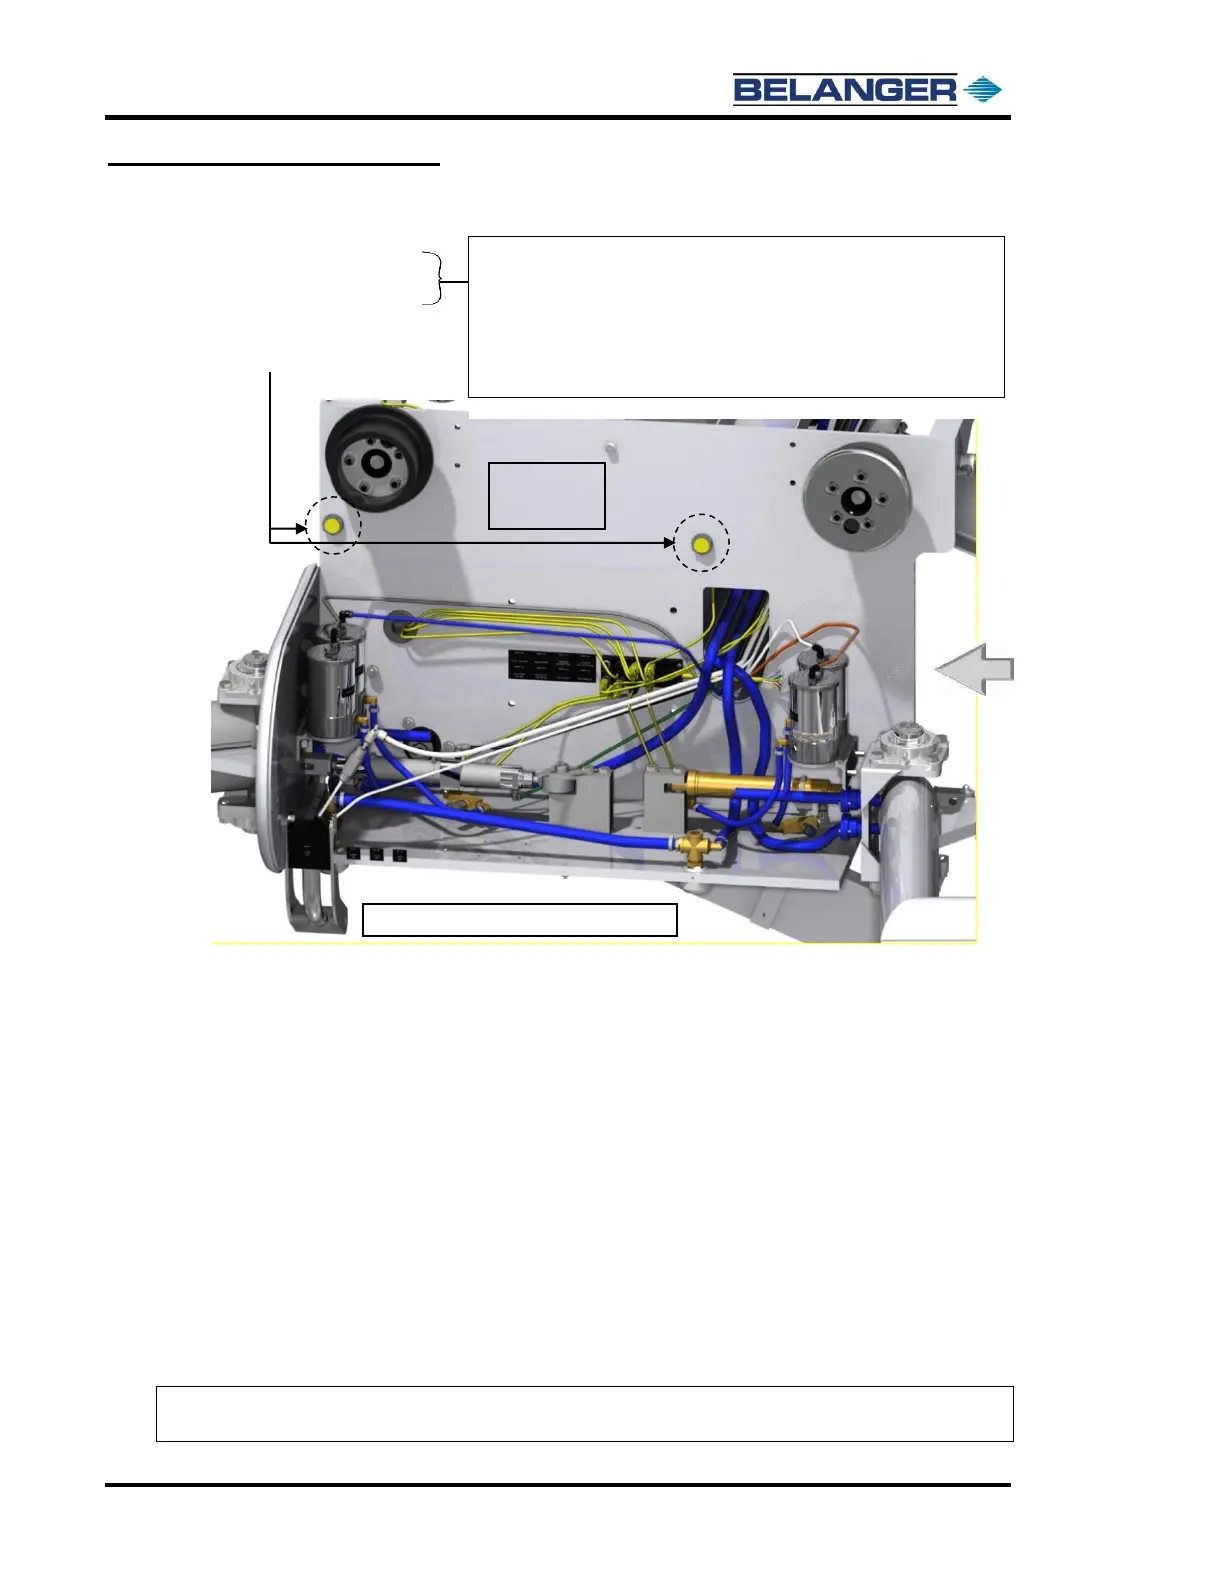
• Carriage Enter Proximity Switch
• Carriage Exit Proximity Switch
• This should be the first time that the carriage has been jogged end-to-end.
• Check and adjust the roller clearance and the rail spacing if necessary, using the following:
Verify that the rail spacing is 95-1/4” Inside Spacing. Perform a measurement in 3 locations, Entrance, Center,
and Exit of the bay.
Move to the NEXT Screen where we will be performing a “Find Limits” and verifying that the roller flanges are
not binding.
Pull out the Emergency Stop Button.
Press the Carriage Home Button. Verify that the carriage moves to the Exit of the bay and stops.
Press the “Carriage Find Limits” Button. Verify that the carriage moves to the Entrance of the bay. As the
Carriage is moving to the Entrance walk with the machine and verify that each roller is moving smoothly without
binding on the side of the rail.
Press the Carriage Home Button. Verify that the carriage starts moving to the Exit of the bay. Quickly move to
the next step.
Press the “Jog Button”. The carriage will move toward the Exit of the bay.
As the Carriage is moving view the “Position” numbers. Verify that as they count down in inches to zero that
the numbers prior to zero are single digit numbers. Example: 10”, 8”, 6”, 4”, 2”, and then 0”.
Note: If you see a countdown that jumps in large increments, for example: 30”, 20”, 0”, this is an
indication that the encoder proximity switches are not counting properly.
Navigate to the JOG Screen on the HMI (E-1063 Human Machine Interface).
Press CARRIAGE FORWARD until the machine gets within 4” of the Exit End
Positive Stops and verify that the Exit Limit oval is filled. Adjust the Prox gap if
necessary, to 1/4” from target.
Press CARRIAGE BACKWARD until the machine gets within 4” of the Entrance
End Positive Stops and verify that the Entrance Limit oval is filled. Adjust the
Prox gap if necessary, to 1/4” from target.