INSTALLATION AND STARTUP
1MANUL220 Belanger, Inc.® * PO BOX 5470. * Northville, MI 48167-5470 * Ph (248) 349-7010 * Fax (248) 380-9681 4-9
Chapter 4 Frame and Carriage Assembly
Carriage Prep
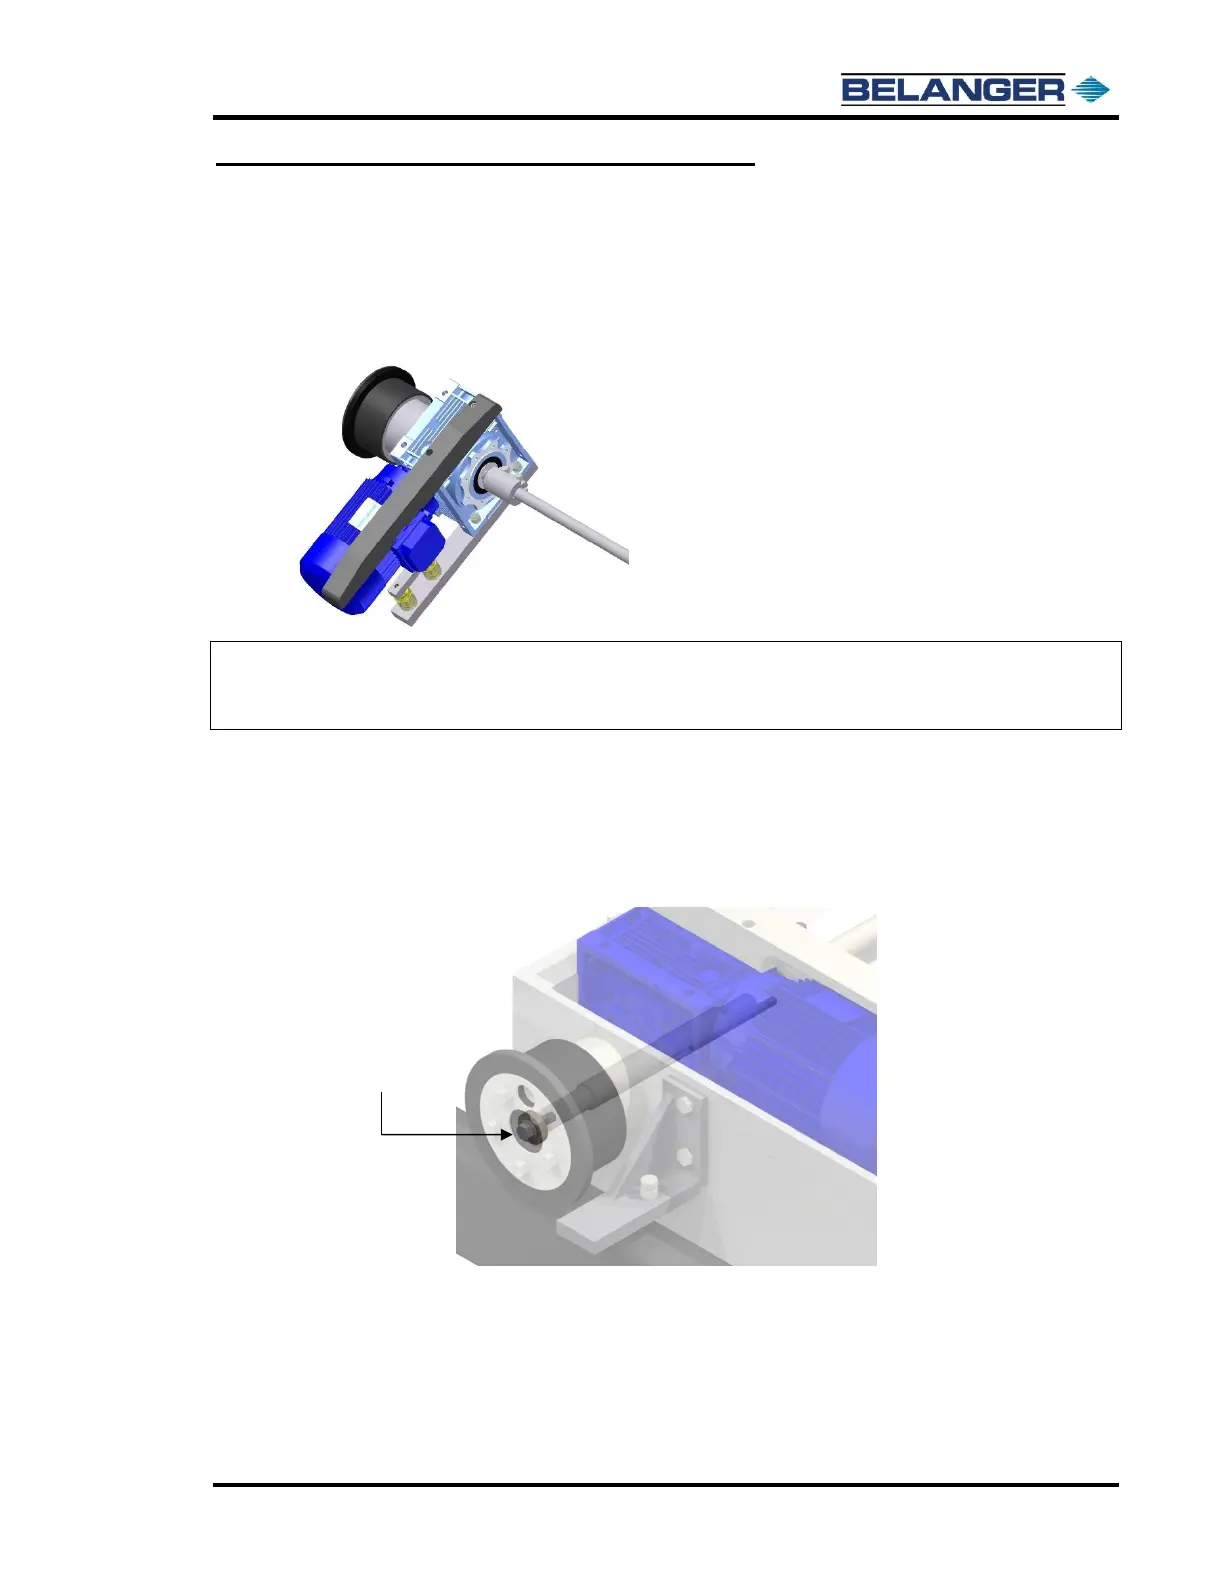
Drive Train Disengagement
4) Reinstall the smaller Drive Shaft Key and Coupling assembly linking the two shafts back
together and tighten the coupling bolts, see the image below. The carriage will now roll
freely up and down the rails.
Note: DO NOT REPLACE THE LARGE KEY UNTIL RAIL PLACEMENT, BOOM
MOUNT, BOOM PLACEMENT AND “ELECTRONIC” MOVEMENT AS
DEFINED IN CHAPTER 22 OF THIS MANUAL ARE VERIFIED.
5) If the carriage has been raised using the Jack Bolt(s), raise the bolt(s) and secure it into its
raised position using the Jam Nut.
Assembly Overview
Do not loosen wheel bearing attachment fastener (1/2” hex flange bolt) when preparing the carriage for
placement.