65
Software
C
C
The measurement series, including information about which measurements have been used to create the chart,
are listed in the Data Series area in the bottom left-hand corner of the Cultivation Time Chart dialog box. A
legend indicating the symbol (form and color) used for each parameter is at the top of the graph. The color used
for each series is indicated in the Chart area in the lower right-hand corner of the dialog box.
The x-axis units can be displayed as either days [d] or hours [h]. Click on Time[d] below the x-axis to switch to
hours. The x-axis calibration will be automatically recalculated.
Place the mouse pointer over a measurement point in the diagram to see detailed information about the
measurement point including date, time, and measurement results. Also, the graphic representation can be
enlarged or scaled down again with the use of the mouse (see “Enlarging the Histograms”).
8.2.2. Fitting to the Lowest Common Value
The FIT LOWEST COMMON VALUE button enables automatic shifting of the zero-point of single measure-
ment series to each other. The following can be selected:
c
Viable Cell Density
c Dead Cell Density
c Total Cell Density
Using this function, the zero-point of each series can be automatically shifted on the x-axis in order to be able
to better compare the measurement series to each other. The lowest common value of all the measurement
series is automatically determined, and the graphs in the diagram are shifted to each other so that the lowest
common value falls on the x-axis at the same point. While doing so, the left-most point of the graph of all the
measurement points is set at value 0.
8.2.3. Measurement Series Offset
In the graph, measurement series are automatically displayed such that all measurement series begin at time
0. The different measurement series can, however, be best compared to each other when the beginning of the
exponential growth phase (log phase) starts at the same time. Therefore, it is possible to shift the curves in the
diagram by changing the offset for each series.
A button in the Offset column of the Data Series area displays the offset set by the user (the button displays 0
[h], if an offset was not set). Click on this button to open the Measurement Offset dialog box. The measurement
series offset can be then manually shifted in this dialog box.
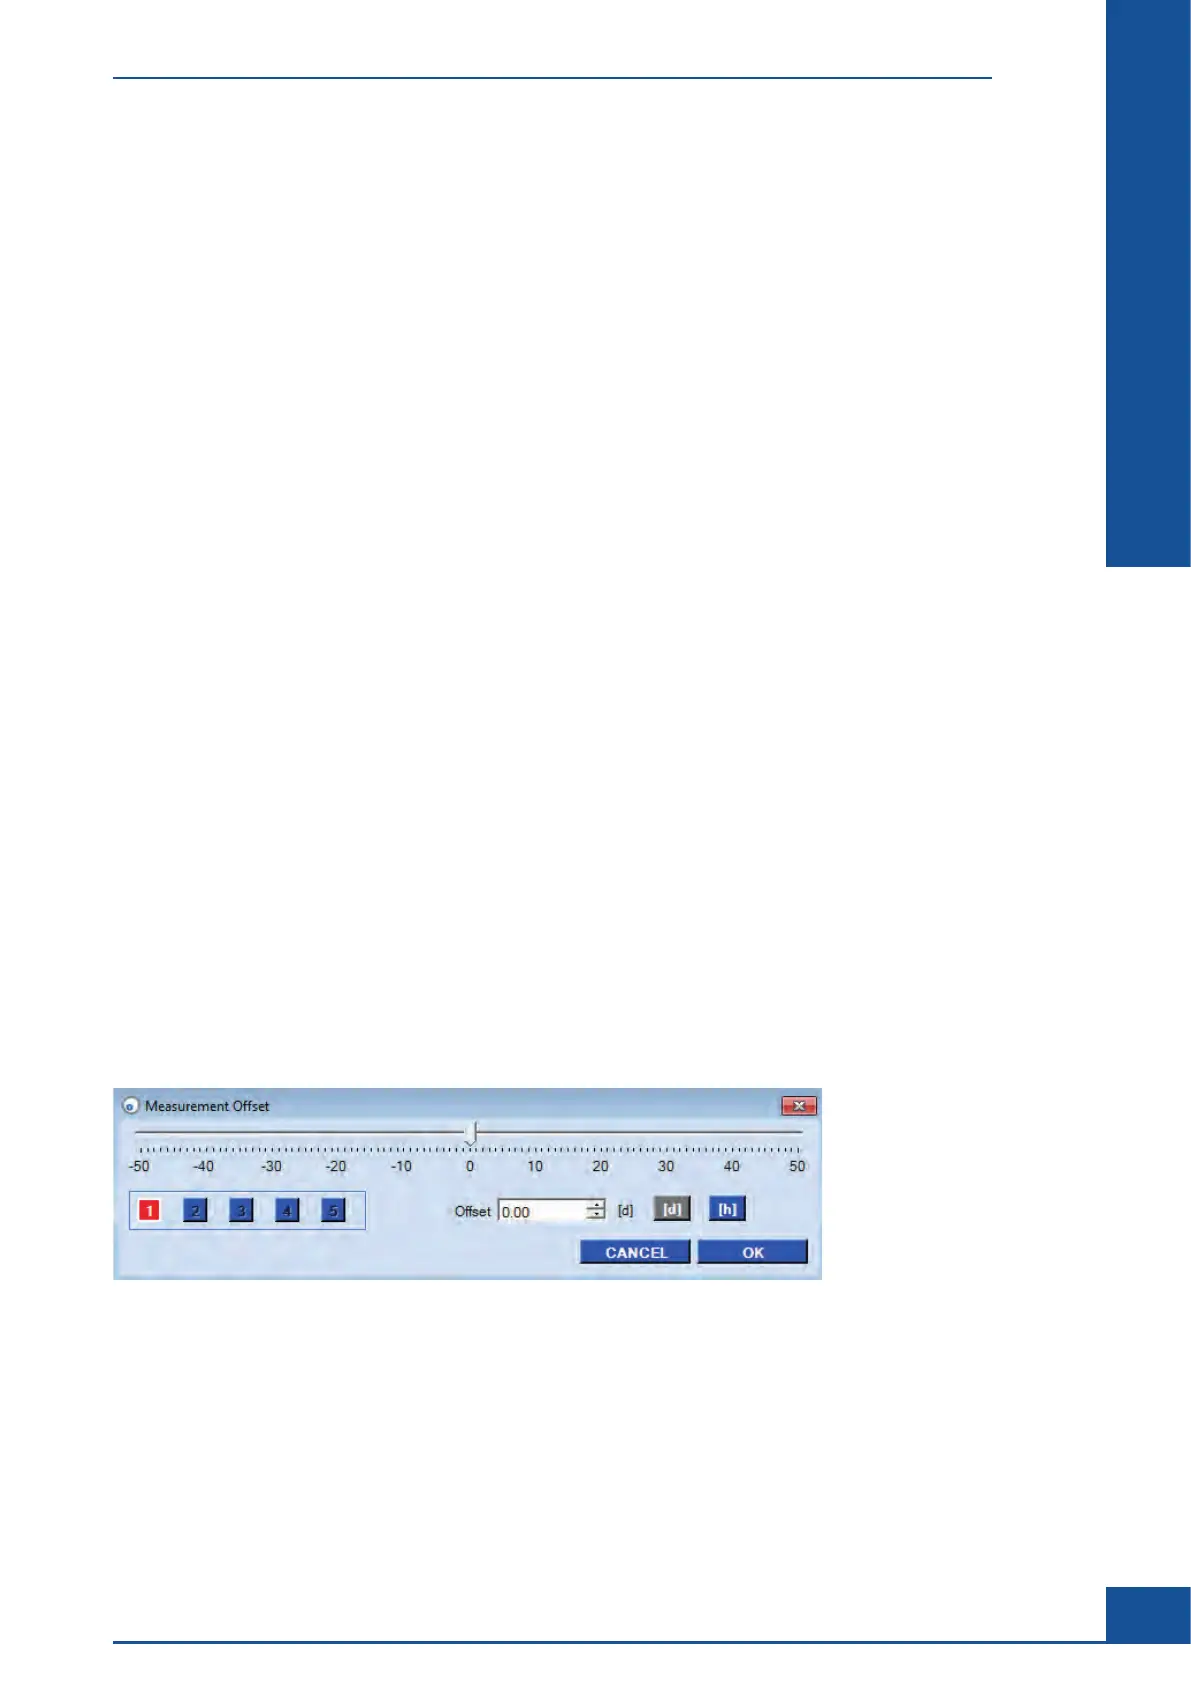
Figure 29: The Measurement Offset dialog box
The offset can be separately entered for each of the five measurement series by clicking the button with the
corresponding number of the measurement series. Large time differences can be entered in days [d], small
ones in hours [h] by clicking on the appropriate buttons [d]/[h] . The offset can be set by selecting the desired
series number (colored boxes) and then moving the slider to the desired offset. Using the slider will cause an
immediate shift of the measurement series in the diagram so that it can be immediately seen where the best
position for a series is in the diagram.
The smallest time unit that can be set is 0.10 hours. The OK button confirms the offset values in the graphics.
Cultivation Time Chart
The Cultivation Time Chart Dialog Box