110
Cedex HiRes Analyzer Operator’s Guide
D
D
4 Installing or Changing the Reagent Kit
4.1 Installing a Reagent Kit
1
Perform an LM Shutdown if the Liquid Management system has been primed
(see “The Hardware Management Dialog Box”).
2
Open the Reagent Kit chamber in the Cedex HiRes Analyzer by pushing the front upwards until it clicks
into place.
3
Remove the old Reagent Kit with the tray, and dispose of the old reagent bottles.
4
Open the new Cedex HiRes Reagent Kit, and remove the covers from the individual containers.
5
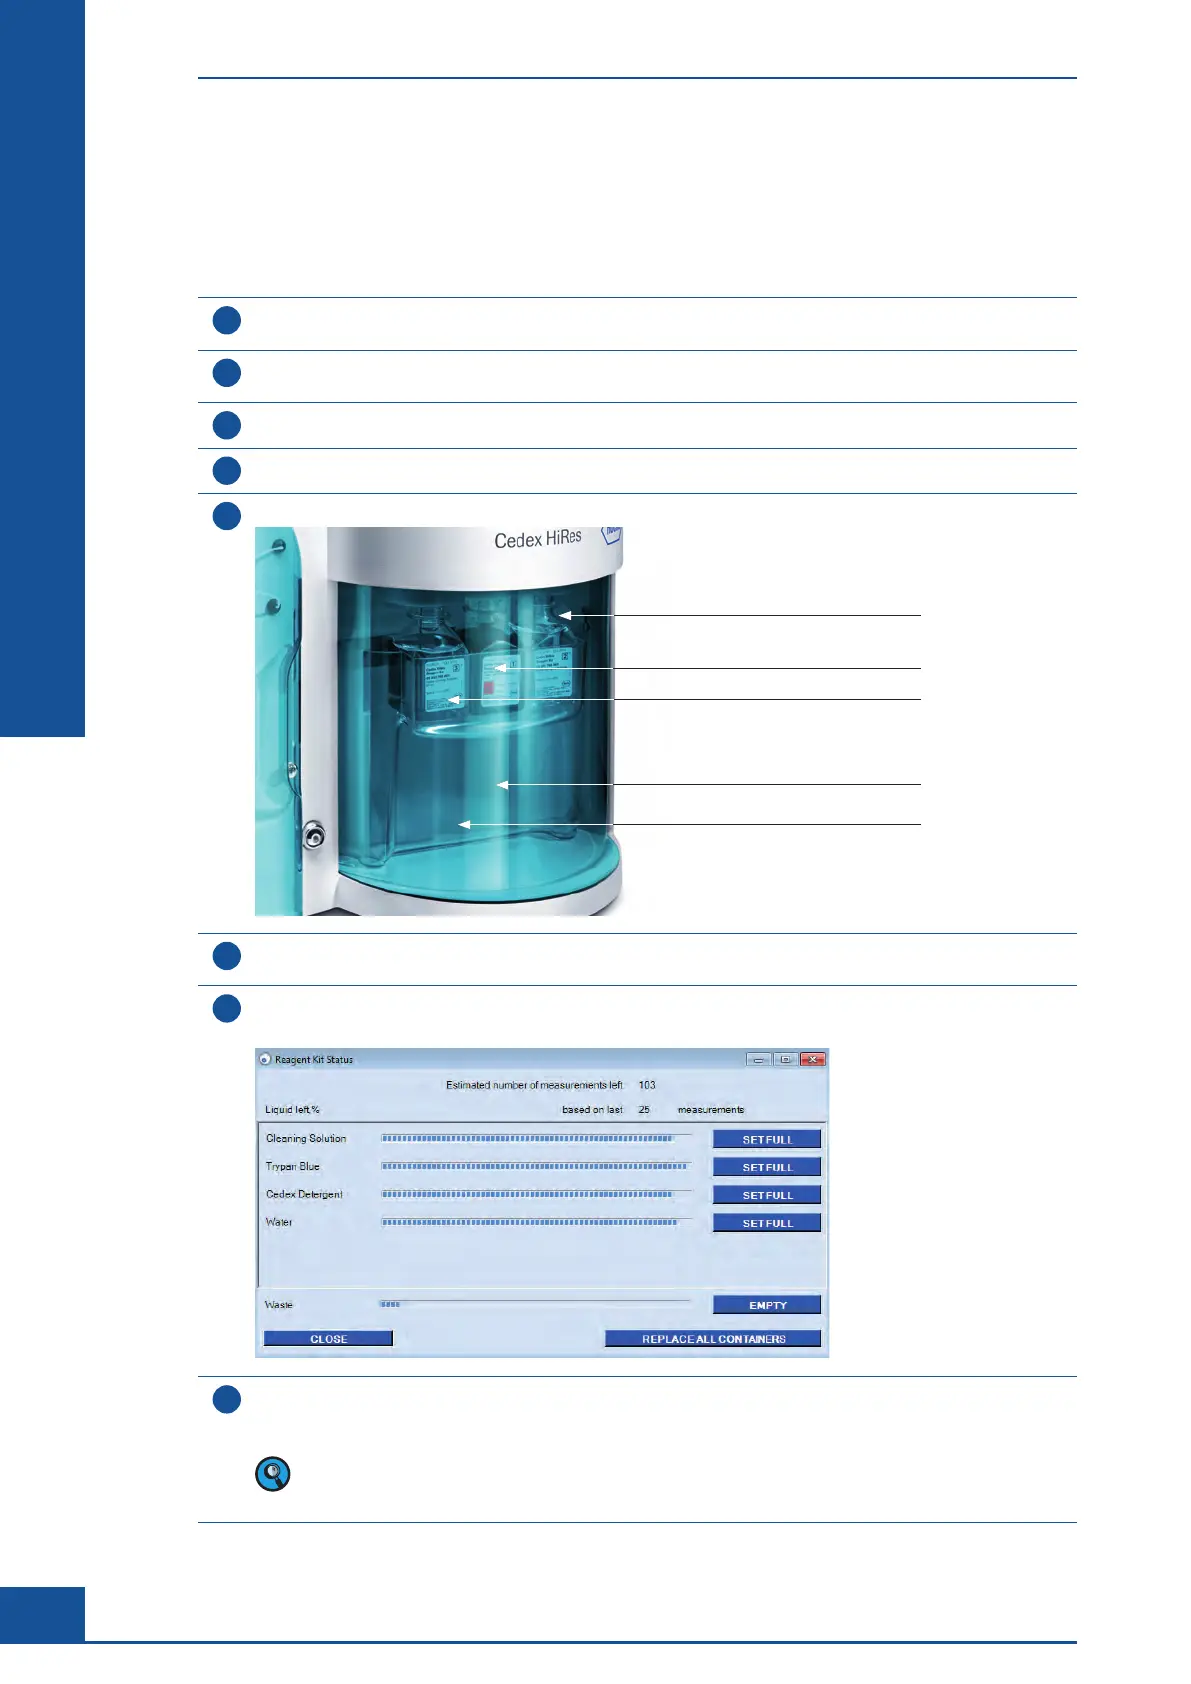
Place the Reagent Kit containers into the appropriate positions in the Reagent Tray:
Detergent Container
Trypan Blue Container
Cleaning Solution Container
Waste Container
Distilled or Deionized Water Container
6
Close the front cover by pulling it all the way down. When the front cover is closed, the capillaries are
automatically correctly positioned in the individual containers.
7
Select the Reagent Kit Status option in the Functions menu of the Cedex Control Center; the Reagent Kit
Status dialog box opens:
8
Click the REPLACE ALL CONTAINERS button in right-hand corner of the Reagent Kit Status dialog box to
confirm the changing of the Reagent Kit. The Reagent Control display at the bottom right-hand corner of the
Cedex Control Center turns from red to green and indicates the number of runs left.
The estimated number of runs depends on the last 25 measurements or fluidic actions performed. If 25
measurements or fluidic actions have not yet been performed, the calculation may not yet reflect the
actual number of runs possible.
ccc
Installing or Changing the Reagent Kit
Installing a Reagent Kit