70
Cedex HiRes Analyzer Operator’s Guide
C
C
4
Enter the path under which the exported measurements should be stored in the Location area. Alternatively,
the button on the right of the entry field opens Windows Explorer and the path, for the exported measurement
package can be directly selected. Select the preferred path for the measurements and click on OK.
5
The Export dialog box reappears.
6
Click on the Export button to start the exporting process. A message appears as soon as export has been
successfully completed.
7
Confirm the message by clicking on OK.
8
Click on to close the Export dialog box.
9
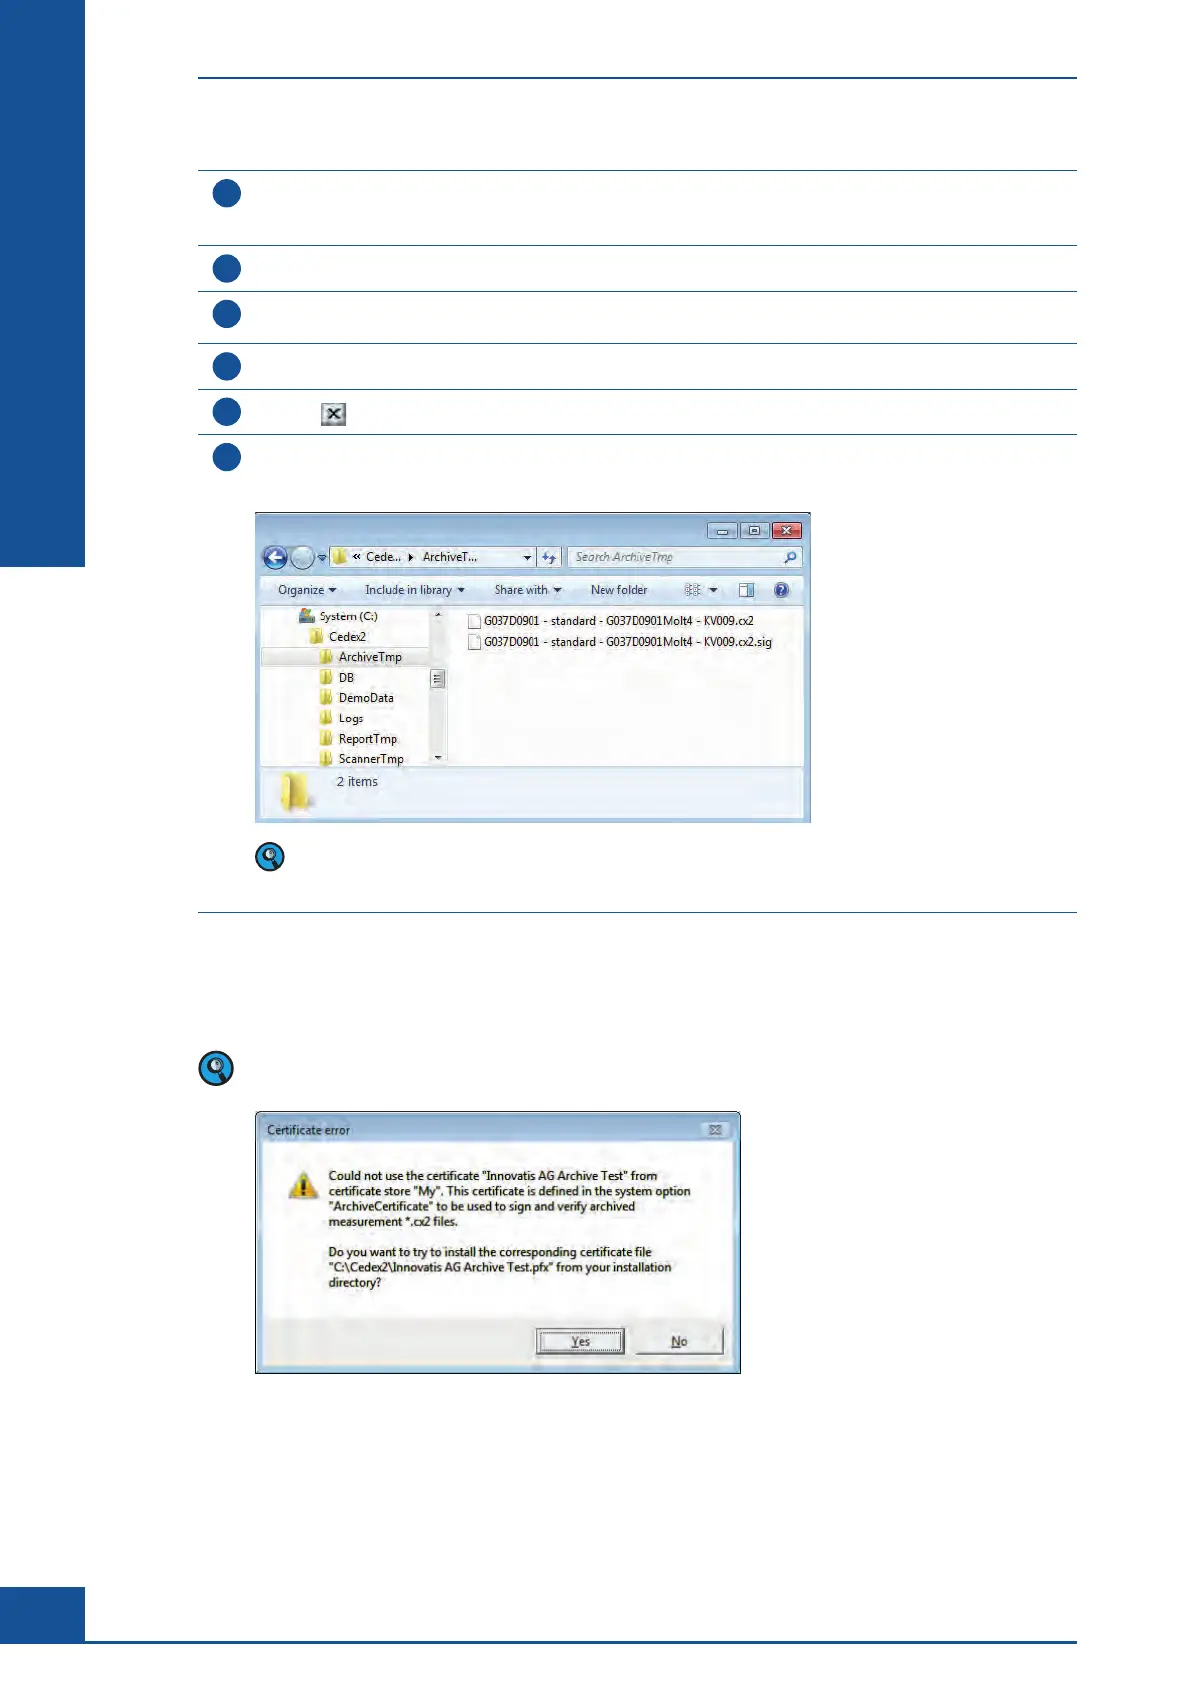
Two files are generated for each exported measurement package and stored in the selected location:
c
cx2 file,
c .sig file
Both files are required for importing the measurement package into a different Cedex HiRes Analyzer DB.
Ensure that the two files are always stored in the same location to enable importing of measurement
packages in the future.
■
A default entry for the path under which the export file should be stored can be entered in the System Options.
Choose Setup>System Options>Data Exchange tab>ExportPath. In the Value column, enter the desired
default path (see list of User Preferences and System Options in the Appendix).
The following message may appear after selecting the measurements to be exported and clicking on the
EXPORT button:
If this message appears, click on YES to confirm the message and install the certificate. The export will
continue after confirming the installation of the certificate.
General Functions of the System
Data Exchange