D • Front Panel Control
Doc. 065051-03 1/08 283
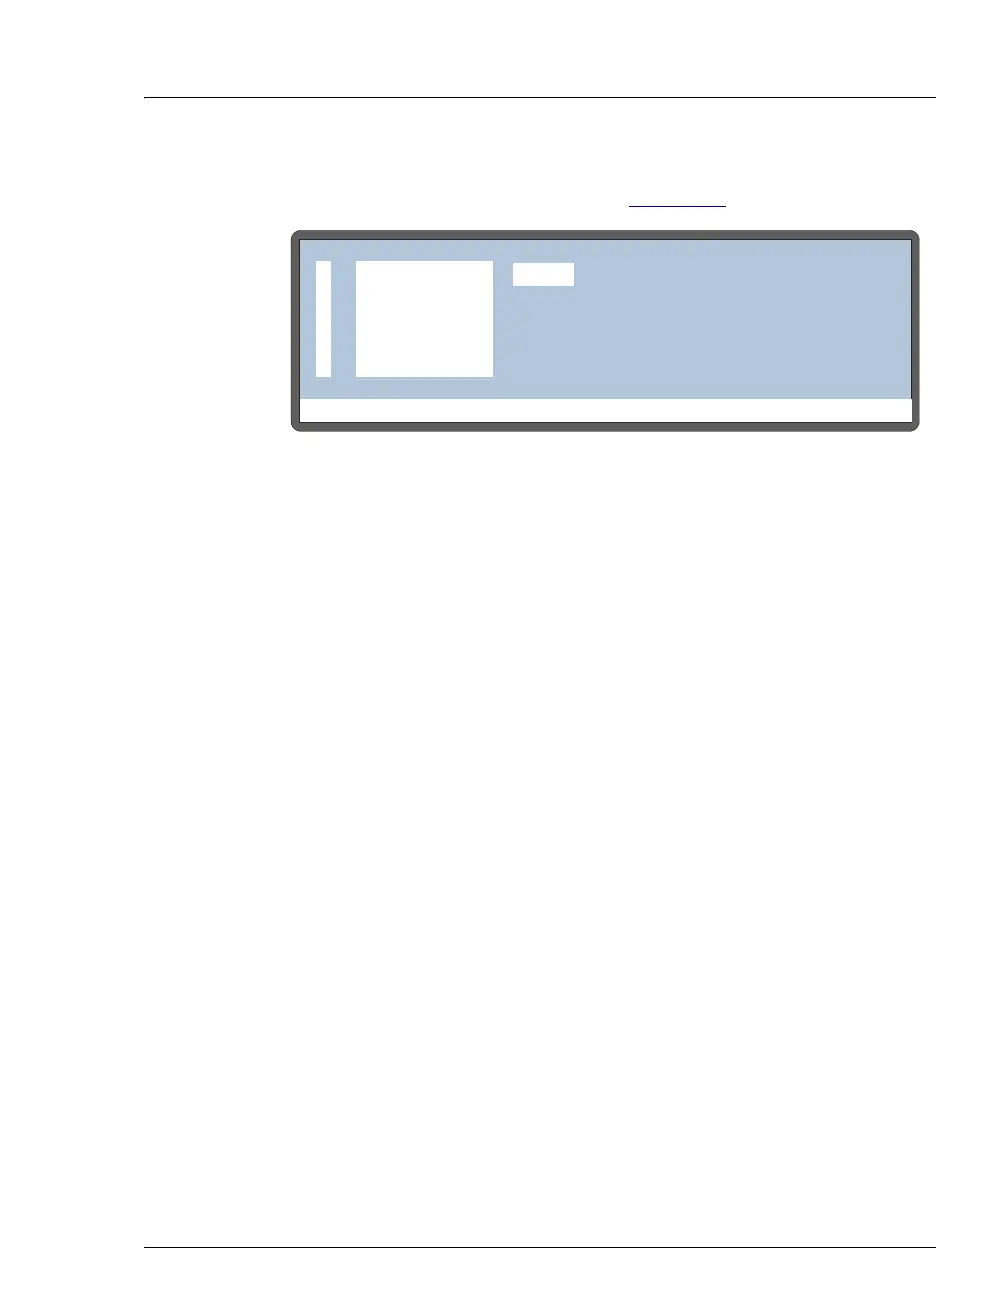
2. Press Insert to add a new step above the wait step. A DELAY step of
0 minutes is added by default (see Figure D-7
).
3. To select a prep operation, move the cursor one field to the right and
press
Select Δ or Select ∇ to scroll through the list of operations. As
you select each type of operation, the parameters for that operation
are displayed to the right.
4. Press
Enter or a cursor arrow to select an operation.
5. After selecting an operation, enter its parameters. Refer to the
following sections for details about each sample prep operation.
NOTE To delete a sample prep step, position the cursor
in the step's leftmost column and press Delete
twice.
Using the Wait Operation
The wait operation puts a method on hold until the AS receives a run
command from the front panel
Hold/Run button or a TTL input signal.
• The AS inserts a single wait operation at the end of every method’s
sample prep phase.
• You cannot delete the wait operation from the sample prep phase, but
you can change its position or disable it.
The wait operation’s position in the sample prep phase determines
whether samples are run overlapped or sequentially. When the wait is the
last sample prep step (the default), samples are overlapped (see
Figure D-7. Example Sample Prep Screen
Help Prompt
METHOD:SAMPLE PREP
1
0.0 min
2
DELAY
WAIT
25