2. The front panel offers a selection of prints. Use the arrow keys to make the selection and press the OK
key to start printing the required Diagnostic Print.
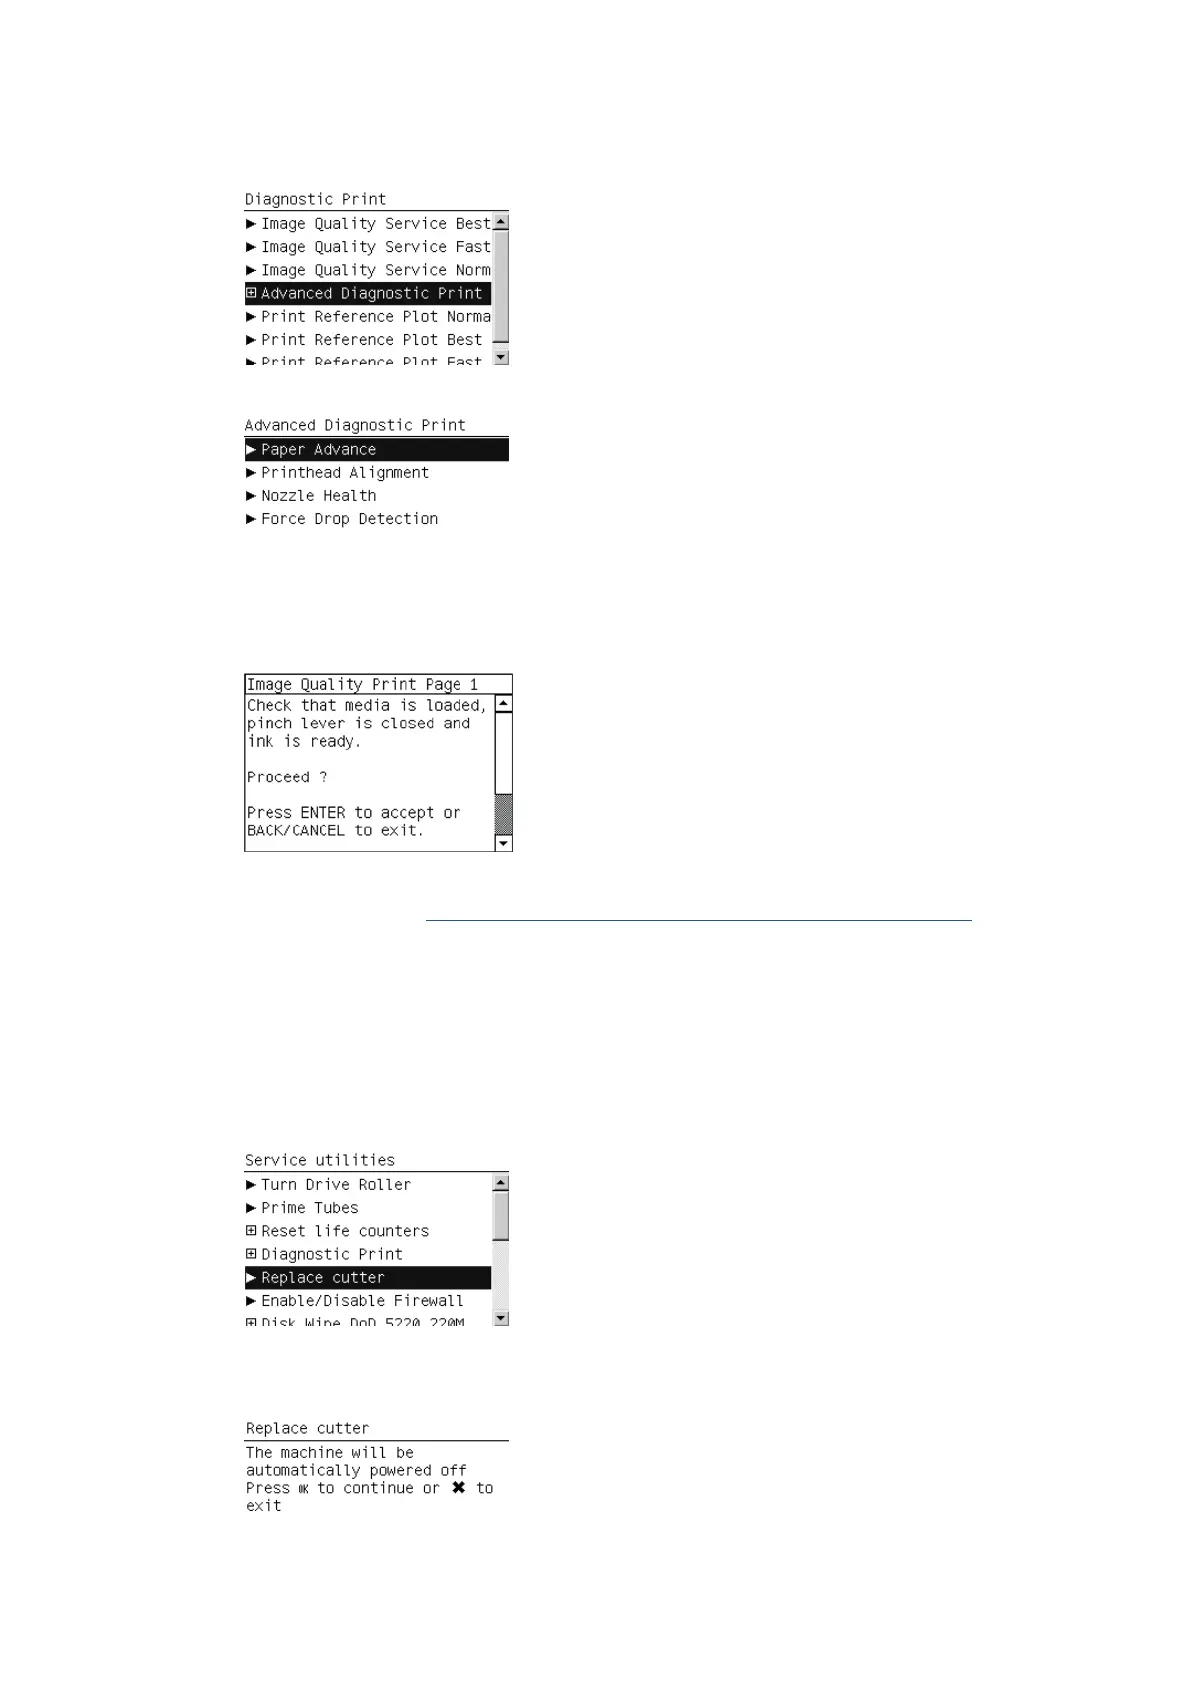
If you select Advanced Diagnostic Print, a submenu appears.
If the OMAS sensor is enabled the printer will display a message: Do you want to disable the OMAS
sensor? Select Yes or No.
3. Make sure that paper is loaded and that the Ink System is correctly installed. Press the OK key to print
the Diagnostic Print or press Cancel to exit without printing the Diagnostic Print.
4. The selected Diagnostic Print is now printed. For further information on how to use troubleshoot print-
quality problems, see
How to use the Image Quality Service Diagnostic Print on page 142.
Replace Cutter
The purpose of this Service Utility is to move the Carriage to a position where the Cutter can be replaced
easily.
Perform the Replace Cutter utility as follows:
1. In the Service Utilities submenu, scroll to Replace cutter and press OK.
2. When the following message appears on the front panel, press OK to continue with the Cutter
replacement, or Cancel to exit.
ENWW Service utilities 105
 Loading...