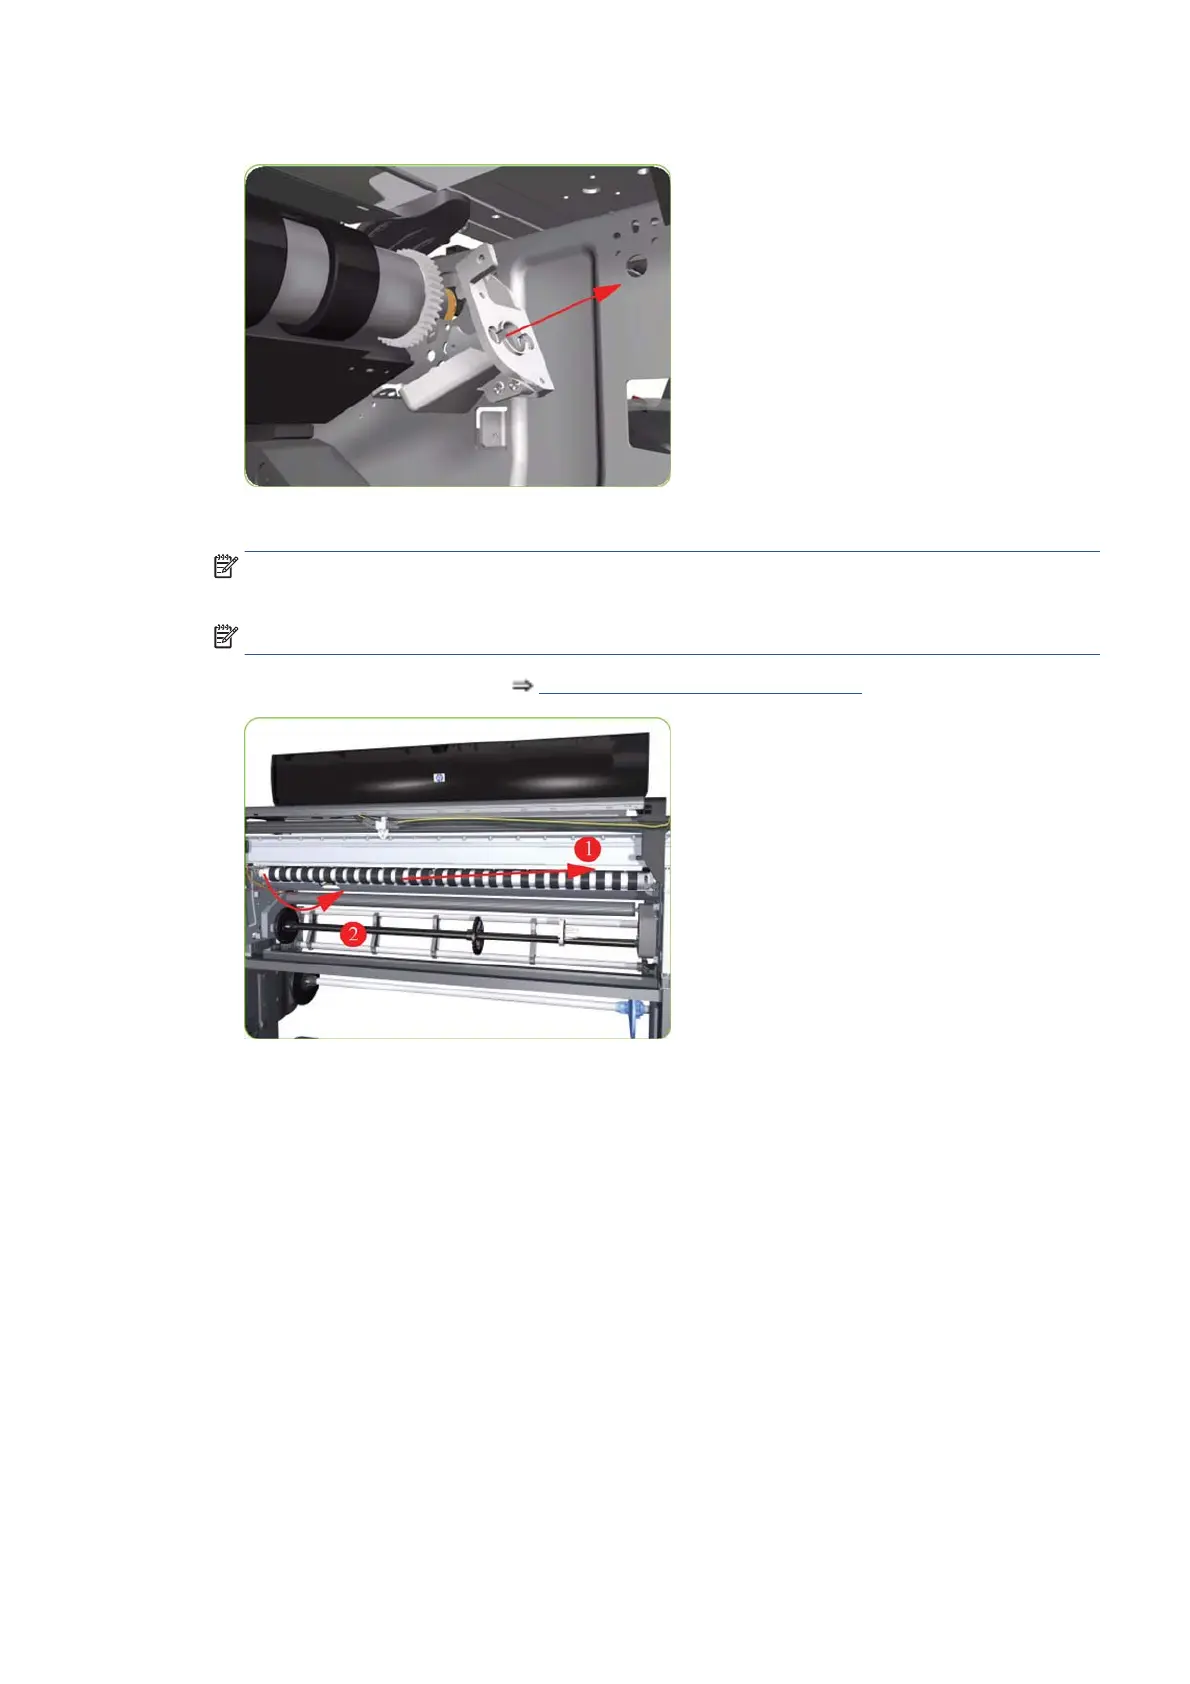
17. Remove the Media-Axis Motor Bracket from the printer.
18. Remove the Drive Roller by sliding it to the right, then downwards and then out of the printer.
NOTE: When reinstalling the parts, make sure you apply the grease (included with the support part) to
the gears.
NOTE: After installing the new Drive Roller, make sure you perform the following Service Calibration.
●
Paper-advance Calibration
Paper-advance calibration on page 115.
Installation of the Drive Roller
When installing the Drive Roller, several different datums have to be met in order to ensure that the Drive
Roller has no axial play. Use the following illustrations to ensure that ALL the datums are met:
ENWW Disassembly order 397
 Loading...