1.
At the front panel, select the
icon, then Paper advance calibration > Calibrate paper advance.
The printer automatically calibrates the paper advance and prints a paper advance calibration image.
2. Wait until the front panel displays the status screen and re-print your print.
NOTE: The calibration procedure takes approximately three minutes. Do not worry about the paper
advance calibration image. The front-panel display shows any errors in the process.
●
If you are satisfied with the image quality of the print afer performing the calibration you can stop
here.
●
If you can detect an improvment in the image quality of the print but want to fine tune the settings
further, continue to step 3.
●
If you are dissatisfied with the calibration, you can return to the default calibration, refer to the
next procedure ‘Return to default calibration’ seen below.
3.
If you would like to fine-tune the calibration, select the
icon, then Paper advance calibration >
Adjust paper advance.
4. Select the percentage of change from -100% to 100%. To correct light banding, decrease the
percentage. To correct dark banding, increase the percentage.
5. Press the OK key on the front panel, to save the value.
6. Wait until the front panel displays the status screen and re-print your print.
Return to default calibration
Returning to the default calibration sets all the corrections made by the paper advance calibration to zero. To
return to the default paper advance calibration value, you must reset the calibration.
1.
At the front panel, select the
icon, then Paper advance calibration > Reset paper advance.
2. Wait until the front panel displays the operation has completed successfully before pressing the Back
key to return to the main menu.
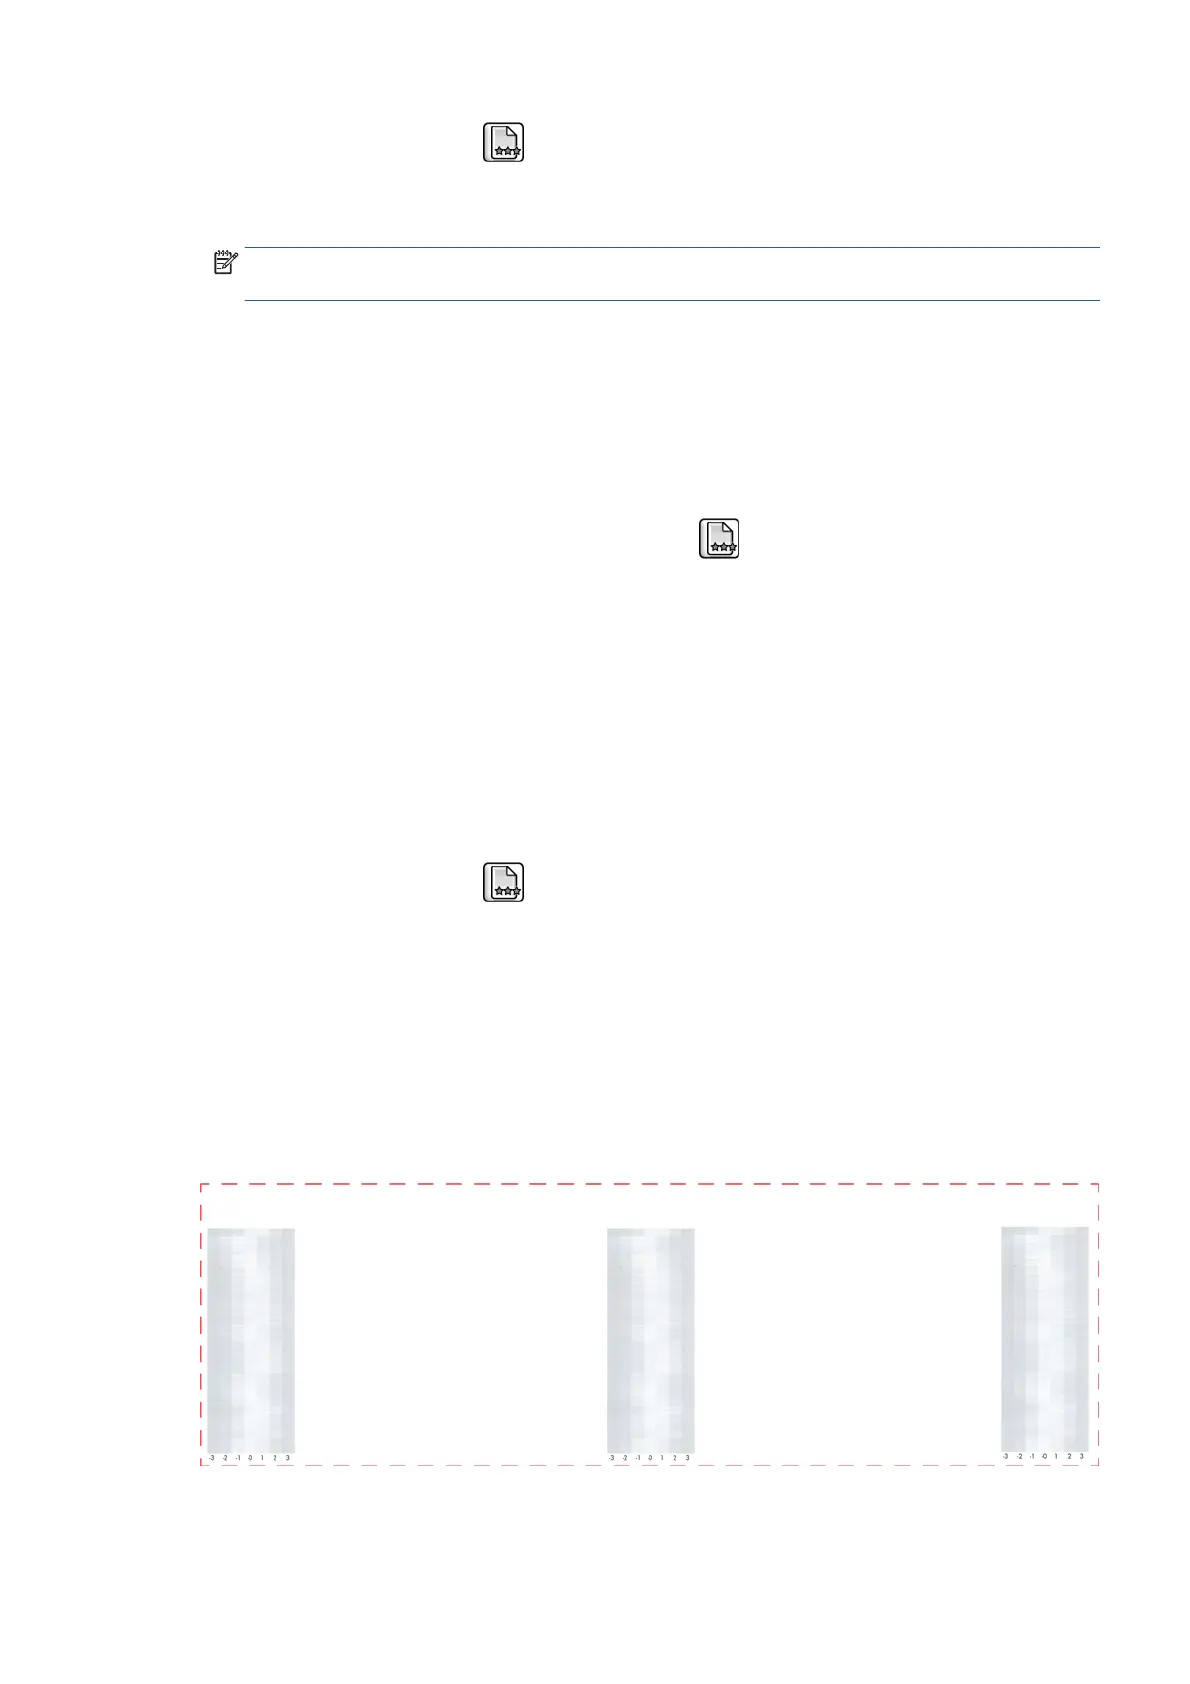
Visual paper advance plot
The Visual Paper Advance Diagnostic prints a test plot to check that the paper advance is operating correctly.
The plot is accessible from Service Utilities submenu> Diagnostic Print> Others> Visual Paper Advance
Diagnostic menu option. It consists of three plots printed at the left, center, and right of the paper. These
three plots are the same and contain seven numbered columns. The following illustrations shows an example
of the Visual Paper Advance Diagnostic plot.
ENWW How to use the Image Quality Service Diagnostic Print 155
 Loading...