5. Push the Attachment Plate into its slot in the Vacuum beam until it is level with the edge of OMAS
installation position.
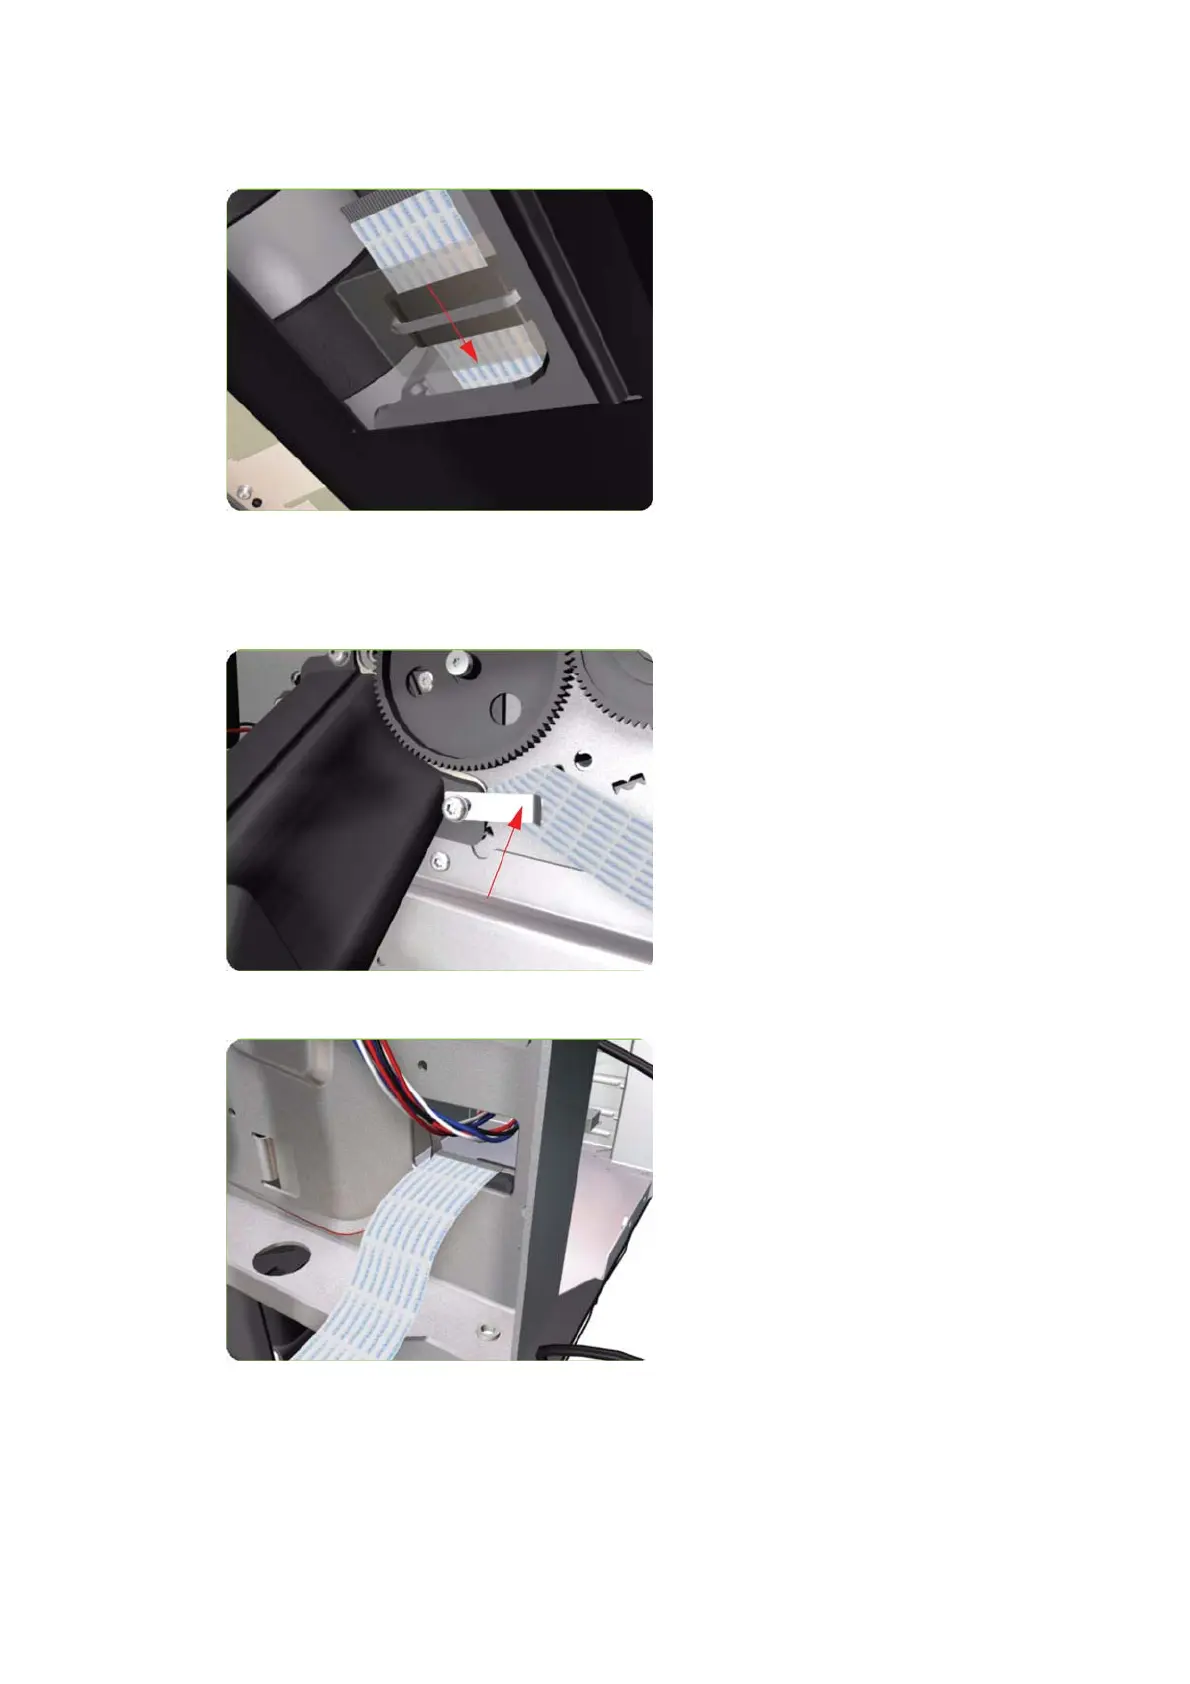
6. Carefully pull the OMAS Cable back into the Vacuum Beam (from the Service Station end) until the
straight fold immediately before the first diagonal fold (from the OMAS sensor end) is aligned with the
slot, fold the OMAS Cable across the diagonal fold, and install the cable clamp to lock the OMAS Cable in
the correct position.
7. Route the OMAS Cable to the Ferrite Core in the Right Interconnect panel.
356 Chapter 9 Printer part removal and installation ENWW
 Loading...