Note: The rail must be fastened with the bottom of the rail parallel to floor and at the same level.
4. With the Torx wrench included in your shipment, remove the screws (▌1▐) as shown in Figure 28 on
page 50. Screw locations on the 4U library are similar.
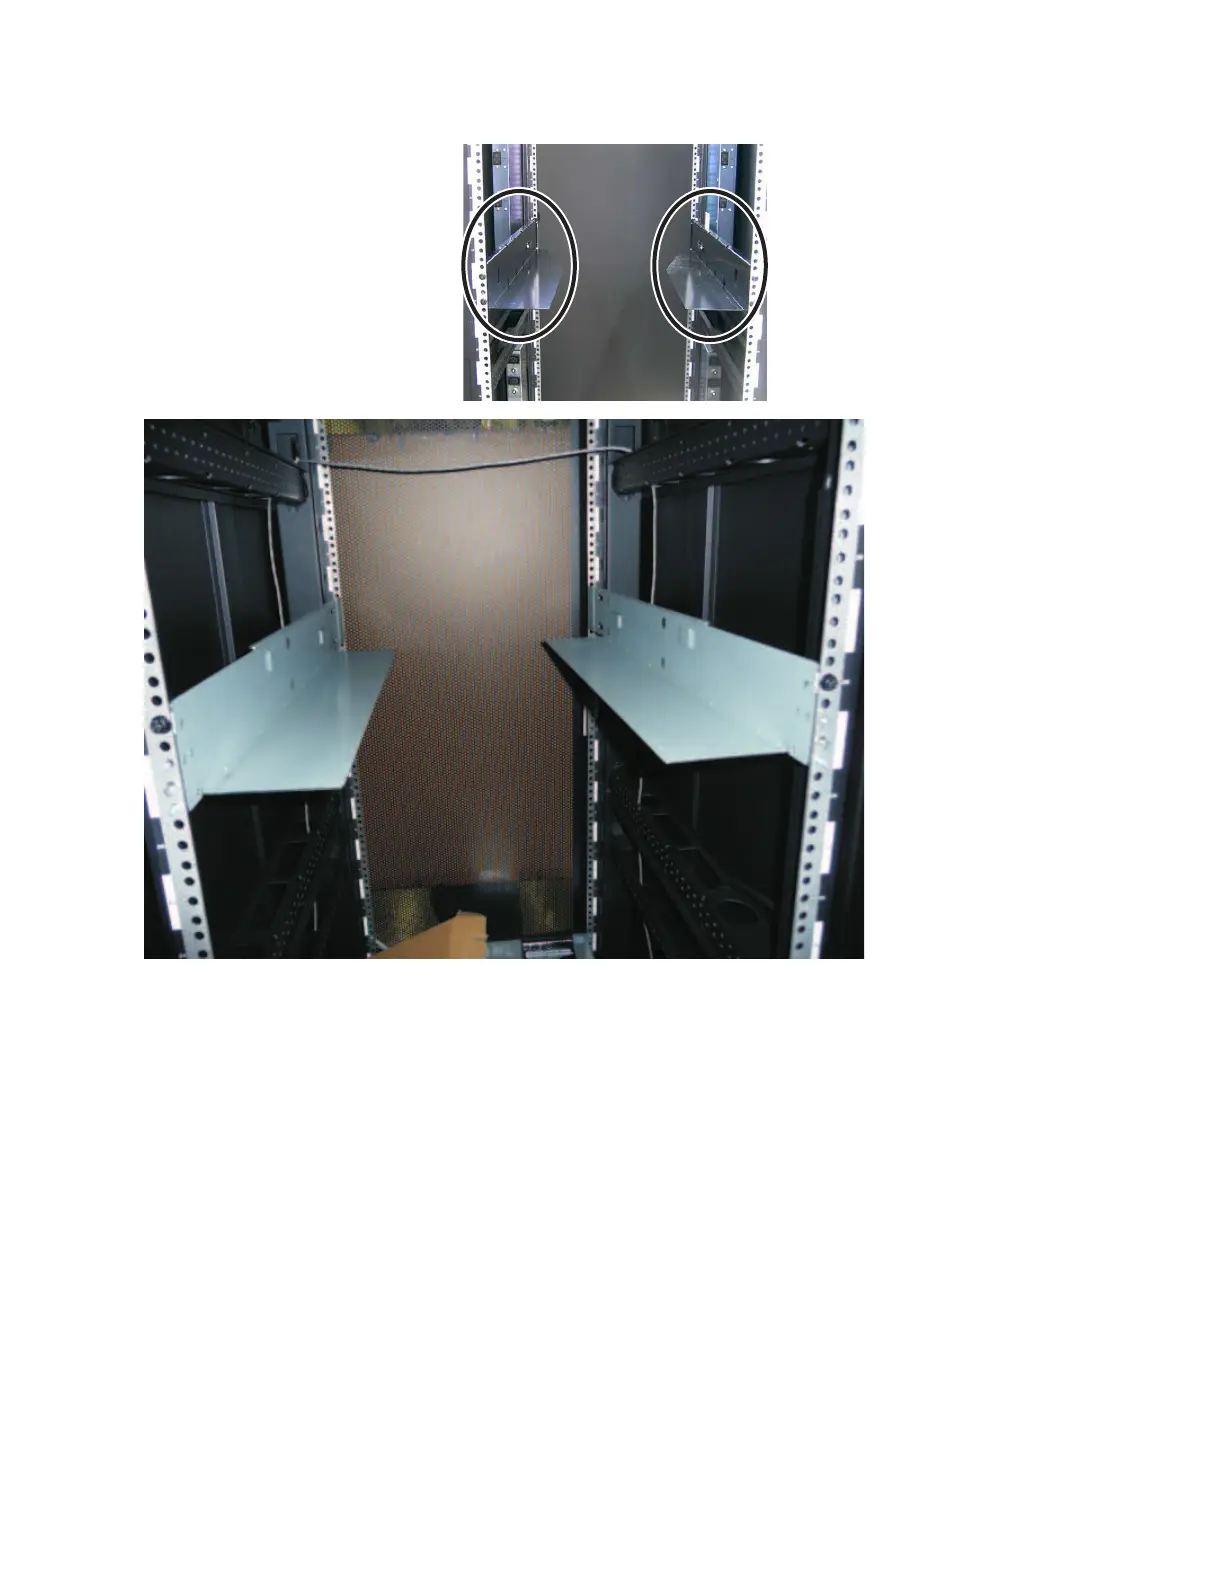
Figure 27. Kit A (top picture with circles) showing rails installed. Rack Kit B is below showing the front view of this kit
installed.
Installation and configuration 49