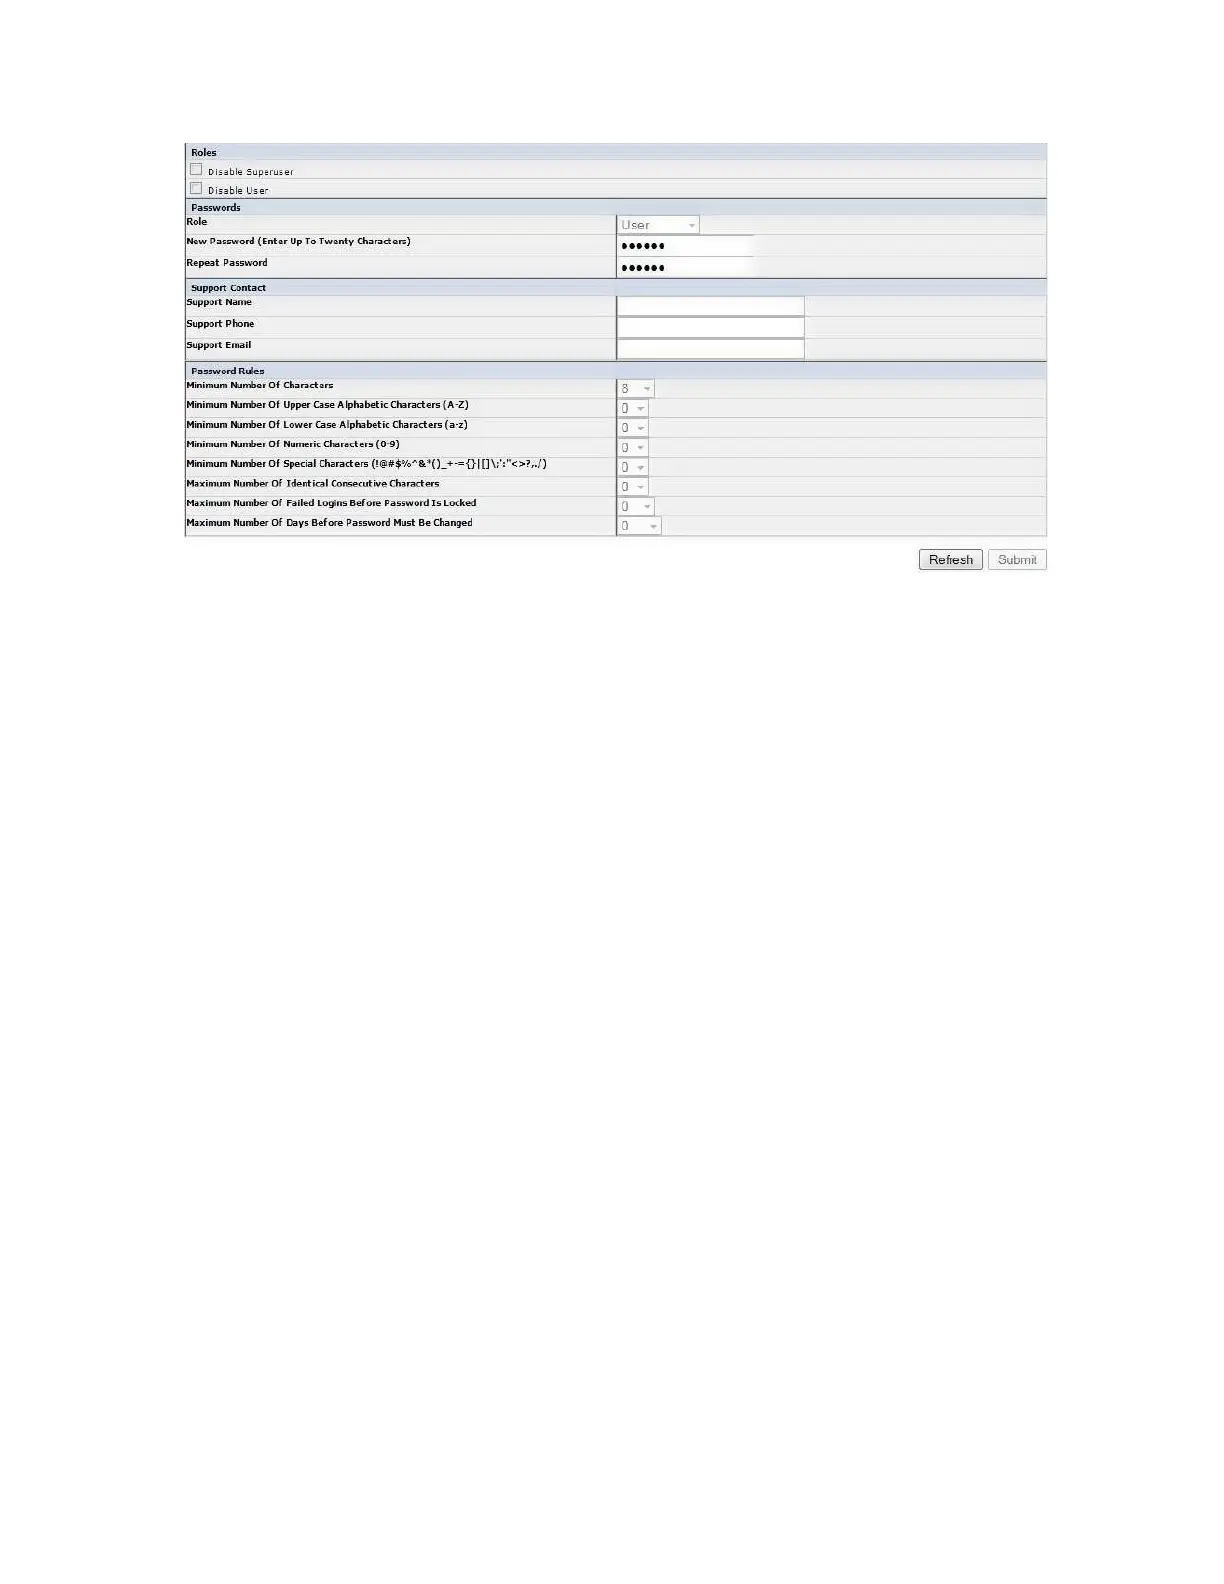
2. Check the Disable Superuser check box to disable the Superuser role for this library. Check the
Disable User check box to disable the User role for this library. Clear these boxes to allow these roles
access to your library.
3. Choose a Role.
Note: Admin can select User, Superuser, and Admin roles. Service can select User, Superuser, Admin,
and Service roles.
v User (if enabled)
v Superuser (if enabled)
v Admin
v Service
Note: Only one password is set for each Role.
4. Enter the New Password (up to 10 alphanumeric characters).
5. In Repeat Password, enter the new password again.
6. In Support Name, enter the name of the person that is able to offer the user help with the library.
Note: Only one support person is configured for the entire tape library. The support person might or
might not be one of the user, superuser, or admin account holders.
7. In Support Phone, enter the phone number of the person that is able to offer the user help with the
library.
8. In Support Email, enter the email address of the person that is able to offer the user help with the
library.
9. Click one:
v Refresh - to update the current screen.
v Submit - to apply the changes that are made to the screen.
Entering date and time
Procedure
1. Click Configure Library > Date & Time in the left navigation pane.
Figure 51. The Configure Library: User Access screen
Installation and configuration 69