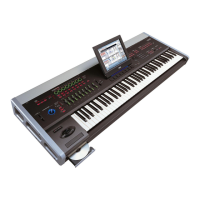
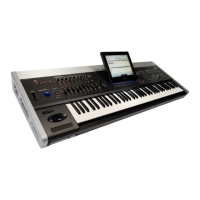
Introduction to OASYS
44
2. ExecutetheDiskmodeUtilitymenucommand
“ScanUSBDevice.”
3. UsetheDiskmodeDriveSelectscreentocheck
theconnection.
Formoreinformation,see“Loading&savingdata,and
creatingCDs”onpage 169.
Hot-plugging
TheOASYSsupportsUSBhot‐plugging.Thismeans
thatyoucanconnectordisconnecttheUSBcablewhile
thepowerison.
Note:Inordertousehot‐plugging,theUSBdeviceyou
areconnectingmustalsosupporthot‐plugging.
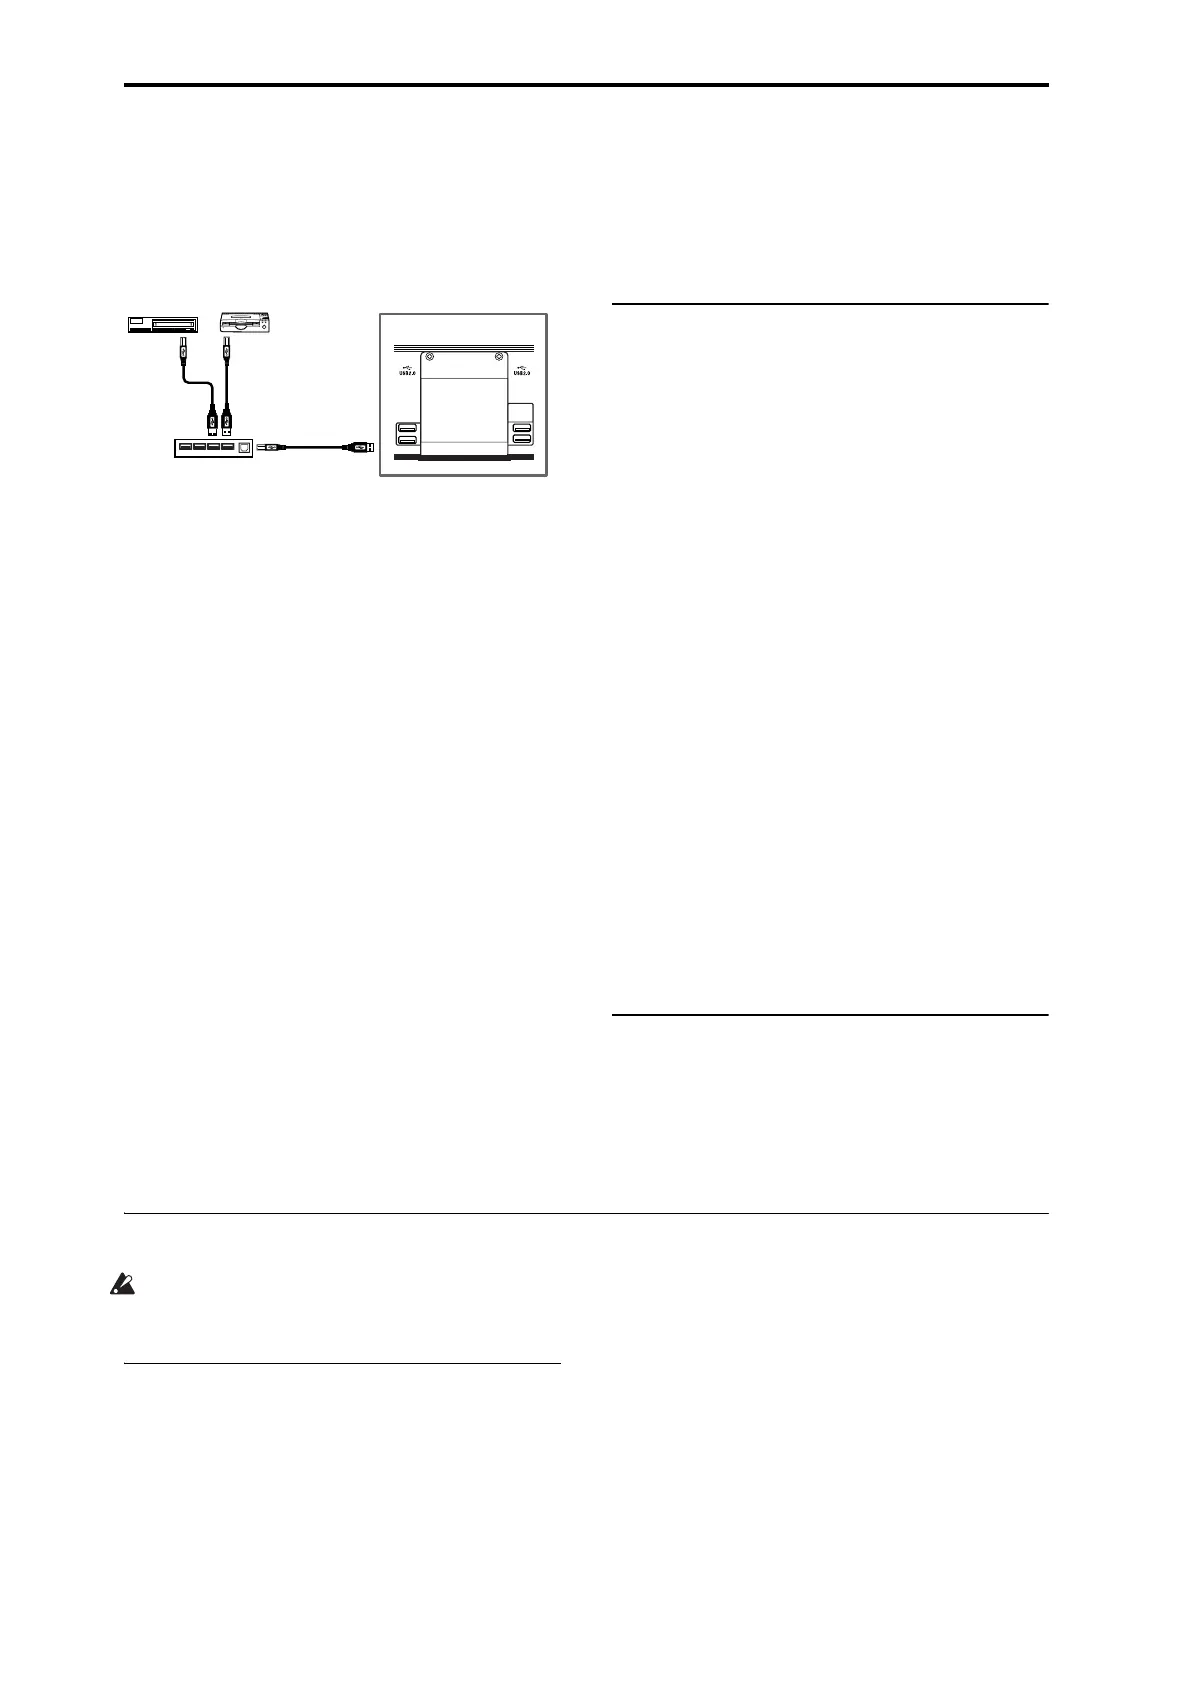
8 USB devices maximum
OASYShasfourseparateUSB2.0ports,andcan
supportupto8USBdevicessimultaneously.Notethat
itdoesn’tmatterhowthedevicesareconnected;evenif
youusehubsordifferentports,themaximumis
always8devices.
USB Power
SomeUSBdevicesgettheirpowerfromtheUSB
connection.Thesearecalled“bus‐powered”devices,
andtheyaresupportedbyOASYS.
OtherUSBdevicesmayrequireaseparatepower
source,inadditiontotheUSBconnection;inthiscase,
you’llneedtouseanappropriatepoweradaptorfor
thedevice.
There
isalimitationtothetotalcurrentsuppliedtoall
connectedUSBdevices,asdefinedbytheUSB
specification.Ifthetotalcurrentconsumptionofthe
connecteddevicesexceedsthislimit,theOASYSmay
notcorrectlyrecognizetheconnectedUSBdevices.If
thishappens,anerrormessageof“USBHub
Power
Exceeded!”willappear.
Toavoidthisproblem,ifyouconnectmorethanone
USBdevice,pleaseuseaself‐poweredUSBhubinself‐
poweredmode.Fordetailsonconnectionsandsettings
foryourhub,pleaserefertoitsdocumentation.
Fordetailsontheelectricalcurrentusedbyaspecific
USB
device,refertoitsowner’smanual.
7. Connections to MIDI equipment &
computers
Connections to MIDI equipment
Thekeyboard,controllers,andsequenceretc.of
OASYScanbeusedtocontrolanexternalMIDItone
generator.Conversely,anotherMIDIkeyboardor
sequencercancontrolthetonegeneratorofOASYSto
producesound.
•UseMIDIcablestoconnecttheMIDIconnectorsof
OASYSwiththeMIDIconnectorsofyourexternal
device.
Formoreinformation,see“ConnectingMIDIdevices
&computers”onpage 1055oftheParameterGuide.
Connections to a computer
YourperformanceontheOASYS,aswellascontroller
andsequencerdata,canbesenttoacomputer
(connectedviaMIDIinterface),andthetonegenerator
ofOASYScanbeplayedfromthecomputer.
•UseaMIDIinterfacetoconnecttheMIDI
connectorsofOASYStotheMIDIconnectorsof
your
computer.
Formoreinformation,see“ConnectingMIDIdevices
&computers”onpage 1055oftheParameterGuide.
Note:SomeUSB‐MIDIinterfacesmaynotbeableto
transmitorreceivetheOASYS’sMIDISystem
Exclusivemessages.
8. Installing options
YoucaninstalltheoptionalEXB‐DItoaddADAT
outputsandaWordClockinput.Fordetails,see“EXB‐
DI(Digitalinterfaceboard)”onpage 1090ofthe
ParameterGuide.
Turning the power on/off
Beforeyouturnonthepower,makesurethatthe
desiredconnectionshavebeenmadeasdescribedin
“Connections”onpage 41.
1. Turning the power on
1. PresstherearpanelPOWERswitchtoturnonthe
power.
TheLCDwillshowthemodelname,software
version,andtheamountofRAMmemory.
Version:IndicatesthesystemversionoftheOASYS.
(Theversionmaychangewithoutnotice.)
Memory:IndicatestheamountofRAMmemory.
Options:IndicateswhetheranEXB‐DI
isinstalled,
andthecurrently‐loadedstatusofEXs1orEXs2.
Example:Factorysettings
Version:V1.0.0
Memory:1GB
Options:EXs1
Example:EXs2isloaded
Options:EXs2
Example:EXB‐DIisinstalledandEXs2isloaded
Options:EXB‐DI/EXs2
2. Turnonyourpoweredmonitorsorstereoamp.
CD-R/RW,
hard disk,
removable disk, etc.
Type
A
Type
A
Type
B
Type
B
OASYS
USB cable
USB hub