CYLINDER HEAD AND VALVE TRAIN 129
Figure 158 Crack in cylinder head
NOTE: Any cracks will show up as purple lines a
gainst
the white developer. If any cracks are prese
nt, replace
the cylinder head.
Pressure Check Cylinder Head
Pressure testing the cylinder head will
reveal cracks
in ports or sleeve leakage which cannot
be observed
using dye penetrant. Pressure-test t
he cylinder head
as follows:
1. Install fuel injectors into cylinder
head injector
bores and secure. Refer to Fuel Injec
tors (Fuel
Injectors, page352) for installati
on procedure.
2. Remove the valves, using a valve s
pring
compressor. See “Reconditionin
g” in this section
for valve removal instructions
.
3. Pressure test the cylinder head
using the cylinder
head pressure test tools (Tab
le 17).
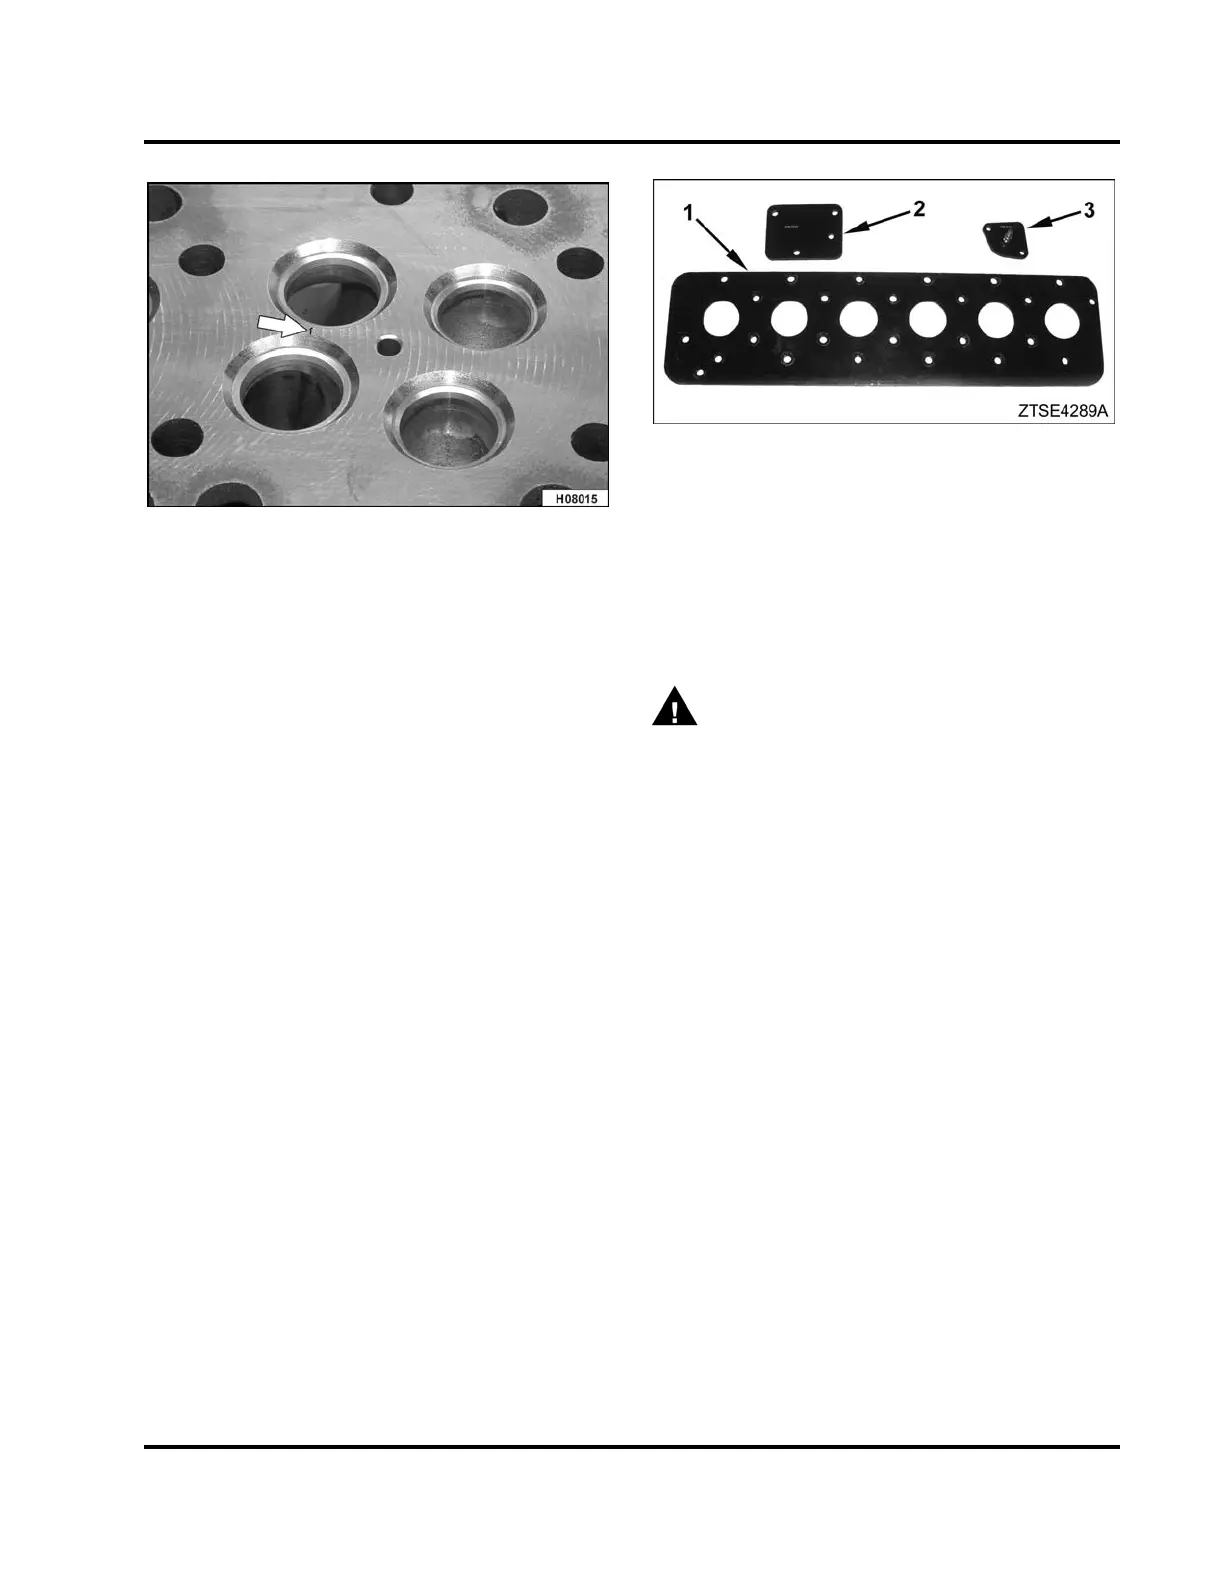
Figure 159 Cylinder head pressure test tools
1. Cylinder head test plate (bolts not shown)
2. Water supply housing pressure adapter
3. Thermostat opening pressure adapter- cylinder head
4. Fasten the pressure plate to the cylinder head
gasket surface using the 24 mounting bolts and
nuts supplied with the kit.
WARNING: To prevent personal injury or
death, wear safety glasses with side shields.
Limit compressed air pressure to 207 kPa (30 psi).
5. Remove thermostat and install air regulator.
Secure to cylinder head with two mounting bolts.
6. Remove the pipe plug next to the thermostat
opening. Fill cylinder head with hot water and
reinstall pipe plug
7. Install a hose fitting to the cylinder head at the
removed plug. Apply 124–138 kPa (18–20 psi)
air pressure and inspect for leaks at the:
• Fuel injector nozzle sleeve area
•Ports
• Upper deck
• Lower deck
If leakage is observed at any port or the upper and
lower deck, replace the cylinder head.
EGES-265-2
Read all safety instructions in the "Safety Information" section of this manual before doing any procedures.
Follow all warnings, cautions, and notes.
© 2009 Navistar, Inc.
 Loading...


