262 CRANKCASE, C RAN KSHAFT, AND CAMSHAFT
WARNING: To prevent personal injury or
death, wear safety glasses with side shields.
Limit compressed air pressure to 207 kPa (30 psi).
3. Blow dry with filtered compressed air.
4. Inspect all rubber hoses for cracking or
deformation. Replace components as necessary.
Crankshaft and Main Bearings
Perform the following steps:
1. Clean the bearing inserts and caps thoroughly
in solvent and dry with fi ltered compressed air .
Do not scrape gum or varnish deposits from
bearing shells.
2. Clean all the internal oil passages of the
crankshaft using a stiff nylon brush (Table 40).
Loosen all dirt, sludge and deposits which may
have accumulated. Flush the oil passages with a
suitable non-caustic solvent.
WARNING: To prevent personal injury or
death, wear safety glasses with side shields.
Limit compressed air pressure to 207 kPa (30 psi).
3. Blow passages dry with filtered compressed air .
4. Inspect the crankshaft journals (main and rod)
for scratches, grooves and scoring. Use dye
penetrant methods to check for cracks.
5. Inspect all bearing inserts. Replace bearings that
are scored, chipped or worn.
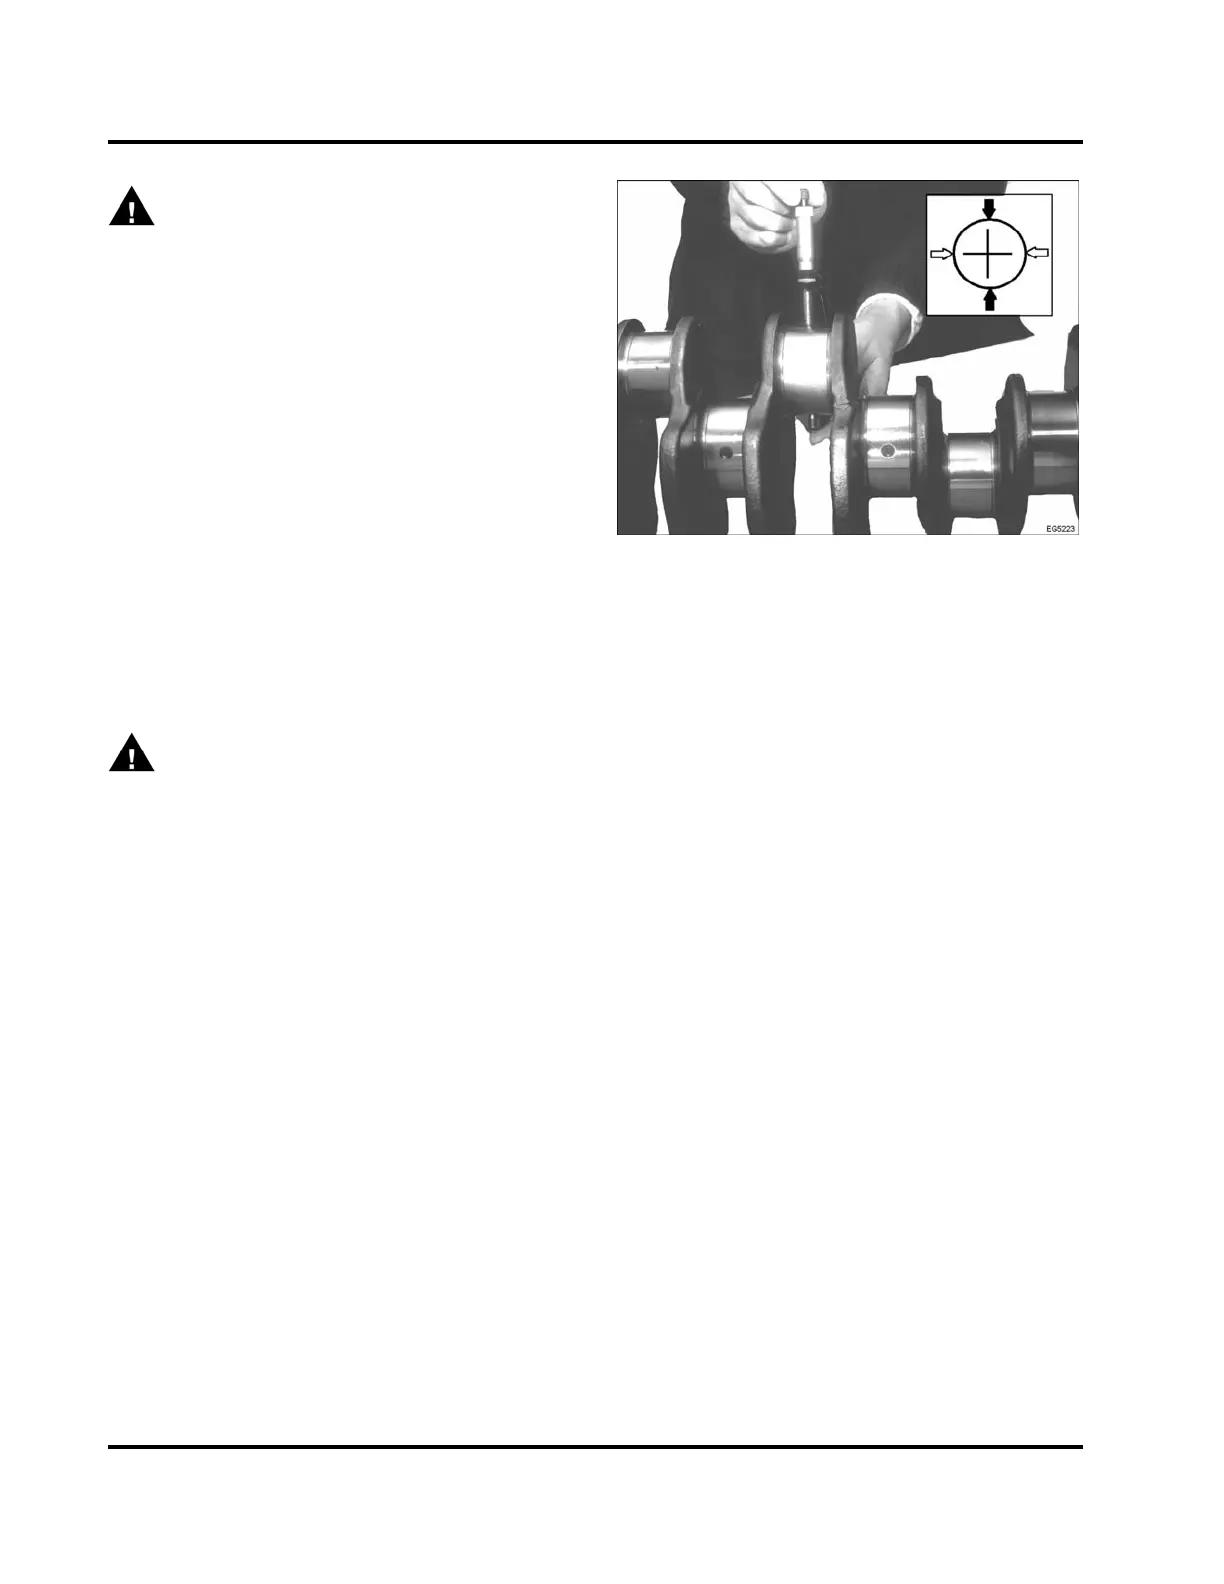
Figure 375 Inspecting the crankshaft journals
6. Measure the diameter of each journal using a
micrometer. Measure each journal at two points,
right angles to each other. Move the micrometer
over the entire width of the journal.
NOTE: If journals exceed maximum out-of-round
specification, crankshaft must be reground or
replaced. The crankshaft can be ground to the
following undersizes:
• 0.25 mm (0.010 in)
• 0.51 mm (0.020 in)
• 0.76 mm (0.030 in)
Checking Camshaft Assembly
1. Use a soft bristle brush and a suitable solvent to
clean the camshaft and cam gear.
2. Inspect the cam gear for worn and damaged teeth.
Replace the gear assembly, if necessary.
3. Inspect the camshaft for scuffed, scored
and cracked lobes. Replace the camshaft if
necessary.
4. Inspect the camshaft thrust plate for wear, cracks,
and distortion. Use an outside micrometer to
measure the thickness of the thrust plate. If the
thrust plate is too worn or damaged, replace the
thrust plate.
EGES-265-2
Read all safety instructions in the "Safety Information" section of this manual before doing any procedures.
Follow all warnings, cautions, and notes.
© 2009 Navistar, Inc.
 Loading...


