CRANKCASE, CRANKSHAFT, AND CAMSHAFT 261
Cleaning and Inspection
Cleaning the Crankcase
CAUTION: To prevent engine damage, the oil cooler
must be replaced if there was a bearing failure. Debris
from a bearing failure cannot be removed from the oil
cooler.
NOTE: The best way to clean the crankcase during
engine overhaul is in a chemical bath or hot tank.
This removes all carbonaceous material and mineral
deposits that collect in the cooling passages. If the
hot tank is not available, use the following cleaning
procedure.
1. Clean all old gasket material from the surfaces of
the crankcase, if any.
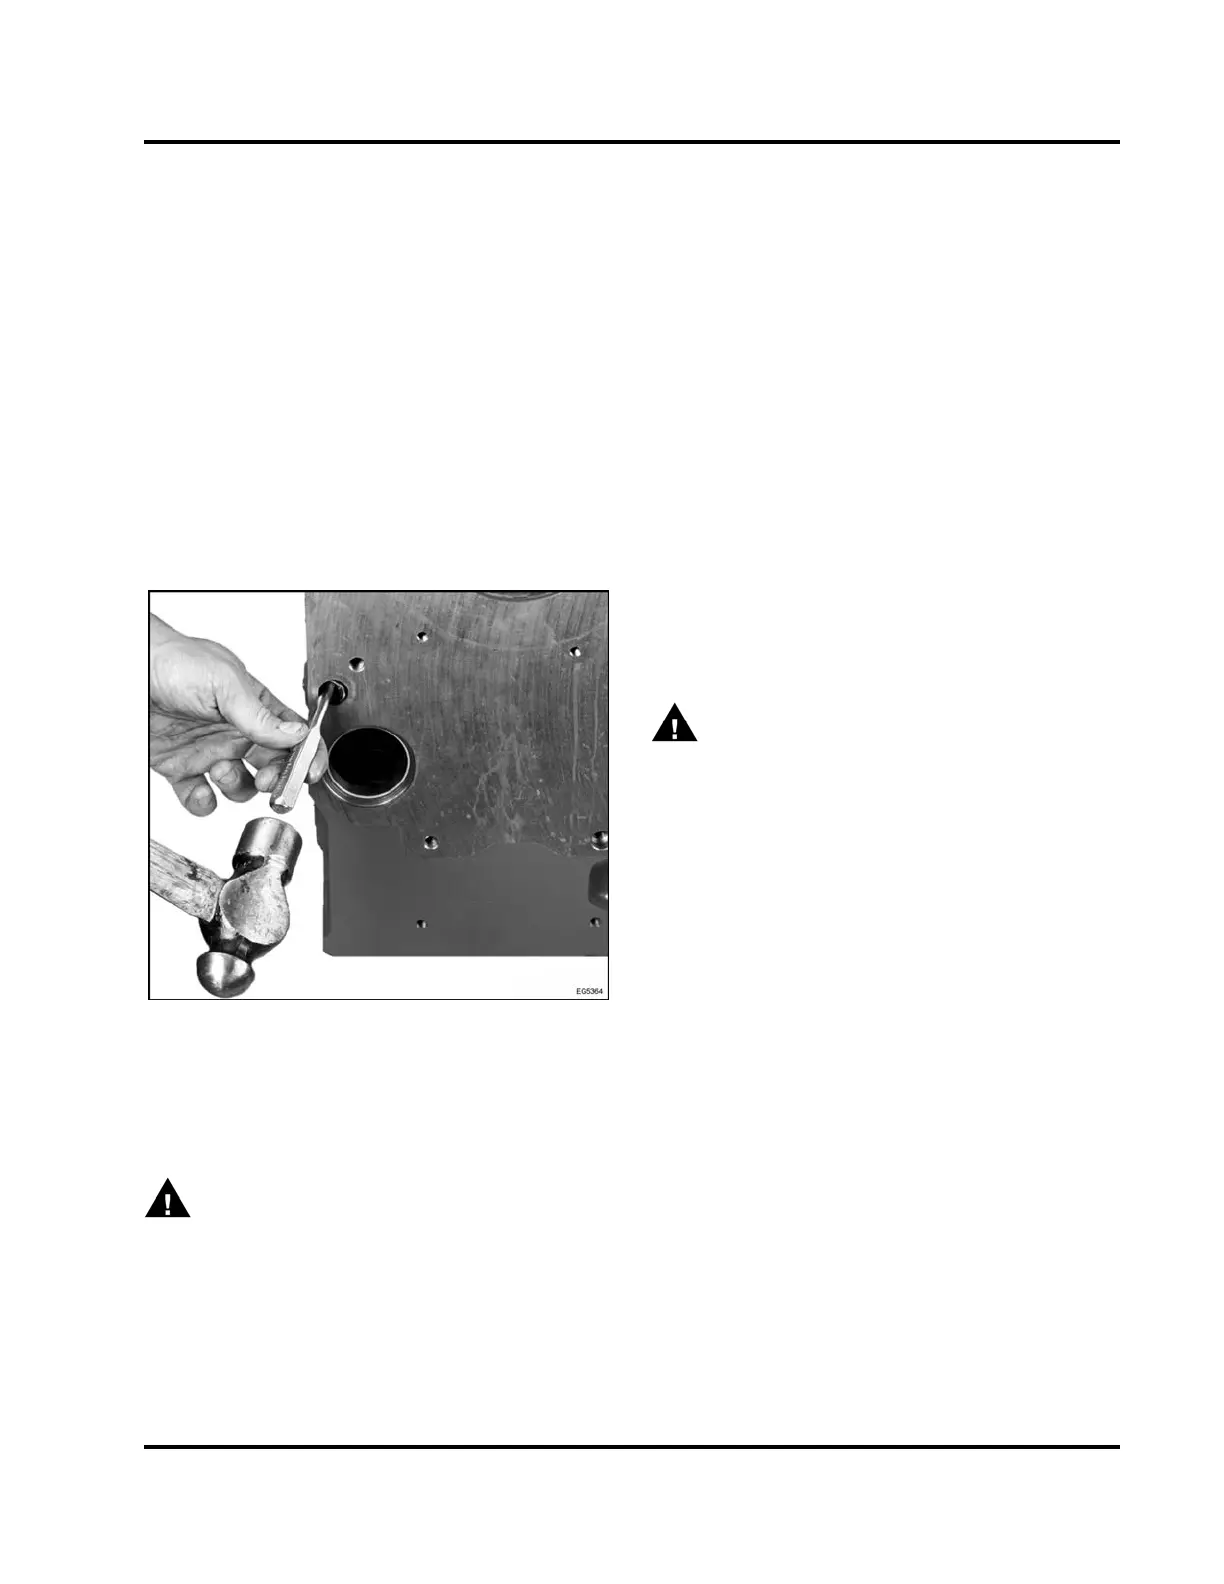
Figure 374 Removing crankcase plugs
2. Remove the main oil gallery cup plug, located at
the rear of the crankcase by using a hammer and
chisel. Knockout main oil gallery cup plug.
WARNING: To prevent
personal injury or
death, wear safety
glasses with side shields.
Limit compressed a
ir pressure to 207 kPa (30 psi).
3. With the plugs remo
ved from the crankcase, clean
the crankcase as fo
llows:
a. Use a nylon brush (
Table 40) with soap and
water to clean oi
l galleries.
b. Clean cross drillings using a nylon brush
(Table 40) with soap and water.
c. Use filtered compressed air to blow out oil
galleries and cross drillings.
d. Clean all threaded holes with an appropriately
sized tap (Table 40).
4. Install a new main oil gallery cup plug as follows:
a. Clean the mating surfaces of the plug and
crankcase.
b. Apply Loctite® 262 to the outside edge of the
cup plug.
c. Useanarbortodrivethecupplugin. The
arbor must be approximately 6 mm (1/4 in)
smaller in diameter than the plug that is being
installed.
d. Recess the cup plug 3.2 mm (1/8 in).
5. Install new plugs in the rear of the crankcase.
WARNING: To prevent personal injury or
death, wear safety glasses with side shields.
Limit compressed air pressure to 207 kPa (30 ps
i).
6. Inspect the piston cooling tubes for damage an
d
blockage as follows:
a. Inspect both ends of the tube. Verify that
the flanged end next to the bearing saddle i
s
intact and the orifice end protruding fro
mthe
crankcase is not broken. Replace any tub
es
that are damaged.
b. Hold tube under running water in a sink.
Water should stream out of tube end.
If not,
blockage will have to be physicall
y removed
by compressed air or piston oil tub
emustbe
replaced.
Crankcase Ventilation
1. Place breather and tubing asse
mbly (Figure 360)
into a solvent parts cleaner a
nd disassemble.
2. Thoroughly clean all hoses, cl
amps, tubing,
check valve and breather asse
mbly. Run solvent
through each end of the check v
alve to confirm
directional flow.
EGES-265-2
Read all safety instructions in the "Safety Information" section of this manual before doing any procedures.
Follow all warnings, cautions, and notes.
© 2009 Navistar, Inc.
 Loading...


