FRONT COVER AND RELATED COMPONENTS 189
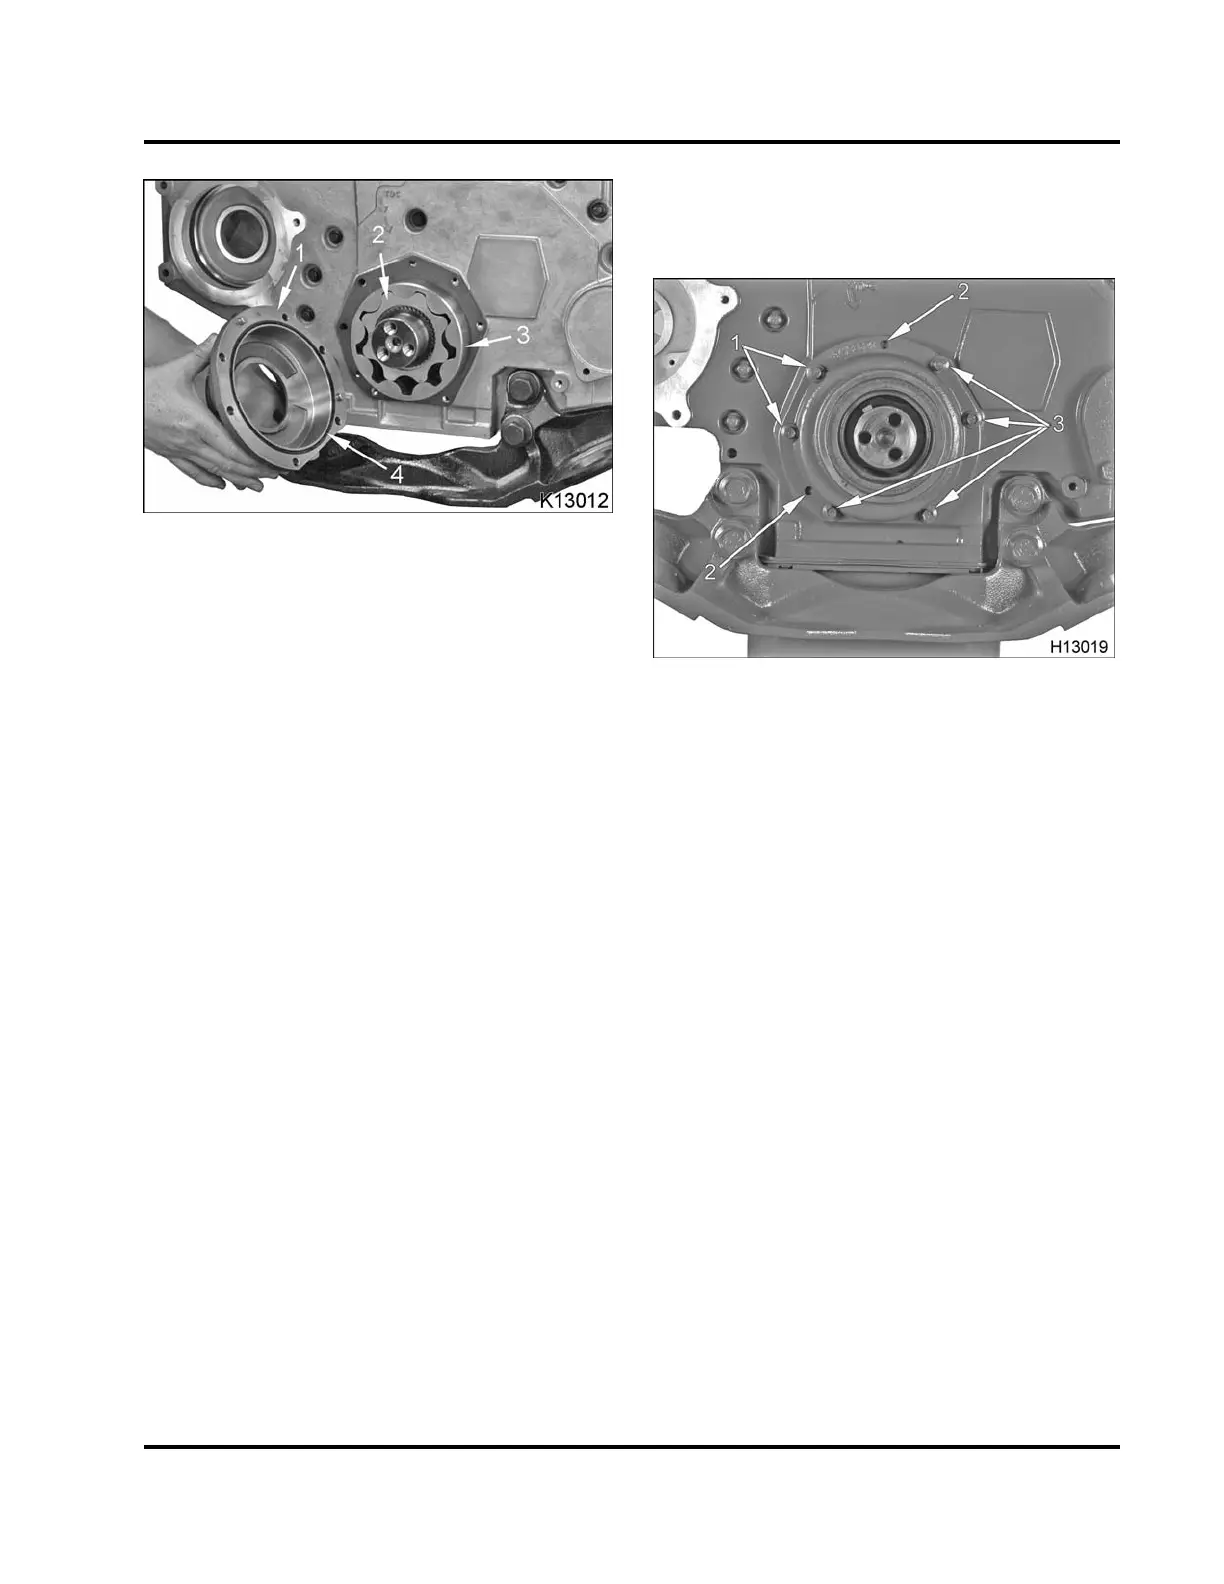
Figure 259 Oil pump housing, rotors, and oil
pump (housing) seal
1. Oil pump and rotor housing
2. Inner rotor
3. Outer rotor
4. Oil pump (housing) seal
10. Install a new oil pump (housing) seal in the oil
pump and rotor housing groove.
11. Coat the outer rotor with clean engine oil.
CAUTION: To prevent engine damage, make sure
used oil pump inner and outer rotors rotate in the same
direction as before removal. See marks added during
removal for proper rotor orientation.
12. Install the outer rotor on the inner rotor.
13. Lightly coat the inside sealing surface of the front
oil seal with clean engine oil.
14. Align two oil pump and rotor housing dowels with
two front cover dowel holes and install oil pump
and rotor housing.
Figure 260 Oil pump housing mounting bolt
locations
1. Bolt, M8 x 60 (2)
2. Dowels (2)
3. Bolt, M8 x 25 (4)
15. Install four M8 x 25 bolts finger tight.
16. InstalltwoM8x60boltsfinger tight.
17. Tighten four M8 x 25 bolts and two M8 x 60 bolts
to special torque (Table 20).
EGES-265-2
Read all safety instructions in the "Safety Information" section of this manual before doing any procedures.
Follow all warnings, cautions, and notes.
© 2009 Navistar, Inc.
 Loading...


