POWER CYLINDERS 239
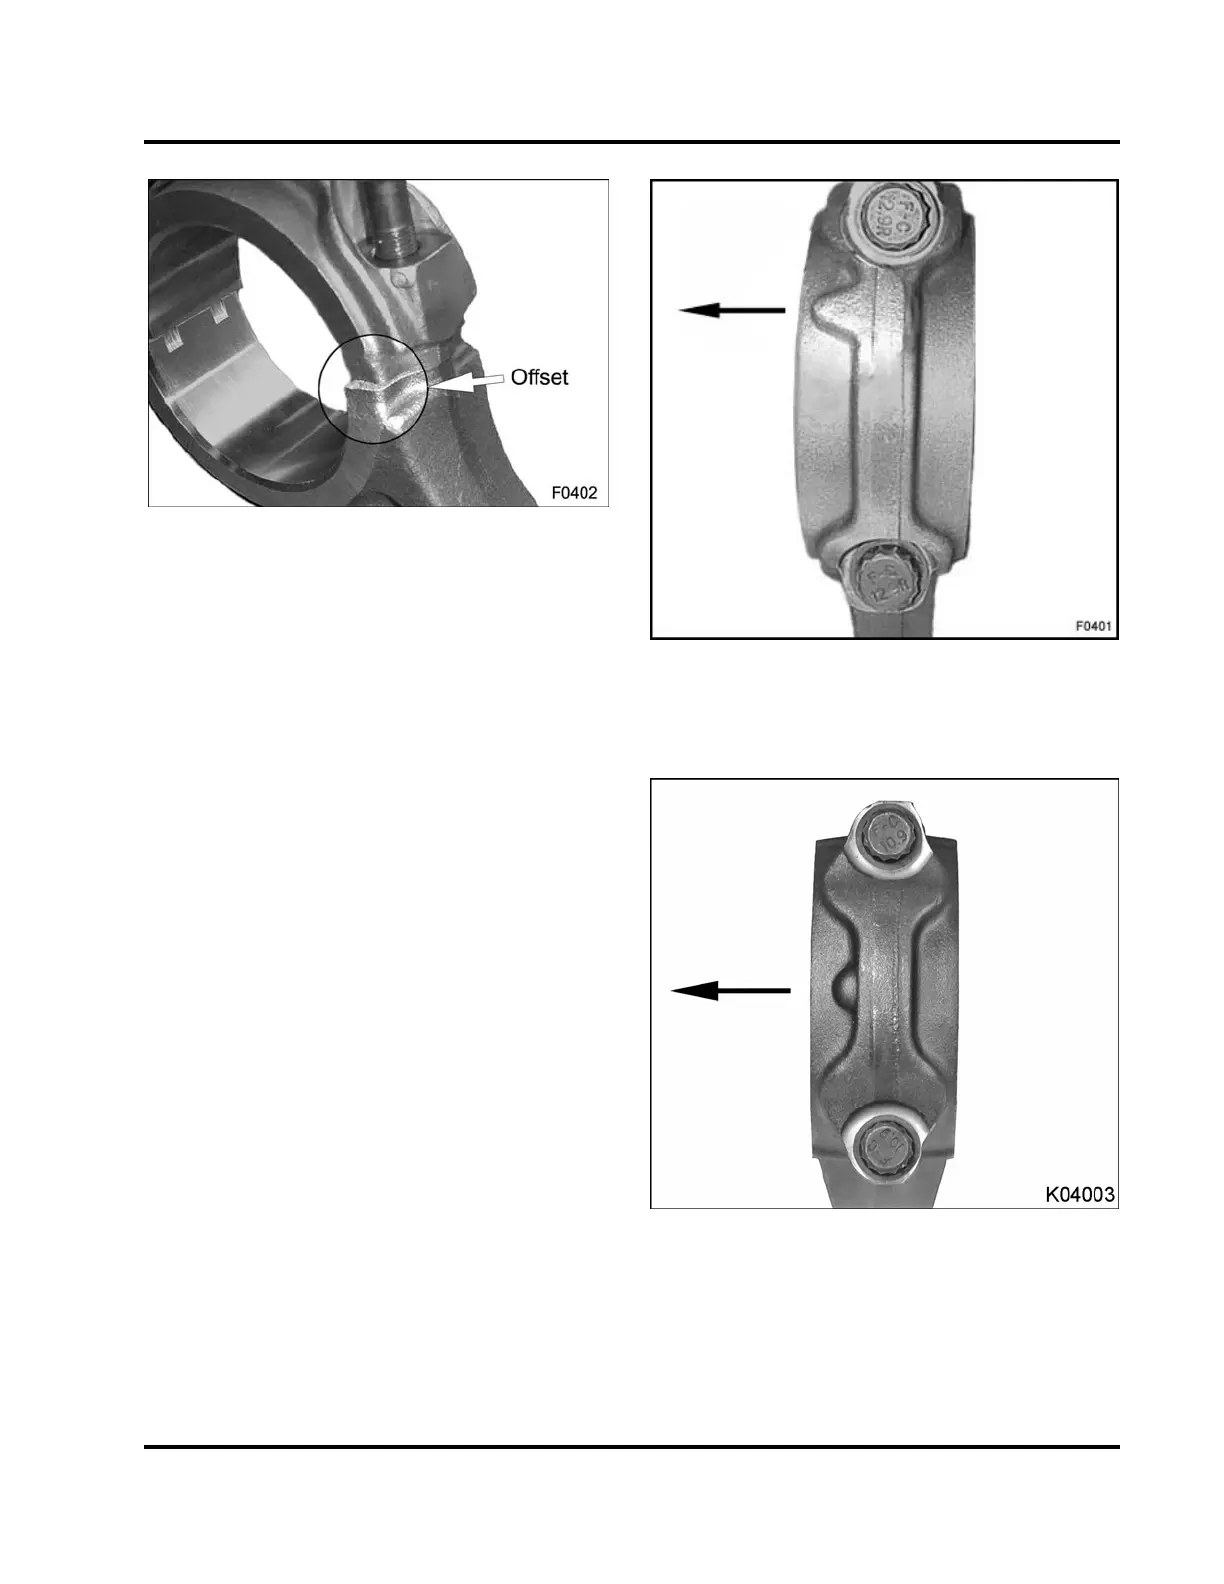
Figure 347 An offset indicates incorrect rod cap
assembly
The rod cap can only be correctly installed on the
connecting rod if it is oriented in the correct direction.
If the rod cap is reversed during assembly of the
connecting rod, an obvious offset will be seen at
the mating surfaces. If the connecting rod assembly
is installed on the crankshaft in this manner, the
connecting rod must be replaced. Also check the
crankshaft journal fillets for damage. Such damage
will require replacement of the crankshaft.
7. Lubricate the inside diameter of the connecting
rod cap bearing.
Figure 348 Connecting rod cap with M12
connecting rod cap bolts (protrusion points to
front of engine)
Figure 349 Connecting rod cap with M11
connecting rod cap bolts (protrusion points to
front of engine)
NOTE: Each rod end cap has a protrusion for correct
orientation in the engine during installation. The
protrusion must face toward the front of the engine.
EGES-265-2
Read all safety instructions in the "Safety Information" section of this manual before doing any procedures.
Follow all warnings, cautions, and notes.
© 2009 Navistar, Inc.
 Loading...


