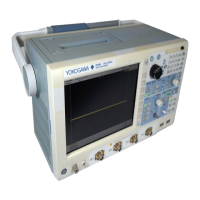
12-8 IM 701450-01E
12.4 Changing the SCSI ID Number
Procedure
X-Y
PHASE
MENU MENU
SETUP FILE
MISC
RESET
SELECT
MATH
SHIFT
GO/NOGO
CURSOR
MEASURE
HISTORY
PRINT
ACQ
START/STOP
IMAGE SAVE
DISPLAY
• To exit the menu during operation, press ESC located
above the soft keys.
• For a description of the operation using a USB keyboard or
a USB mouse, see section 4.3.
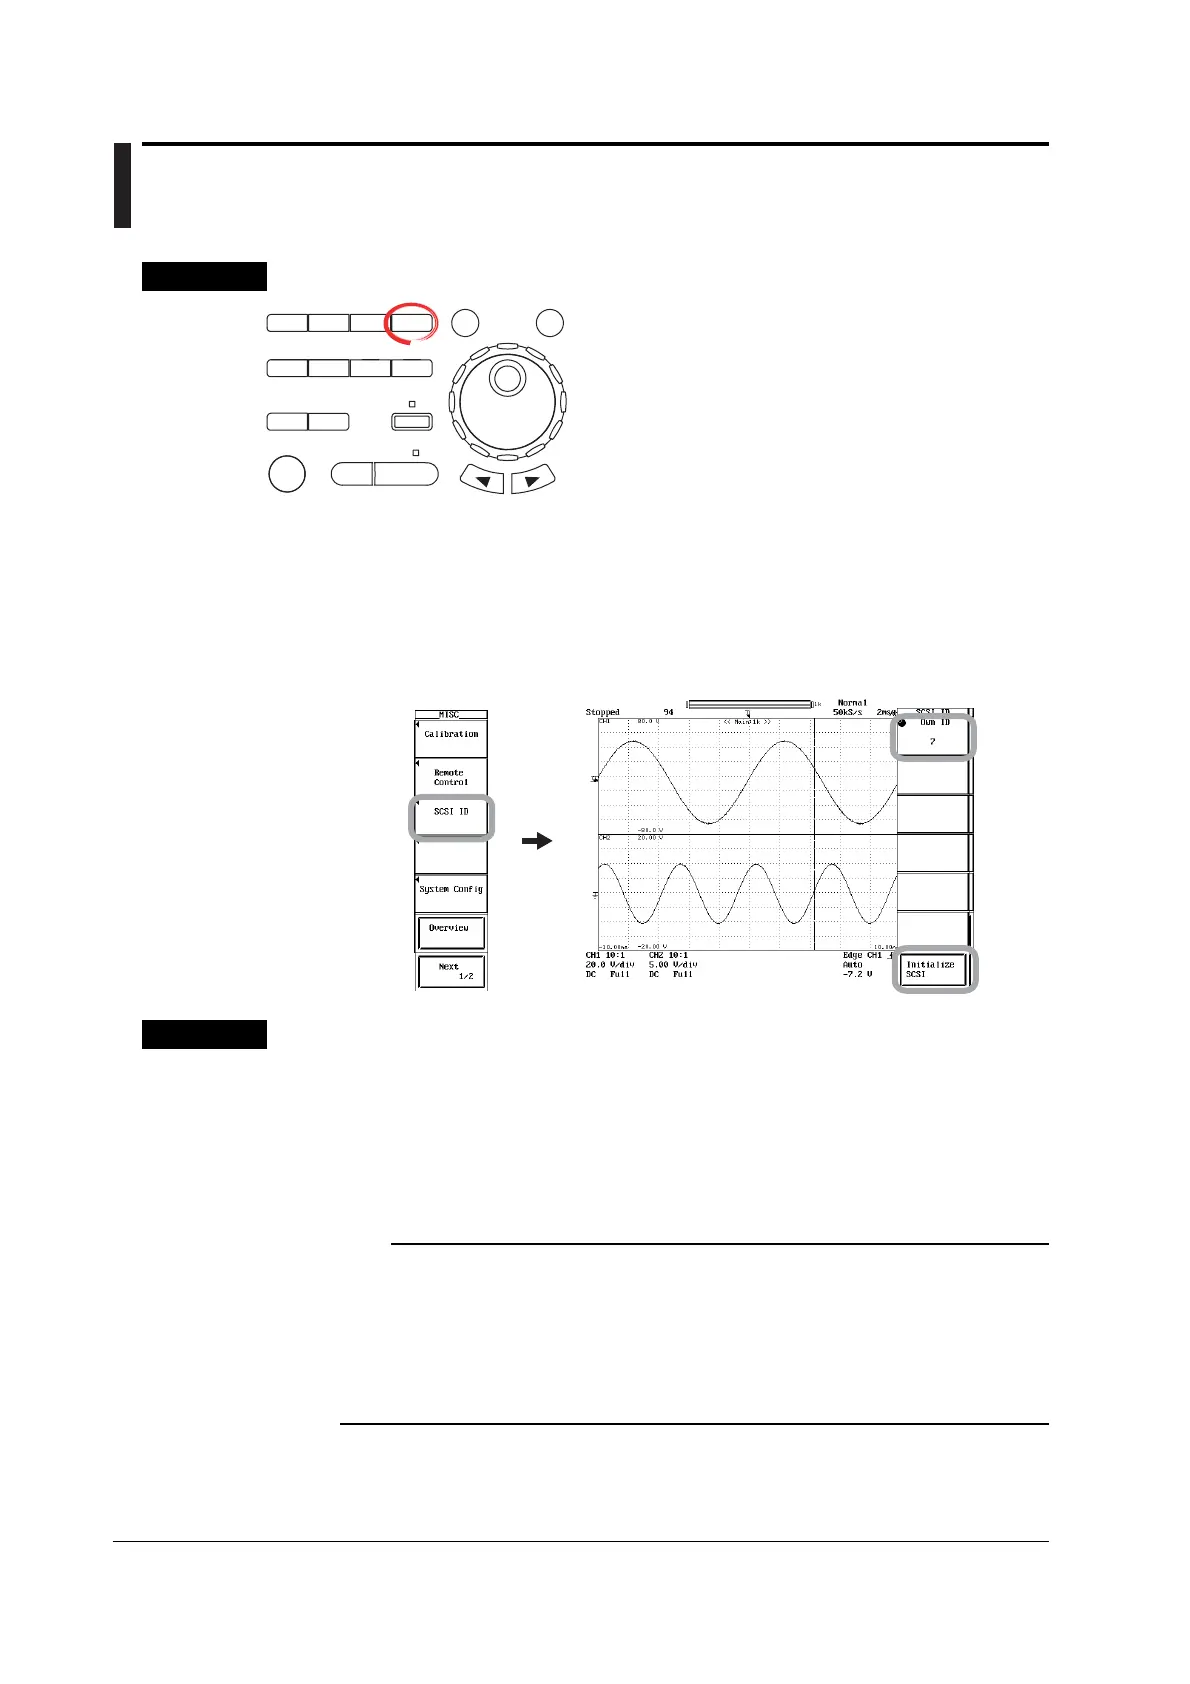
1. Press MISC. The MISC menu appears.
2. Press the SCSI ID soft key. The SCSI ID menu appears.
3. Turn jog shuttle to select 0 to 7.
4. Press the Initialize SCSI soft key. The SCSI ID is changed to the selected ID
number. The SCSI icon at the upper right corner of the screen blinks while the
change is in progress. When the change is complete, the icon disappears.
Explanation
The SCSI ID number is used to distinguish between the various devices connected to
the SCSI chain. Make sure not to use duplicate ID numbers on any of the connected
devices.
SCSI ID Numbers
Own ID (the ID of the DL7400) can be set in the range from 0 to 7. The default setting is 7.
Note
• Do not set the SCSI ID number of the external SCSI device to the same ID number as the
DL7400.
• When changing the SCSI ID number, make sure to press the Initialize SCSI soft key.
• The SCSI ID numbers of external SCSI devices are automatically detected when the
DL7400 is turned ON.
• If you change the ID number, be sure to execute Initialize SCSI to detect the new SCSI ID
number.

 Loading...