11-6 IM 701450-01E
11.3 Printing Using a USB Printer
Procedure
X-Y
PHASE
MENU MENU
SETUP FILE
MISC
RESET
SELECT
MATH
SHIFT
GO/NOGO
CURSOR
MEASURE
HISTORY
PRINT
ACQ
START/STOP
IMAGE SAVE
DISPLAY
• To exit the menu during operation, press ESC located
above the soft keys.
• In the procedural explanation below, the term
jog shuttle & SELECT refers to the operation of
selecting/setting items and entering values using the
jog shuttle and SELECT and RESET keys. For details
on this operation, see sections 4.1 or 4.2.
• For a description of the operation using a USB keyboard
or a USB mouse, see section 4.3.
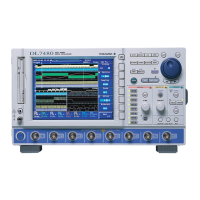
1. Connect the DL7400 and a USB printer using a USB cable. For details, see the
explanation in this section (page 11-9).
Selecting the USB Printer
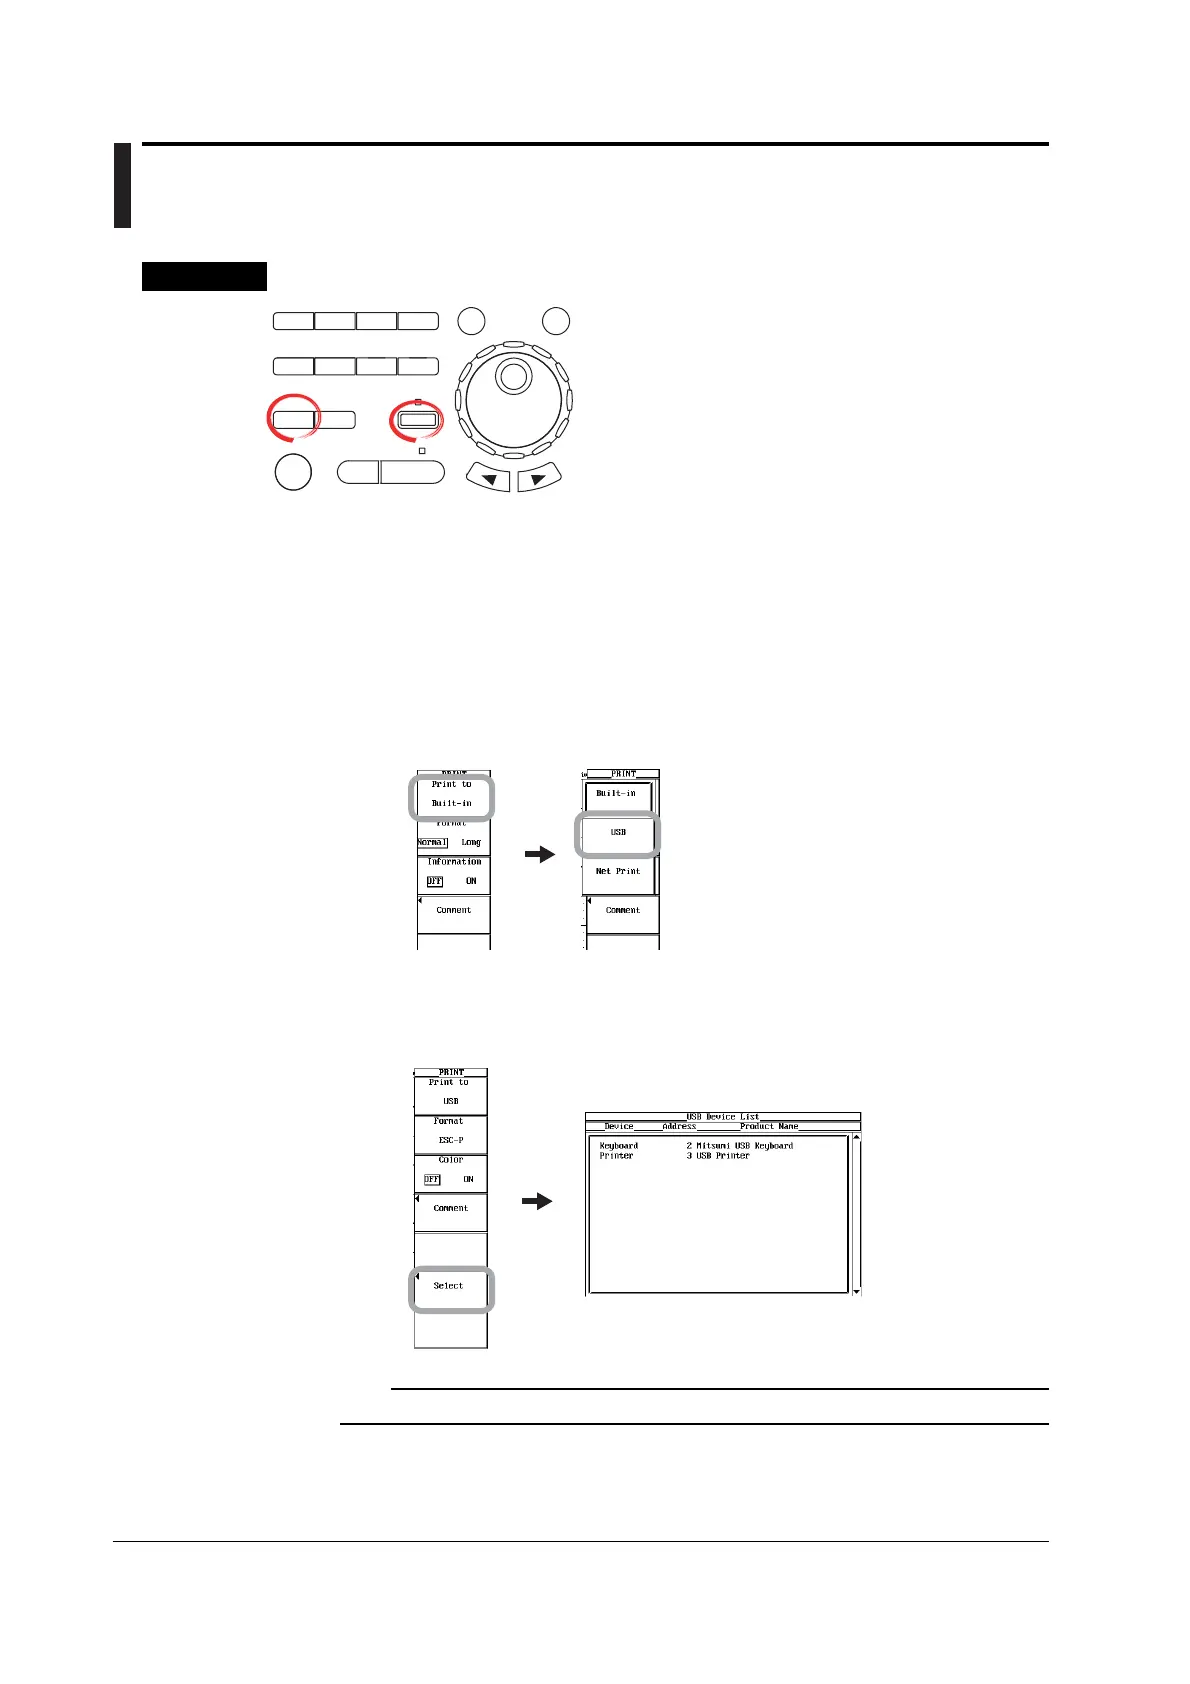
2. Press SHIFT+PRINT (MENU). The PRINT menu appears.
3. Press the Print to soft key. The Print to menu appears.
Built-in and Net Print appear if the built-in printer option and the Ethernet interface
option are installed, respectively.
4. Press the USB soft key.
Checking the Connected Printer
5. Press the Select soft key. The USB Device List window appears. Check the
printer that is connected.
Note
You can also check the printer that is connected from the MISC > USB > Device List menu.
 Loading...
