Quick Start Guide 2
Agilent Nano Indenter G200 User’s Guide 2-23
8 The microscope projects light onto its target. Move the microscope
directly over the center sample:
a Note the relative position of the microscope as indicated by the
light from the microscope.
b Click on the schematic map in the direction where you want the
microscope to travel.
c Right-click anywhere on the schematic map and
d Select Move to Target from the resulting pop-up menu.
e Repeat these steps until the microscope light shines directly on
the center sample.
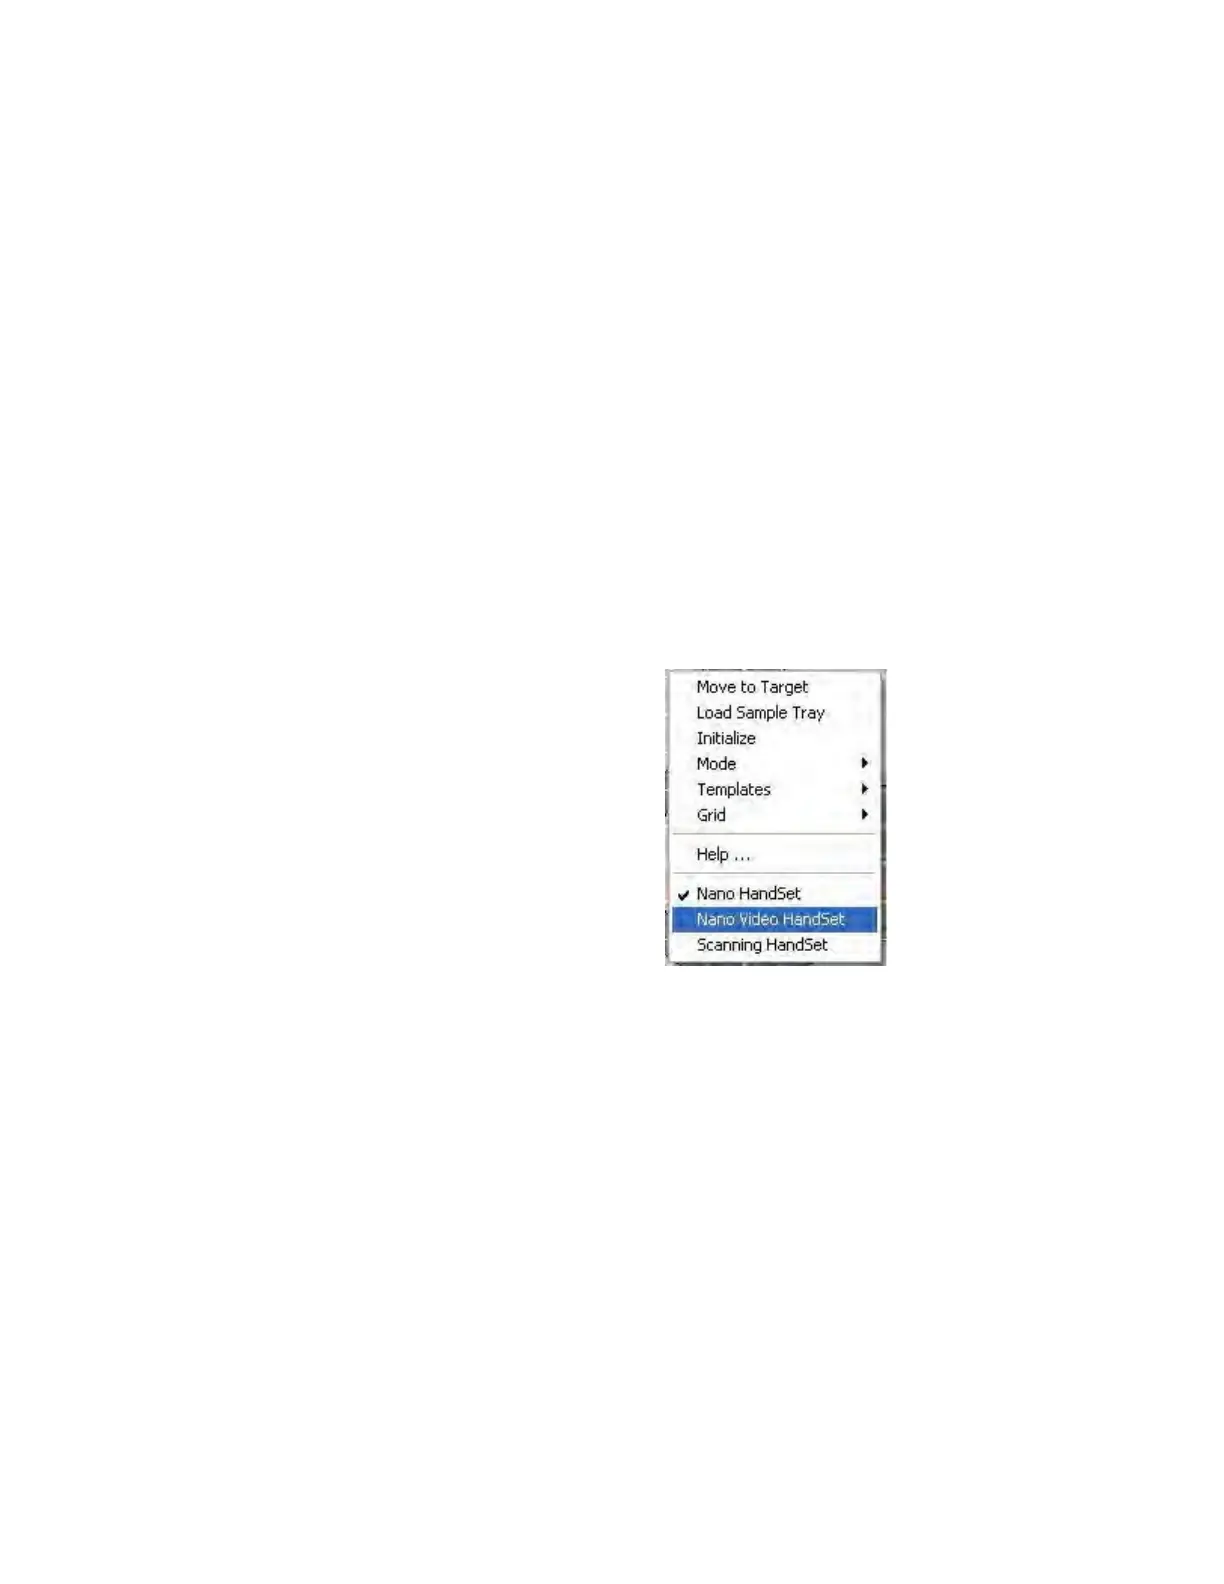
9 Right-click anywhere on the schematic map and select Nano Video
HandSet from the resulting pop-up menu, as shown in
Figure 2-29.
The video image in NanoSuite will be overexposed (white) at this
point.
Figure 2-29Select Nano Video Handset from right-click menu
Adjust the microscope aperture levers:
10 Lower the left aperture lever until you see some change in the image.
Some parts of the image will become darker.
11 Lower the right aperture lever until the image becomes gray, to an
average medium brightness.
12 As shown in Figure 2-30 on page 2-24, use the microscope
brightness control and coarse/fine focus controls to lighten the image
and bring it into focus.

 Loading...