INSTALLATION AND STARTUP
1MANUL220 Belanger, Inc.® * PO BOX 5470. * Northville, MI 48167-5470 * Ph (248) 349-7010 * Fax (248) 380-9681 4-35
Chapter 4 Frame and Carriage Assembly
Routing Boom Utilities
The carriage can be rolled manually at this time if the drive train has been disengaged. If the
drive train has not been disengaged, follow the “Electrical Movement” procedure covered in
Chapter 22 of this manual.
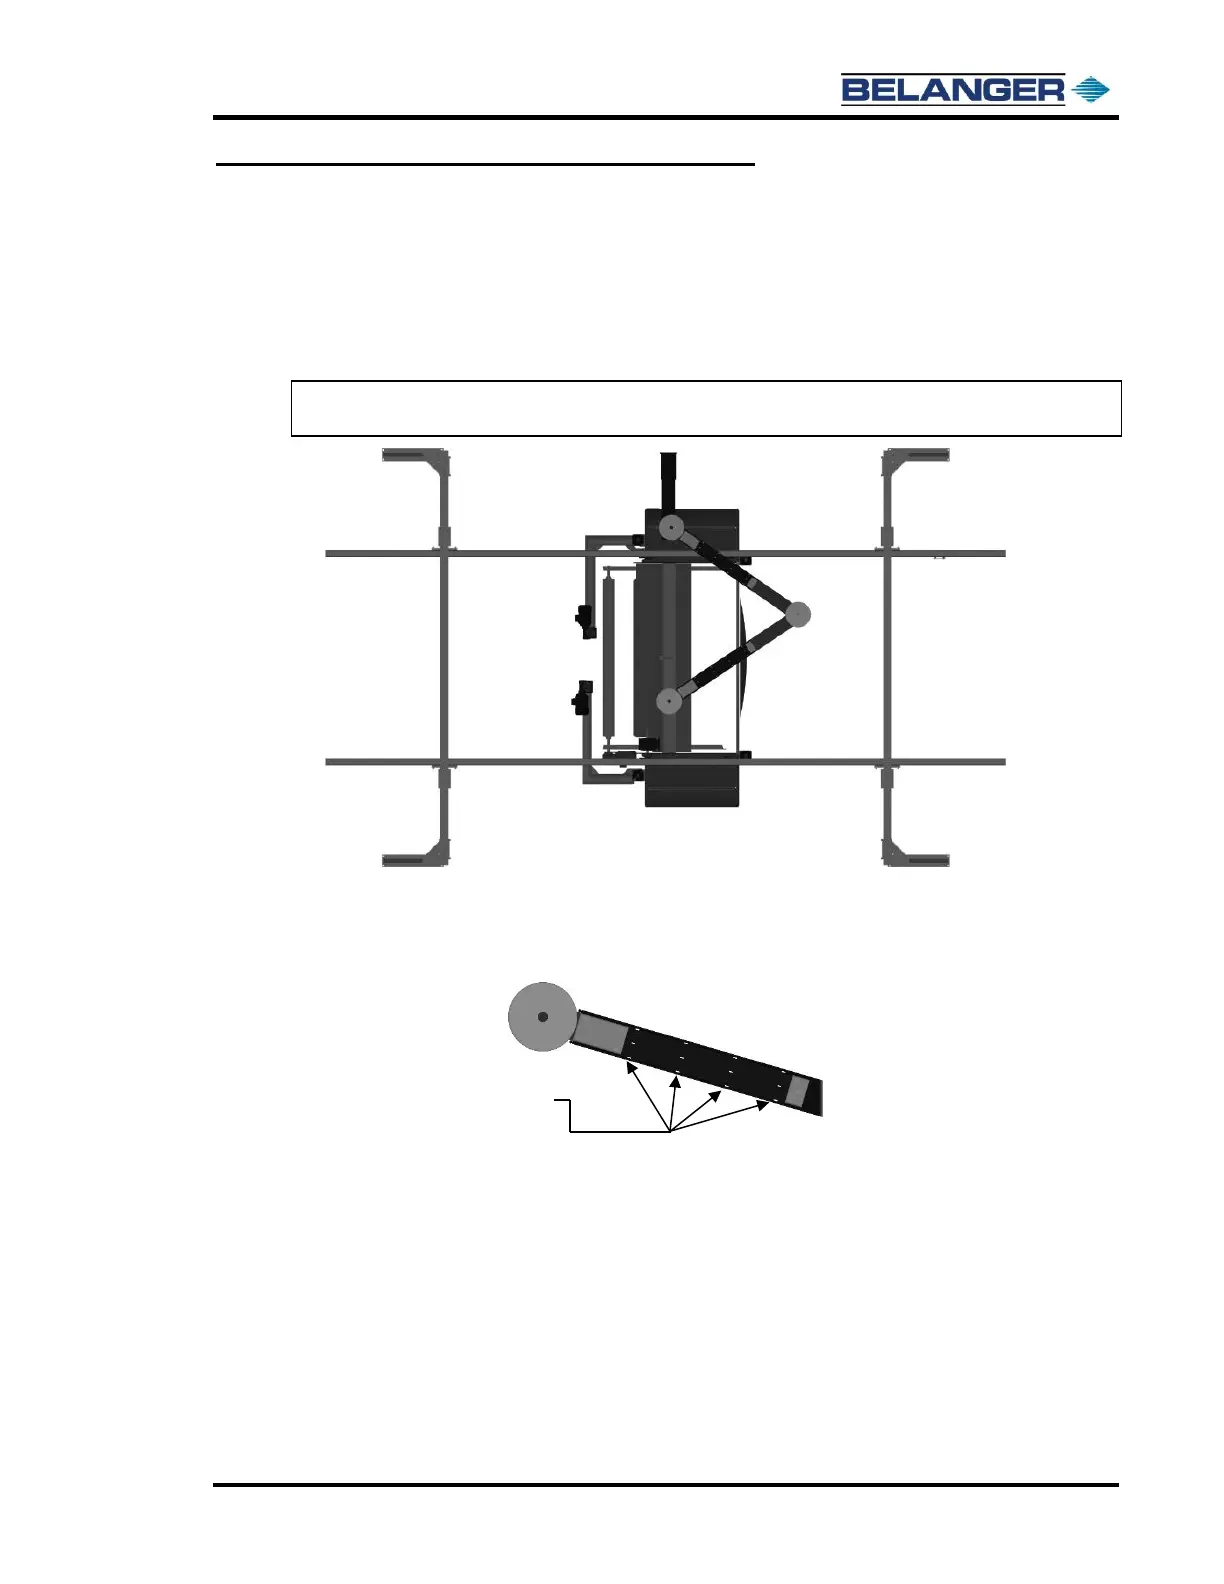
5) Move the machine to the position where the wall or freestanding mount bearing is in line with the
machine mount bearing as shown below. Verify that there is enough slack in the lines to move the
boom into this orientation. See the image below.
Note: In this orientation, the lines are at the smallest required bend radius on the boom. So, they
are also stretched to the longest length that will be needed to move the boom.
6) Have a helper hold the lines with the correct bend radius on the machine head and tie the utilities
to the machine mount boom arm tightly using the 4 sets of slots in the channel.
Tie the three 3/4’’ water hoses and the poly flow tubing together tightly in all four slots.
Tie the 6 motor wires to the boom channel using the four slots tightly.
7) Tighten the tie straps from the center of the two boom arms back toward the wall in the same
manner that the lines are tied on the machine mount arm.
8) Slide the Parallel Mount Assembly to the position that captures the lines best and tighten the clamp
into place.