Important
• This function is not available with CAD Tracing Paper, CAD Translucent Matte Film, or CAD Clear Film.
• If adjustment is not possible as expected using special media, try another type of paper, or try Manual adjustment.
(See "Manual Adjustment to Straighten Lines and Colors.") ➔ P.710
Note
• Because the results of adjustment vary depending on the type of paper used for adjustment, use the same type of paper
as you will use for printing.
• If Standard does not improve printing, try adjusting the printhead manually.
(See "Manual Adjustment to Straighten Lines and Colors.") ➔ P.710
• If the printhead position was not adjusted during initial setup or when the printhead was replaced, execute Initial ad-
justmt.
(See "Adjustment When Installing the Printhead.") ➔ P.711
• Advanced adjustment can enable superior printing quality when printing fine lines or text at high precision on glossy or
semi-glossy photo or proofing paper.
(See "Enhancing Printing Quality.") ➔ P.706
Items to Prepare
When Using Rolls An unused roll at least 254.0 mm (10.00 in) wide
When Using Sheets Standard : Six sheets of unused paper, A4/Letter size (or one sheet when using A2)
Simple: One sheet of unused paper, A4/Letter size
Perform adjustment as follows.
1
Load paper.
•
Loading Rolls on the Roll Holder ➔ P.471
•
Loading Rolls in the Printer ➔ P.473
•
Loading Sheets in the Feed Slot ➔ P.495
Important
• Always make sure the loaded paper matches the type of paper specified on the printer. Adjustment cannot be
completed correctly unless the loaded paper matches the settings.
2
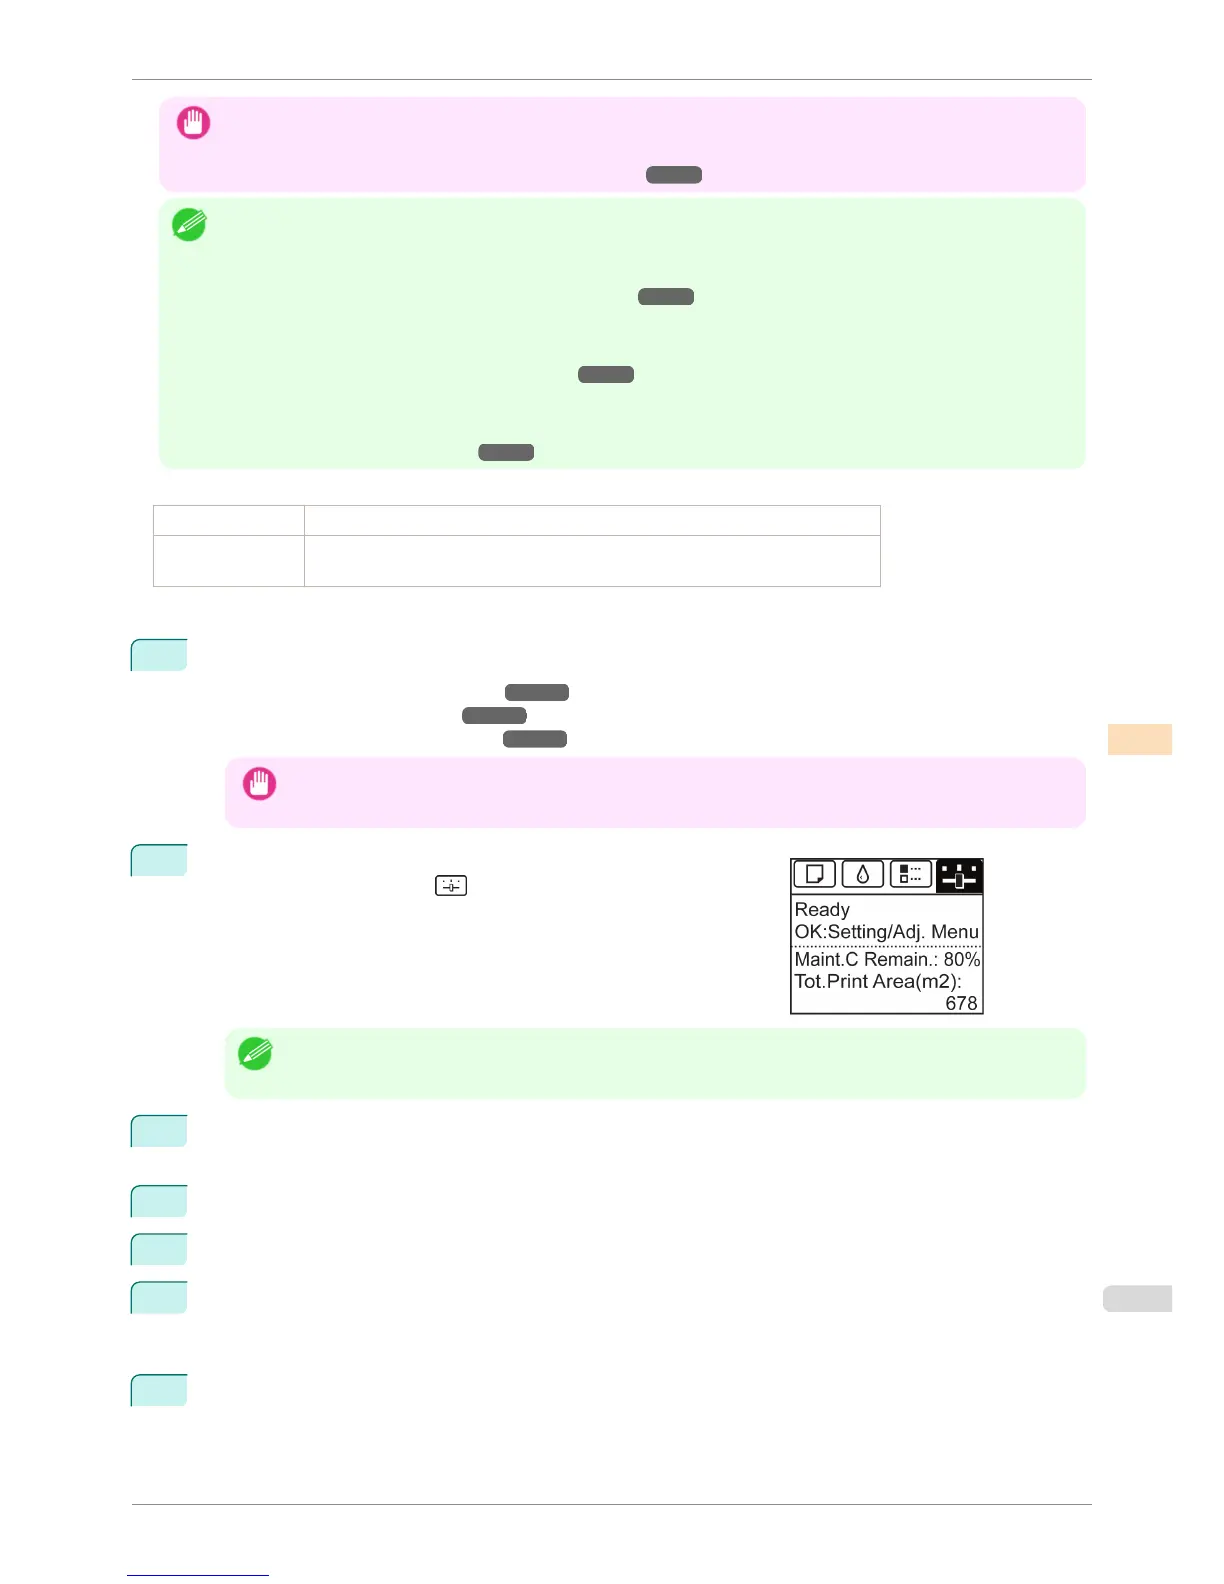
On the Tab Selection screen of the Control Panel, press ◀ or ▶ to
select the Settings/Adj. tab ( ).
Note
• If the Tab Selection screen is not displayed, press the Menu button.
3
Press the OK button.
The Set./Adj. Menu is displayed.
4
Press ▲ or ▼ to select Adjust Printer, and then press the OK button.
5
Press ▲ or ▼ to select Head Posi. Adj., and then press the OK button.
6
Press ▲ or ▼ to select Standard or Simple, and then press the OK button.
A test pattern is printed for adjustment.
Adjustment is now finished if you have printed on a roll.
7
If you are printing on cut sheets, a confirmation message is displayed on the Display Screen asking you
whether to continue printing.
Press the OK button and follow the instructions on the Display Screen.
iPF6400S
Automatic Adjustment to Straighten Lines and Colors
User's Guide
Adjustments for Better Print Quality Adjusting the Printhead
709