Refer to the information on Color Calibration Management Console operations when executing color calibration
from the computer.
(See "Executing Color Calibration (Windows).") ➔ P.768
(See "Executing Color Calibration (Mac OS).") ➔ P.800
•
Preparing the Printer
1
You can confirm whether the paper to be loaded can be used in color calibration.
(See "Displaying the Paper Reference Guide.") ➔ P.464
2
Load the paper.
(See "Loading Rolls on the Roll Holder.") ➔ P.471
(See "Loading Rolls in the Printer.") ➔ P.473
Note
• If Adj. Quality has not been executed even once on the paper you are using, execute Adj. Quality in the Con-
trol Panel menu.
(See "Automatic Banding Adjustment.") ➔ P.715
3
Select the White/Black Backing Plate color.
We recommend white.
(See "Switching the White/Black Backing Plate (Optional) Color.") ➔ P.746
Note
• For the color of the White/Black Backing Plate, continue using the selected color without changing each time
you execute color calibration.
4
Choose the size of the test pattern.
Set Pattern Size in the Control Panel menu.
(See "Menu Settings.") ➔ P.587
Note
• If you want to prioritize the color measurement precision, it is recommended that you set the Pattern Size to
Large.
•
Executing Color Calibration from the Control Panel on the Printer
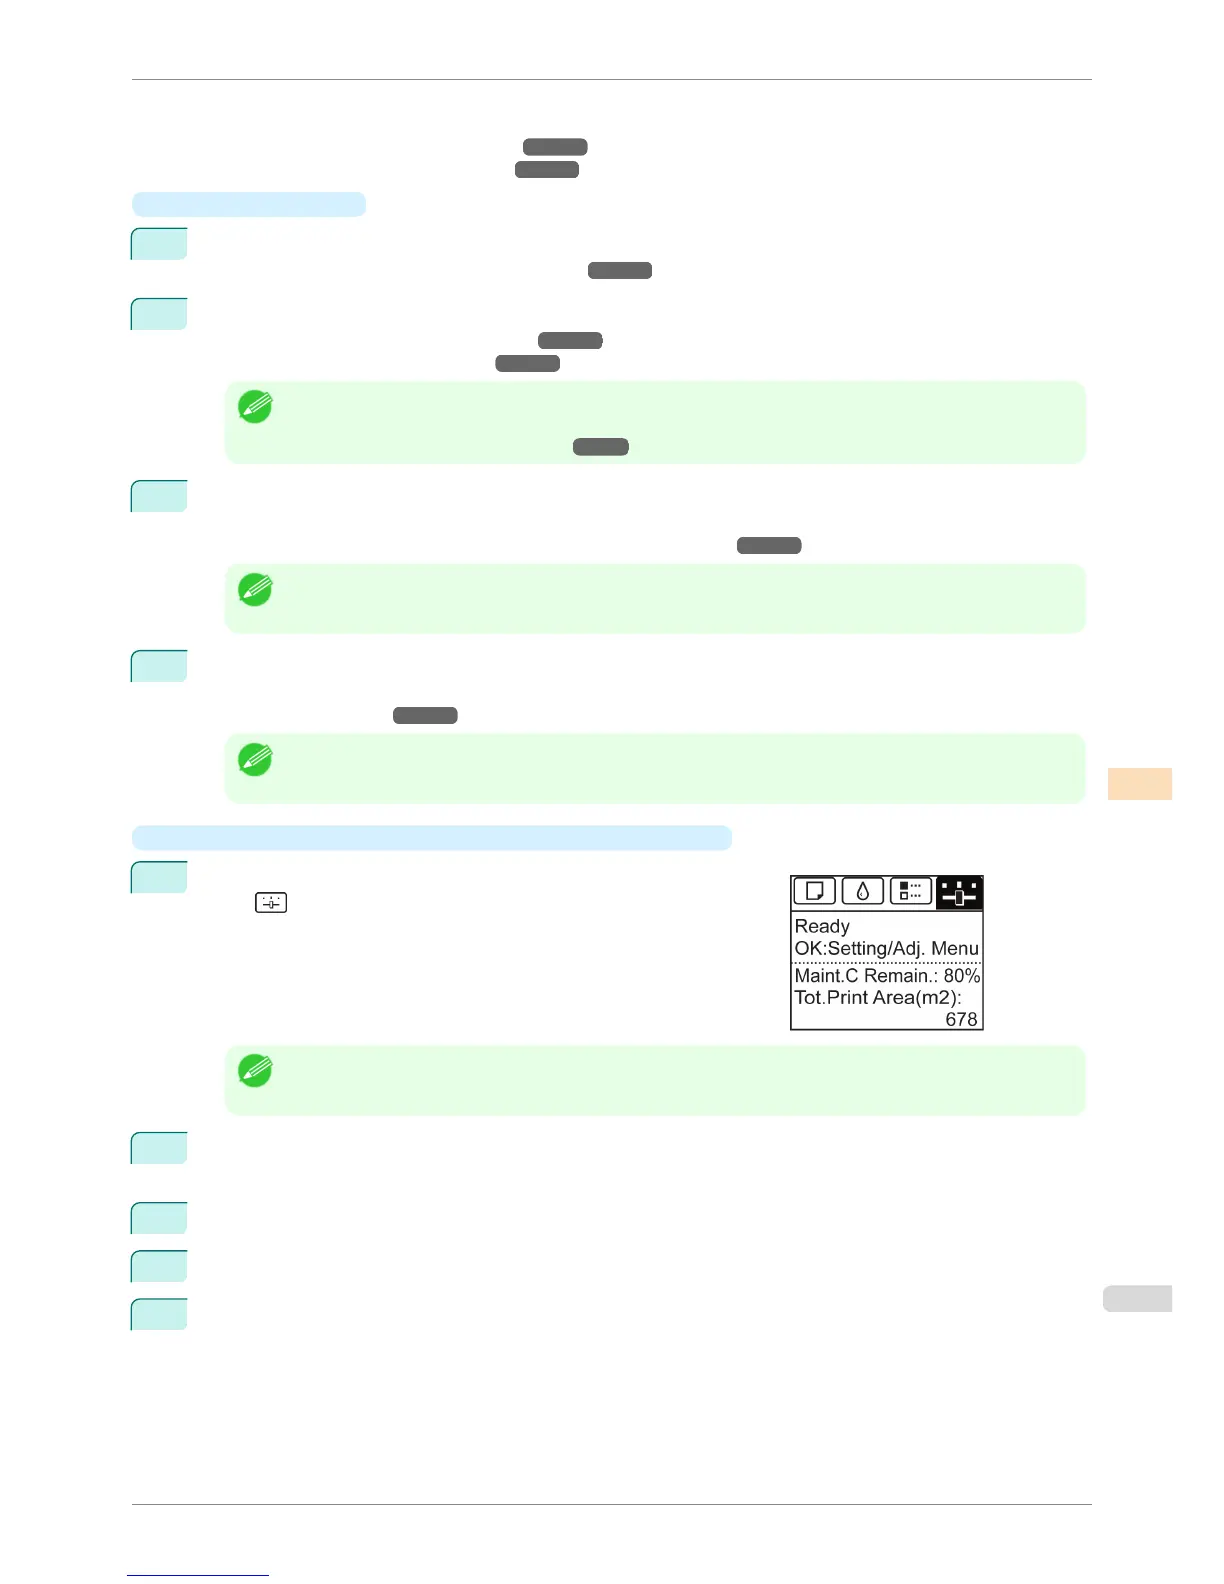
1
On the Tab Selection screen of the Control Panel, press ◀ or ▶ to
select
(Settings/Adj. tab).
Note
• If the Tab Selection screen is not displayed, press the Menu button.
2
Press the OK button.
Set./Adj. Menu is displayed.
3
Press ▲ or ▼ to select Adjust Printer, and then press the OK button.
4
Press ▲ or ▼ to select Calibration, and then press the OK button.
5
Press ▲ or ▼ to select AutoAdjst(HiPrc) and then press the OK button.
After the environment measurements and paper are confirmed, and color calibration is executed, the ad-
justment value is set automatically.
iPF6400S
Color Calibration Using the Spectrophotometer Unit (option)
User's Guide
Color Management Color Calibration
743



 To Next Page