Step 4
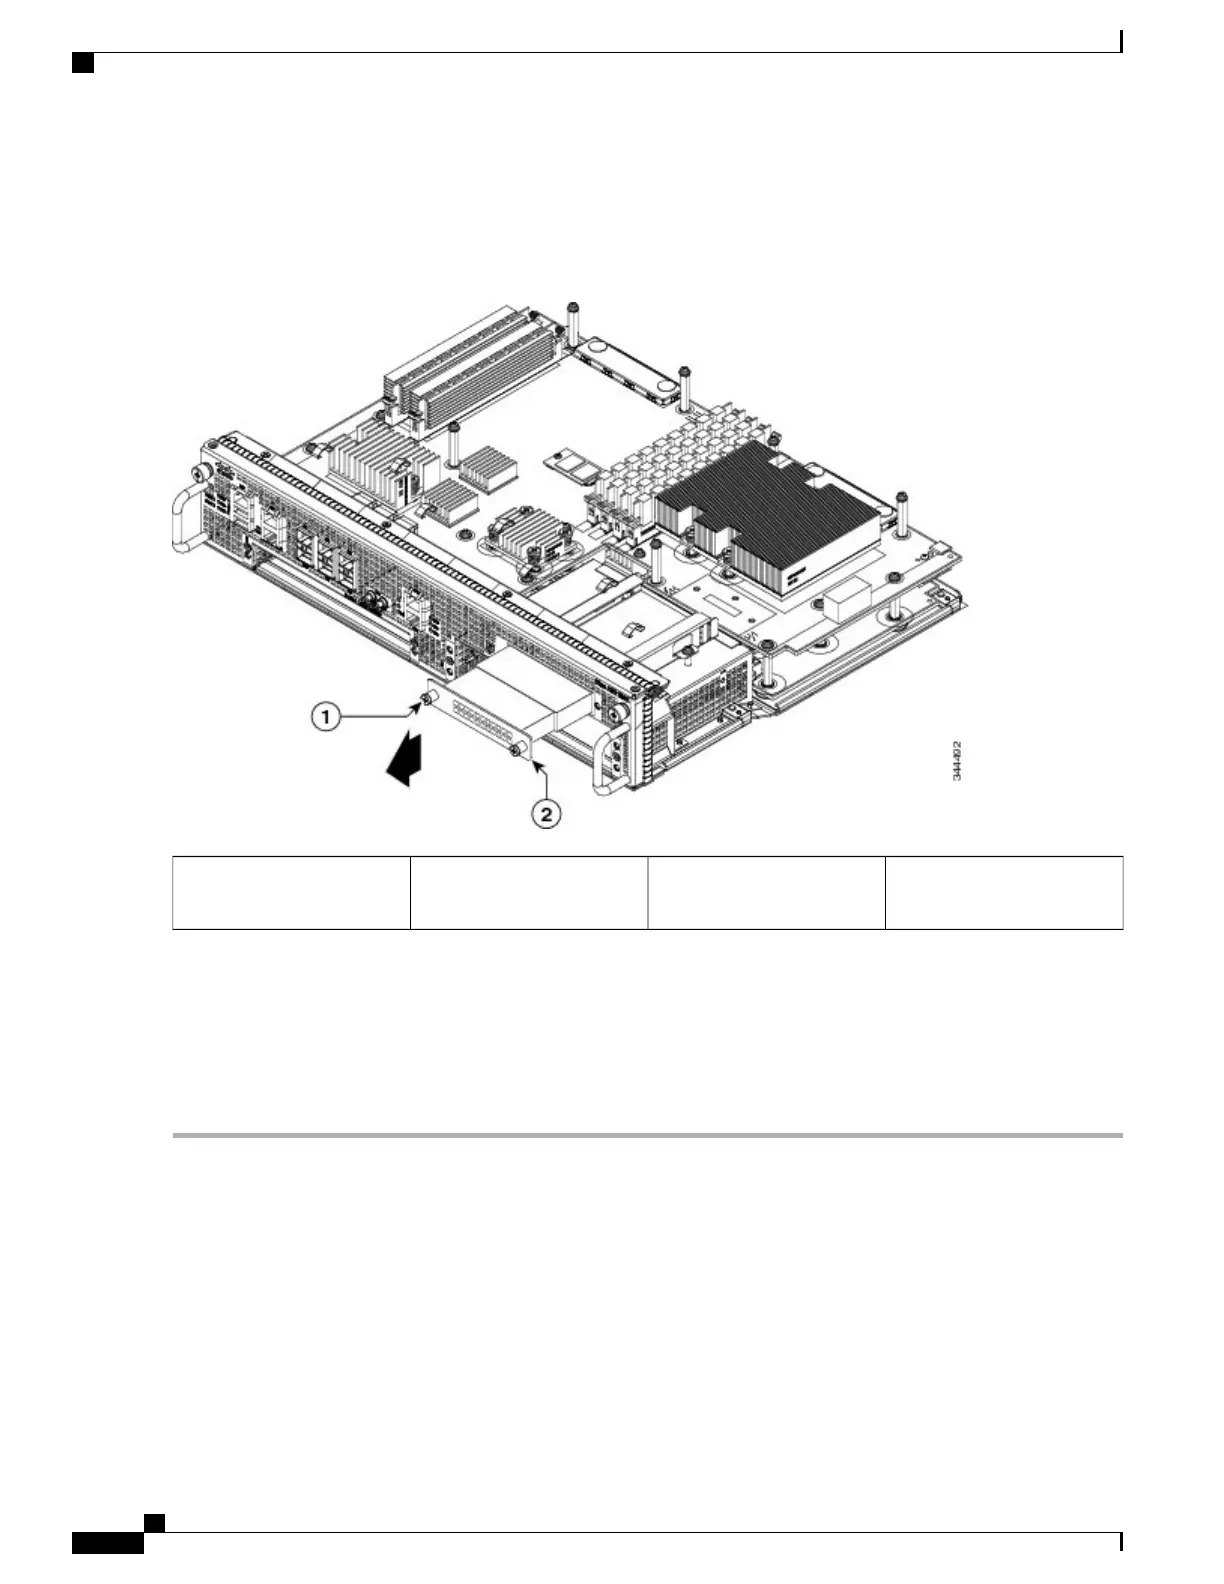
Pull the hard drive out as shown in xref Figure 14-7.
Figure 235: Cisco ASR1002-X Router Hard Drive
Hard drive2Hard drive fastener screw
location
1
Step 5
Place the hard drive in an antistatic bag if you are returning it.
Step 6
Wait until the following console message is displayed:
Example:
%IOSXE-0-PLATFORM: R0/0: udev: harddisk: has been removed
What to Do Next
You have successfully removed the hard drive from the Cisco ASR 1002-X Router.
Replacing the Hard Drive on the Cisco ASR 1002-X Router
To insert or replace the hard drive on the Cisco ASR 1002-X Router, follow this procedure:
Cisco ASR 1000 Series Router Hardware Installation Guide
490
Removing and Replacing FRUs from the Cisco ASR 1000 Series Routers
Replacing the Hard Drive on the Cisco ASR 1002-X Router

 Loading...


