NOTE: In order to perform this calibration, you should order the Paper Advance Calibration Kit (part number
CQ109-67042), which contains a 150-ft roll of HP Coated Paper, 36 inches wide (part number C6020B).
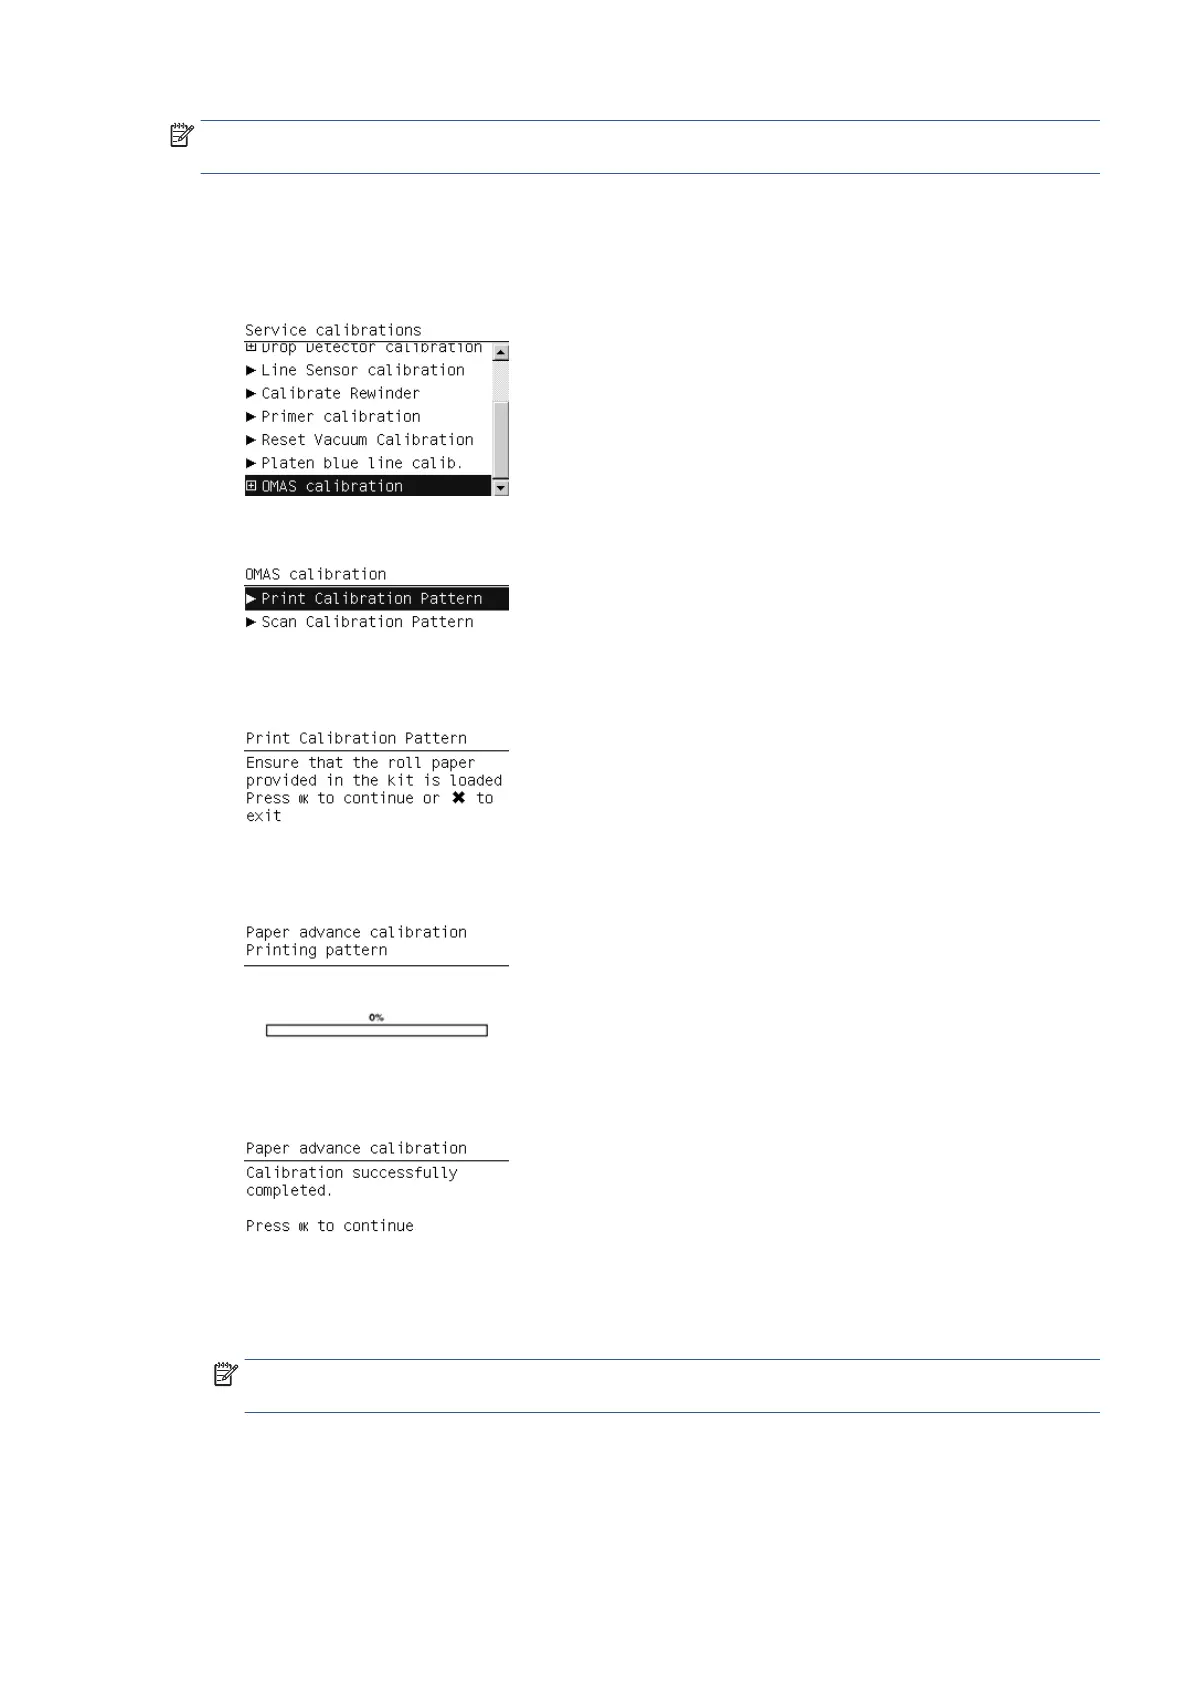
Print OMAS Calibration Pattern
1. Load the roll of HP Coated Paper from the Paper Advance Calibration Kit into the printer.
2. In the Service Calibrations menu, scroll to OMAS Calibration and press OK.
3. In the OMAS Calibration submenu, scroll to Print Calibration Pattern and press OK.
4. When the following message appears on the front panel, press OK to continue with the calibration, or
press Cancel to exit.
5. The printer starts to print the OMAS Calibration Pattern. This could take several minutes, during which
the following message is displayed on the front panel.
6. Once the OMAS Calibration Pattern has been printed successfully, the following message is displayed on
the front panel. Press OK to continue.
If the OMAS Calibration Pattern fails to print for any reason, an error message is displayed with
instructions to follow. Try the process again, making sure to select HP Coated when loading the 36-inch
roll that is provided. If the Calibration Pattern still fails to print, unload all rolls, restart the printer and
try again.
NOTE: Remove the Calibration Pattern from the printer and leave it to dry for a few minutes before
continuing with the calibration.
Scan OMAS Calibration Pattern
1. Re-enter the OMAS Calibration submenu, scroll to Scan Calibration Pattern and press OK.
ENWW Entering the Service Calibrations menu 131
 Loading...