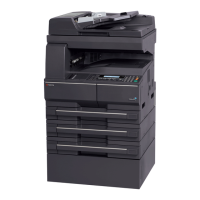
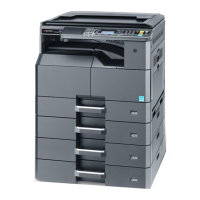
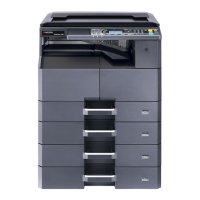
2WA/2NJ/2RK
5-4
Procedures
1. After turning the power switch (a) on
and the screen is properly displayed,
turn the power switch (a) off.
2. Insert the USB memory (b) with the
firmware into the USB memory slot.
3. Turn the power switch (a) on.
Figure 5-1
4. [FW-UPDATE] and the progress indica-
tor is displayed.
*: Several kinds of firmware updates are
processed simultaneously.
Figure 5-2
5. "Completed" is displayed when the firm-
ware update is completed.
6. Check if the new firmware versions are
displayed.
Figure 5-3
*: When there is no corresponding master file, "No Change" is displayed.
* is displayed after the firmware version update that has been skipped.
*: ----------is displayed when the FAX PWB, the option equipment, etc. is not installed.
䢢
䢢
䢢
䢢
䢢
䢢
䢢
䢢
䢢
䢢䢢䢢䢢䢢䢢䢢䢢䢢䢢䢢䢢䢢䢢䢢䢢FW-UPDATE䢢䢢䢢䢢
&75/
3$1/
237
',&
%5:6
2&5
)$;
)$;
0$,/%2;
%22./(7
381,7
')
3)6,'(
3)
(1*1
631/
FW-UPDATE䢢䢢䢢䢢Completed
&75/1-B
3$1/1R&KDQJH
2371R&KDQJH
',&1R&KDQJH
%5:61R&KDQJH
2&51R&KDQJH
)$;
)$;
0$,/%2;1R&KDQJH
%22./(71R&KDQJH
381,71R&KDQJH
')1R&KDQJH
3)6,'(1R&KDQJH
3) 1R&KDQJH
(1*11-B
631/1R&KDQJH

 Loading...


