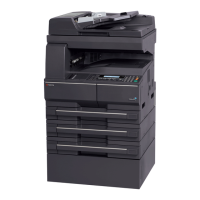
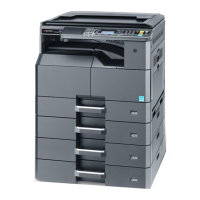
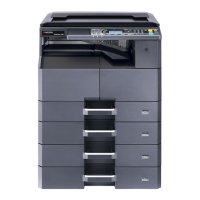
2WA/2NJ/2RK
7-8
(2-3) Black or color spots appear on the image
When scanning the second (back) side through the DP
14 Replacing the ISU The CCD PWB is faulty. Replace the ISU. Detaching
and Reat-
taching the
ISU
15 Replacing the lamp unit The LED PWB is faulty. Replace the lamp unit. Detaching
and Reat-
taching the
lamp unit
16 Replacing the engine PWB The engine PWB is faulty. Replace the engine PWB. Detaching
and Reat-
taching the
engine
PWB
17 Replacing the main PWB The main PWB is faulty. Replace the main PWB. Detaching
and Reat-
taching the
main PWB
Step Check description Assumed cause Measures Reference
1 Checking the original The original is dirty. Replace the original.
2 Checking the DP relay
PWB
The DP relay PWB is not
properly attached.
Reattach the DP relay PWB.
3 Checking the SATA cable The connector is not prop-
erly connected.
Reinsert the connectors of
the SATA cable between the
DPSHD PWB and the DP
relay PWB.
Wiring dia-
gram
4 Replacing the SATA cable The SATA cable is
deformed or broken.
Replace the SATA cable
between the DPSHD PWB
and the DP relay PWB.
Wiring dia-
gram
5 Checking the DPSHD
PWB
The DPCIS is not properly
connected to the DPSHD
PWB.
Reconnect the DPCIS to the
DPSHD PWB.
6 Replacing the DPSHD
PWB
The DPSHD PWB is faulty. Replace the DPSHD PWB.
7 Replacing the DPCIS The DPCIS is faulty. Replace the DPCIS, and then
execute U091 and U411.
Detaching
and Reat-
taching the
DPCIS
8 Replacing the DP relay
PWB
The DP relay PWB is
faulty.
Replace the DP relay PWB.
Step Check description Assumed cause Measures Reference

 Loading...


