Setting up the tools
98 ProtoMat
®
S62
Note: The order of the tool positions can be selected at will. During opera-
tion, the tools are taken out of the correct tool holder automatically.
2. To adjust the manual milling depth setting after each tool change
during a production phase:
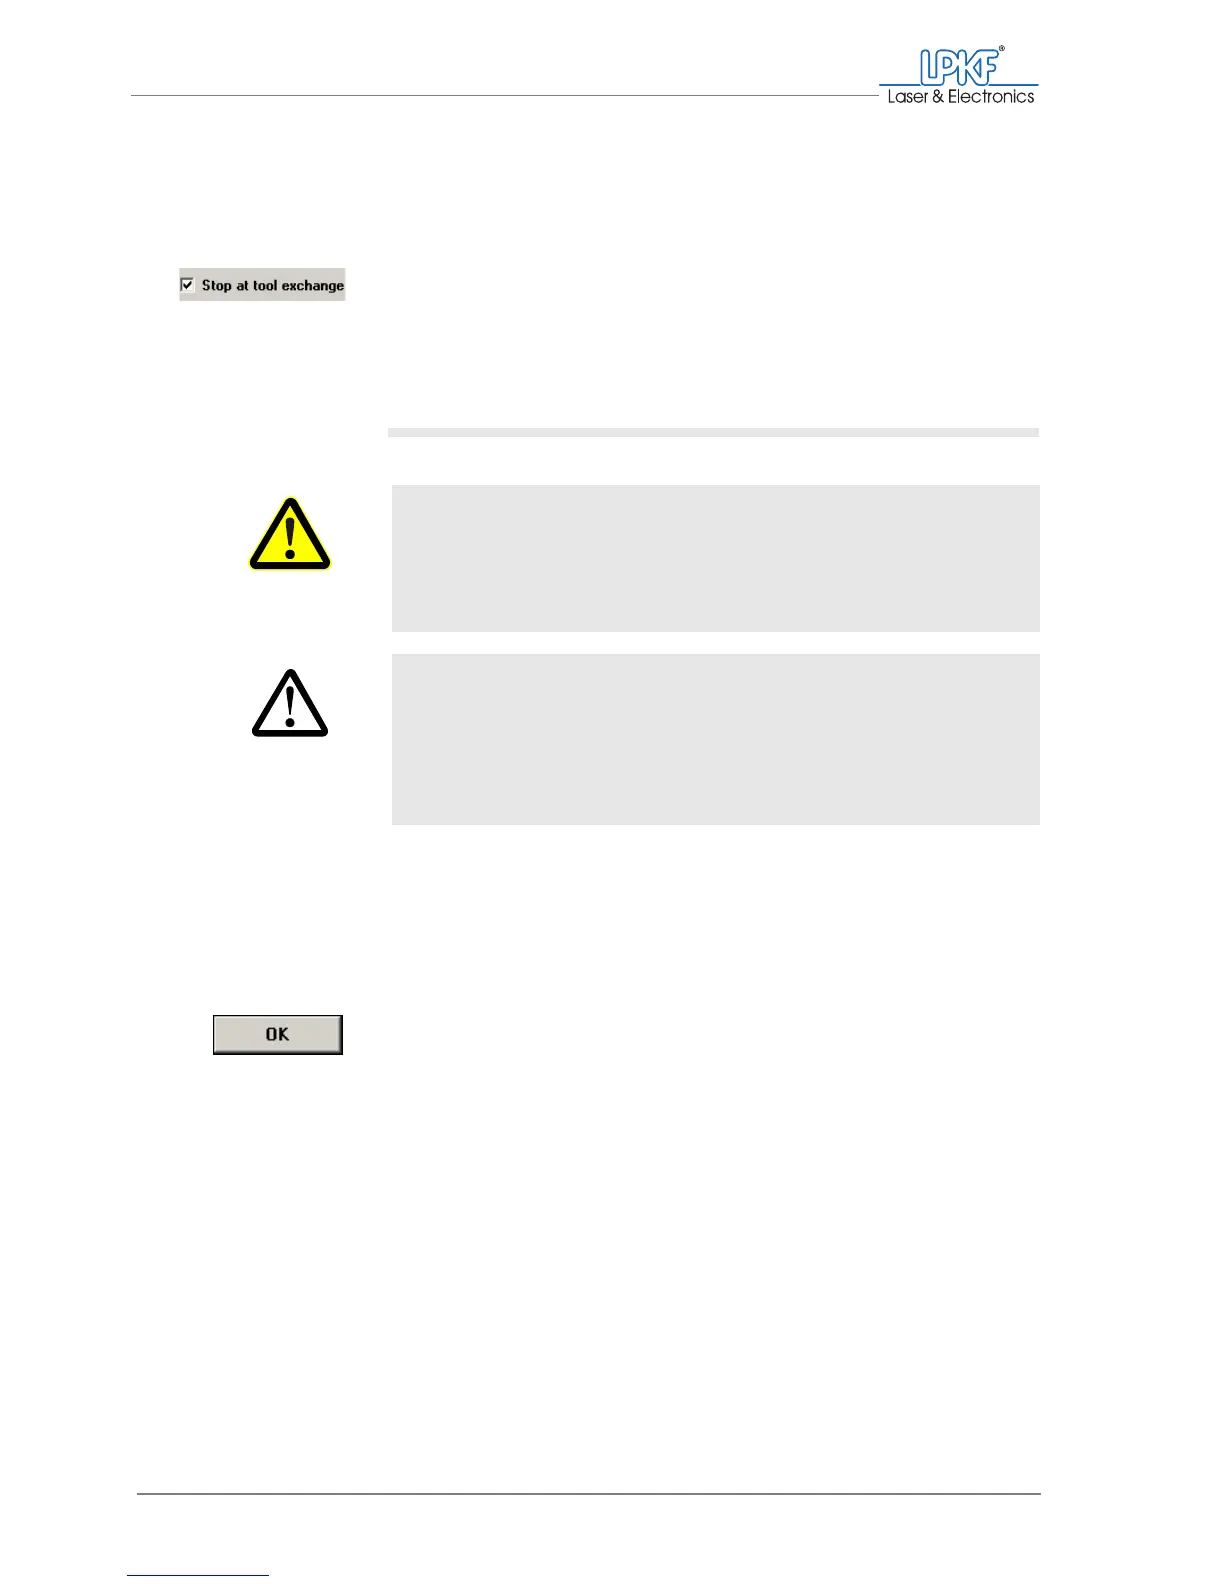
Activate the Stop at tool exchange checkbox.
[ ] Initially, keep the window open to insert the tools into the tool magazine
according to your settings.
III. Inserting tools
1. With the tip pointing downwards, push the required tools as far as
they will go into the tool holders (positions) defined in the Tool
Positions window.
Note: Position 1 is on the left-hand side of the tool magazine, position 10
is on the right.
2. Close the acoustic cabinet cover.
3. Click on OK.
[ ] The tools defined in the Tool Positions input window are displayed in the
tool selection list on the function bar.
WARNING
Risk of injury!
The tools to be used are very sharp edged and can cause cuts
and stab injuries.
› Handle tools carefully and keep them in the toolbox when not
in use.
CAUTION
Material damage due to incorrect loading!
If you insert the tools into other positions than those defined by
BoardMaster, the milling/drilling head and spindle and the tools
can become damaged.
› Insert the tools only into the tool holder (positions) defined by
BoardMaster.