Starting production
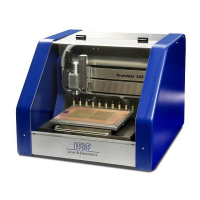
108 ProtoMat
®
S62
Adjusting the milling depth/width
If you activated the Stop after change option when setting up the tools,
the "Stop for depth adjustment ?" message will appear after a milling
tool has been picked up.
1. In order to adjust the milling depth on the basis of a sample milling:
Click on Yes.
Note: If you click on No, the production will continue with the current depth
adjustment.
2. Using the current tool, create a milling track approximately 10 mm
in length on a section of the base material you do not need (see
chapter ‚ "Creating a milling track", on page 75).
3. Check the milling track with a measuring microscope:
– Is the copper completely milled out?
– For conical cut mills (Universal Cutter, Micro Cutter): Does the mill-
ing width match the value displayed in BoardMaster?
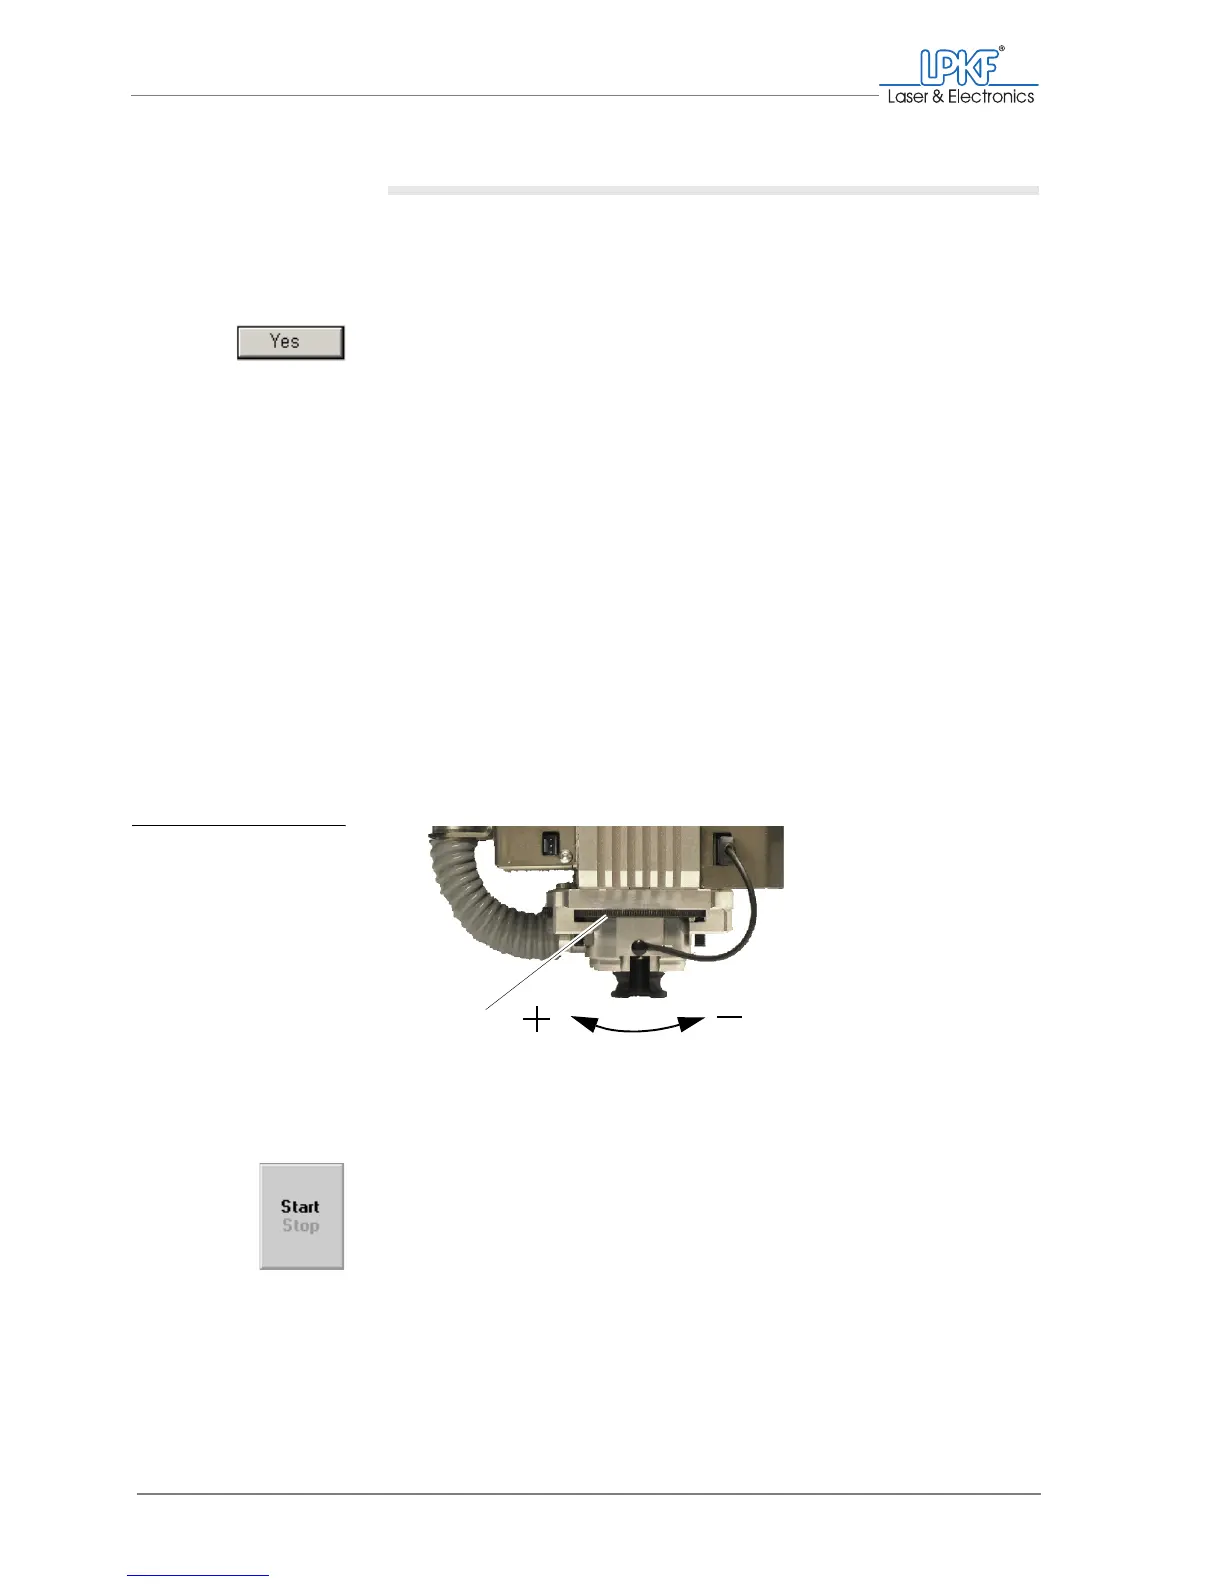
4. To correct the milling depth/width:
– Turn the adjusting wheel on the milling/drilling head to the left to
mill deeper/wider.
– Turn the adjusting wheel on the milling drilling head to the right
to remove less material/mill a narrower track.
Note: The milling width will change per raster step by approximately 4 µm
(Universal Cutter) or approximately 2.3 µm (Micro Cutter).
– Create a further test track to check the new milling depth/width.
5. Click on Start.
[ ] The production will be continued
Fig. 48: Adjusting the mill-
ing width
1 Setting wheel for milling depth limiter
1