B.20
SEL-351A Relay Instruction Manual Date Code 20080213
Firmware Upgrade Instructions
Ethernet Port Firmware Upgrade Instructions
B. Establish an FTP Connection
The following instructions use Internet Explorer operating on Microsoft
Windows XP as the FTP client to establish communication between the relay
and a personal computer. The instructions assume both devices are on the
same side of any firewalls.
Step 1. Connect an Ethernet communications cable between the relay
Ethernet port (PORT 5) and the computer Ethernet port.
Alternatively, connect an Ethernet communications cable from
the relay Ethernet port to an Ethernet network and another
cable from the personal computer Ethernet port to the same
Ethernet network.
Step 2. From the computer, open Internet Explorer.
On a personal computer running Windows, you would typically
click Start > Programs > Internet Explorer.
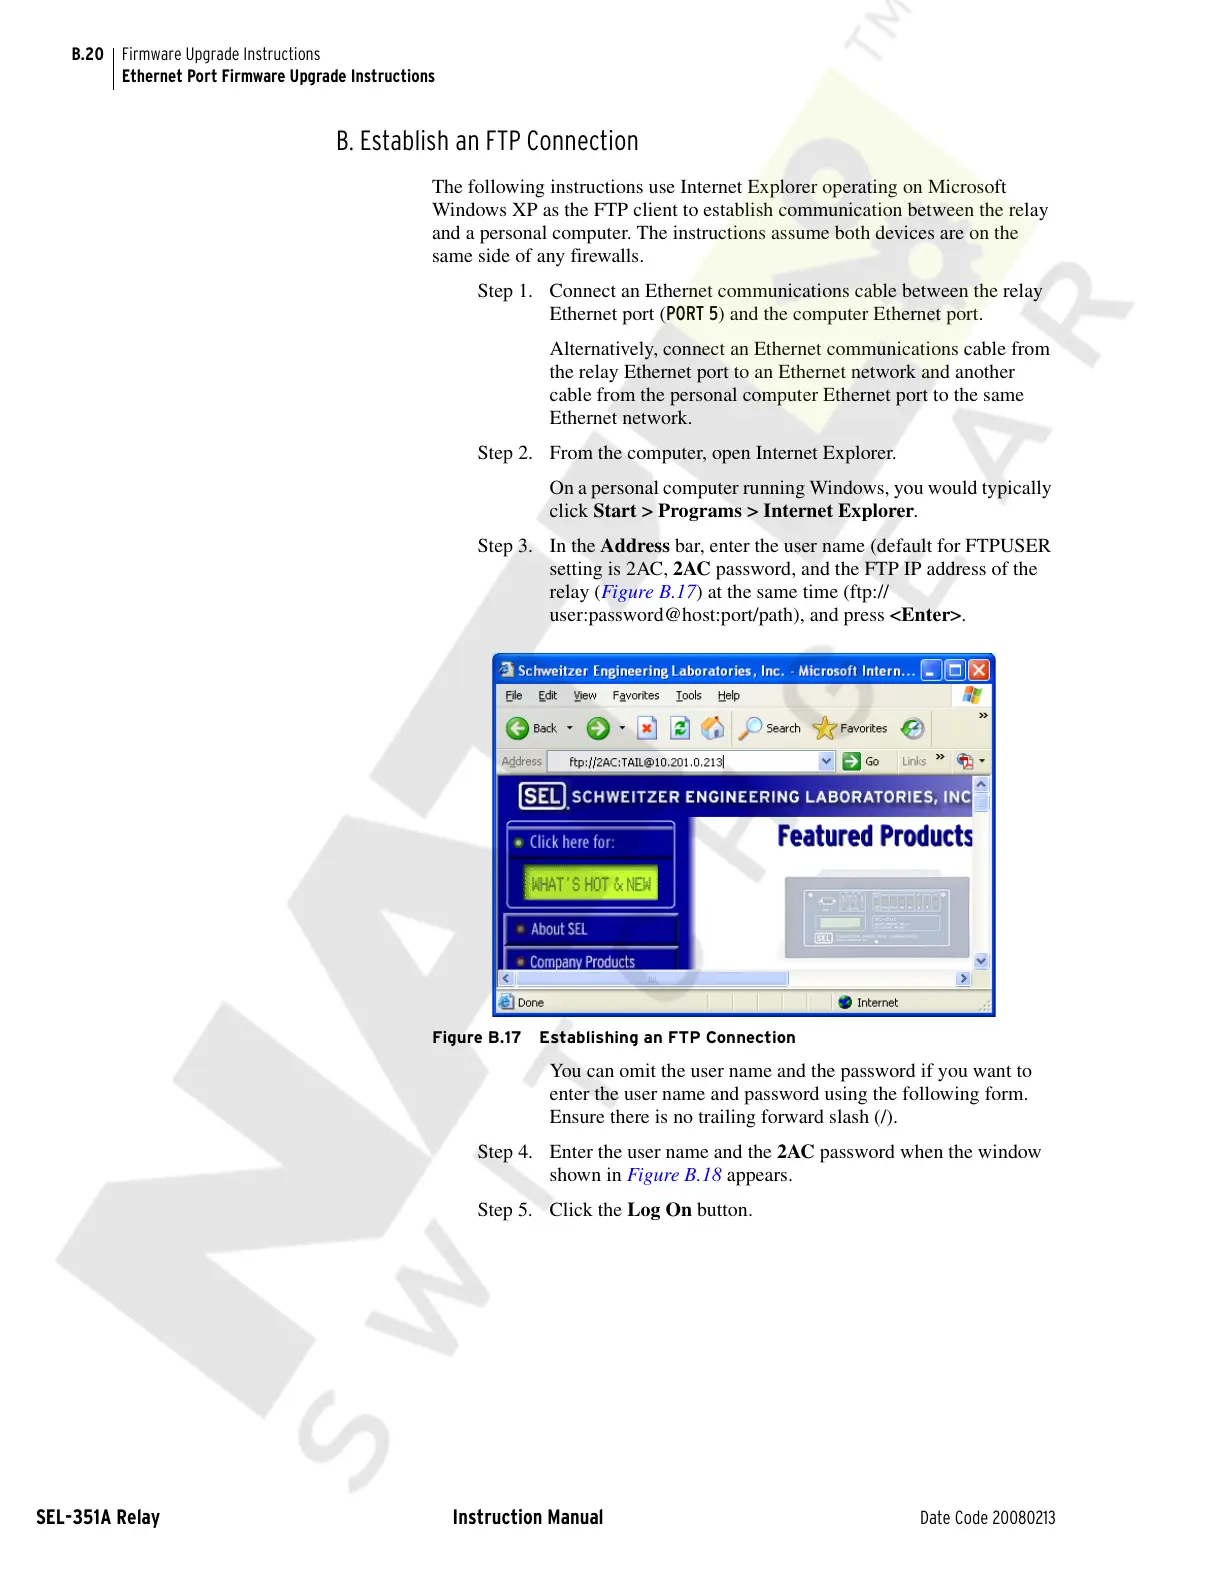
Step 3. In the Address bar, enter the user name (default for FTPUSER
setting is 2AC, 2AC password, and the FTP IP address of the
relay (Figure B.17) at the same time (ftp://
user:password@host:port/path), and press <Enter>.
Figure B.17 Establishing an FTP Connection
You can omit the user name and the password if you want to
enter the user name and password using the following form.
Ensure there is no trailing forward slash (/).
Step 4. Enter the user name and the 2AC password when the window
shown in Figure B.18 appears.
Step 5. Click the Log On button.
Courtesy of NationalSwitchgear.com